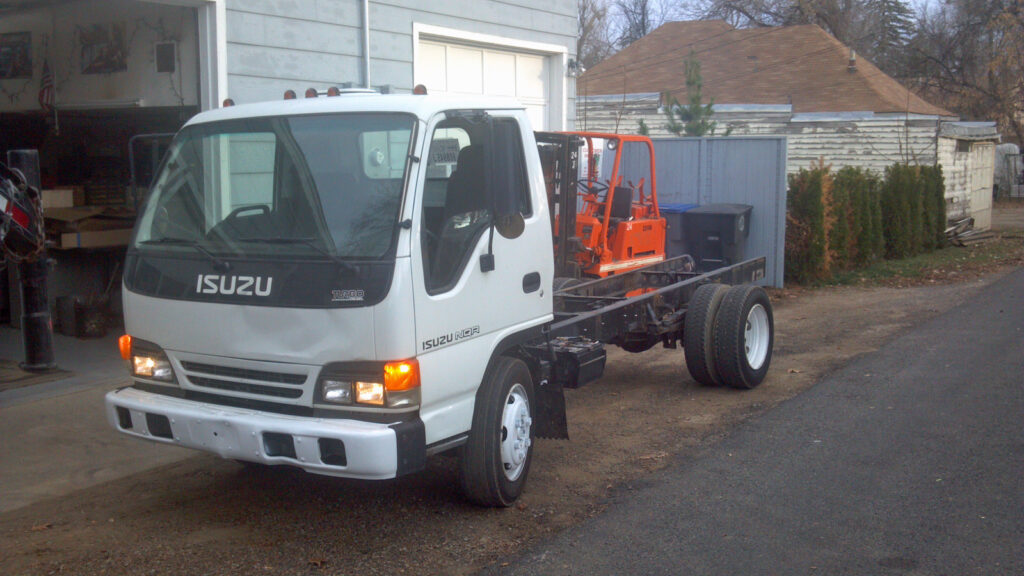
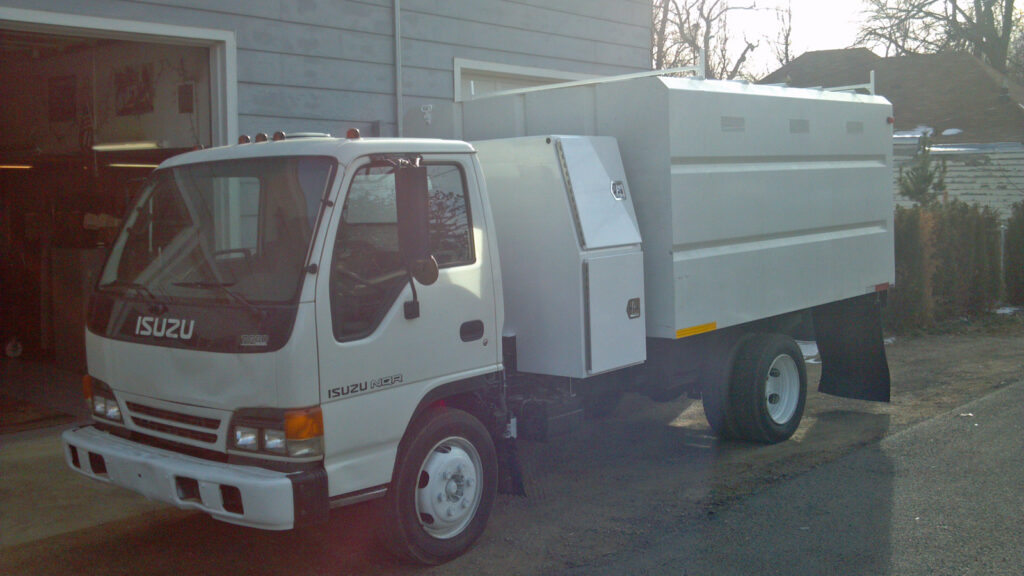
A local tree service company inquired about having a forestry chipper truck put together. Their plan was to purchase a used Isuzu NQR chassis and find someone to fabricate the hydraulic dump chip bed, all the tool storage, the towing gear and the rest of what it would then require to be legally commercially licensed. That’s where we come in.
This made a great platform to start with. The COE is awesome. While it has a long wheelbase, it’s turning radius is remarkable. Now that they had settled on a chassis, we were able to come up with a plan of attack.
Specs wanted/needed:
• 10-13′ Chipper box that was a hydraulic dump bed (must be 12 volt and tilt to a min. of 40*) and was covered
• plenty of tool storage
• ladder rack
• hitch
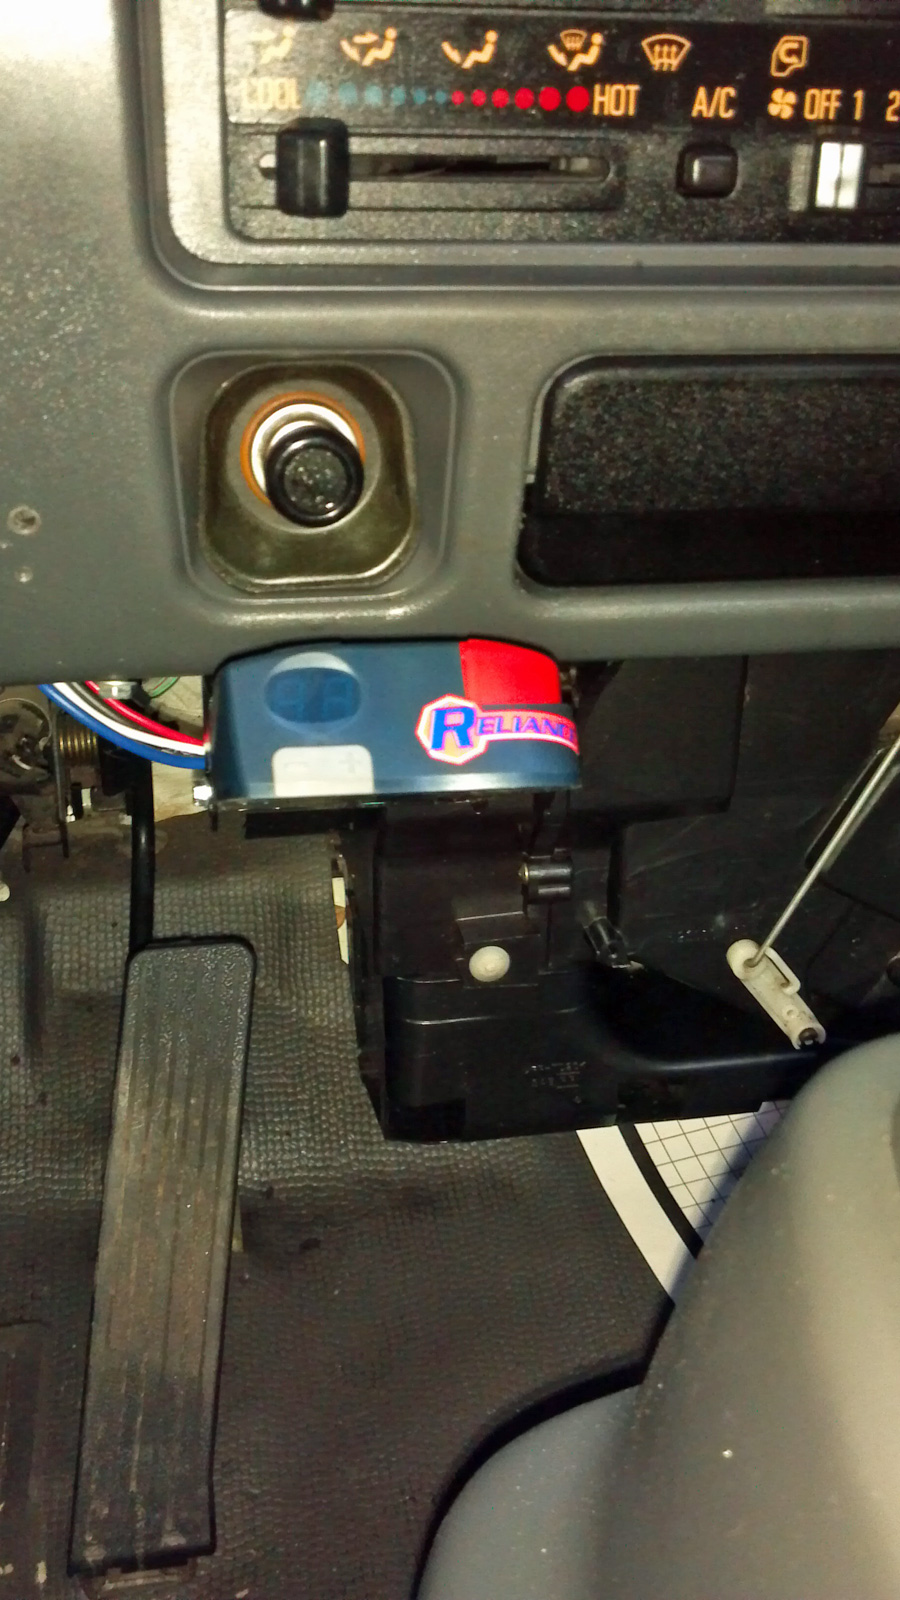
• brake controller
• everything be DOT inspected and approved
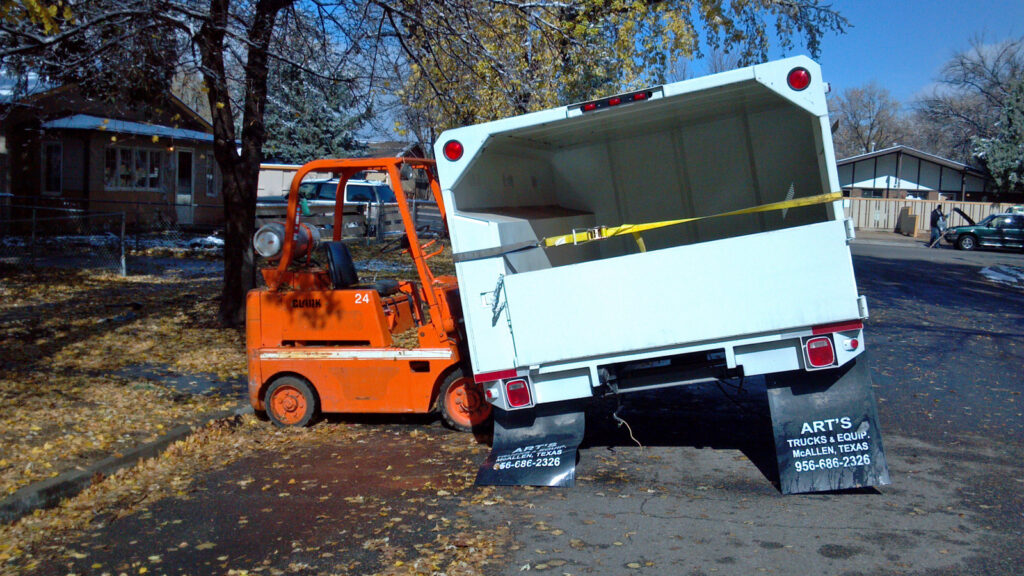
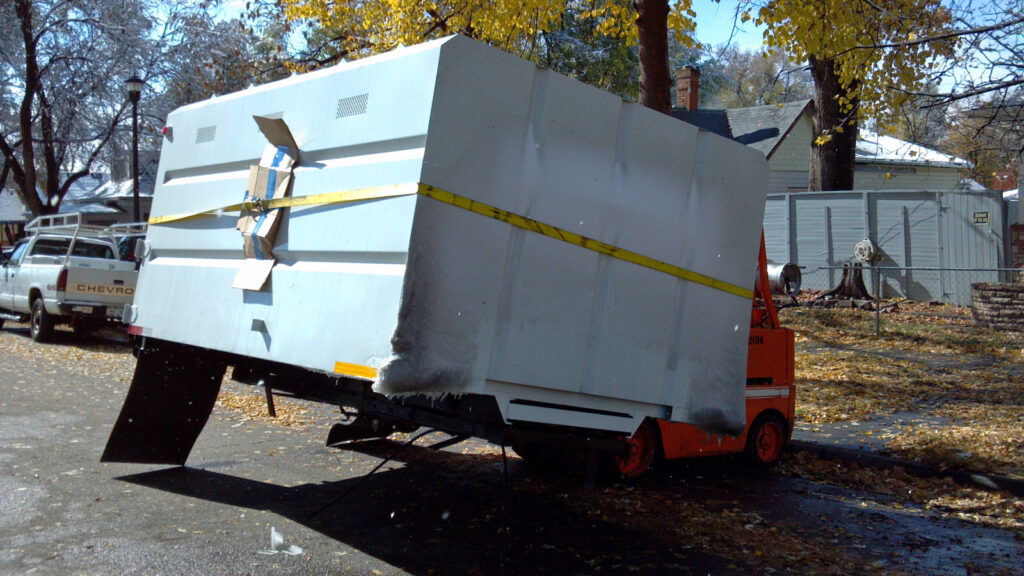
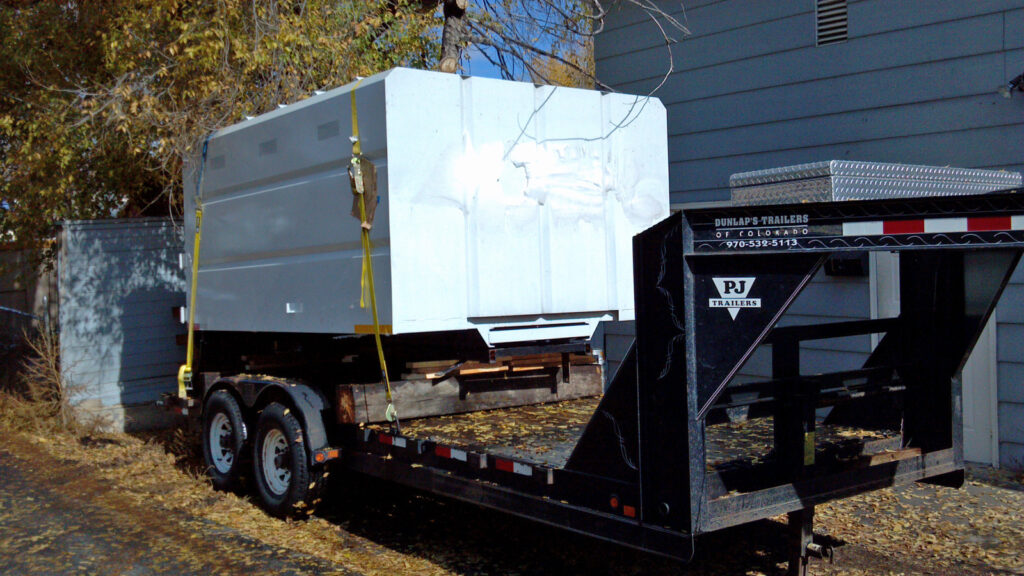
After a little searching, we were able to locate a NOS 11′ SouthCo chip bed (www.Southcoindustries.com) in Brownsville, TX. It was a fraction of the cost of fabricating one from scratch, or purchasing a new bed. The hydraulics weren’t in working order and and were the wrong style (PTO not 12V) and it had been sitting out in a field behind a dealer for years. But even with all that and the transportation cost to get it up here, we would be able to save our clients between $8-10K. Of course they jumped at the chance.
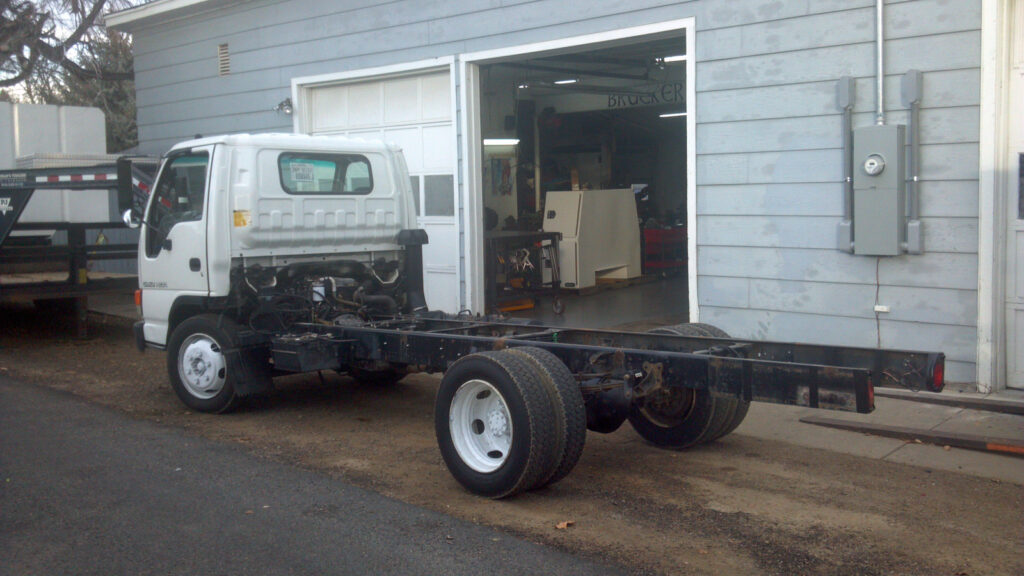
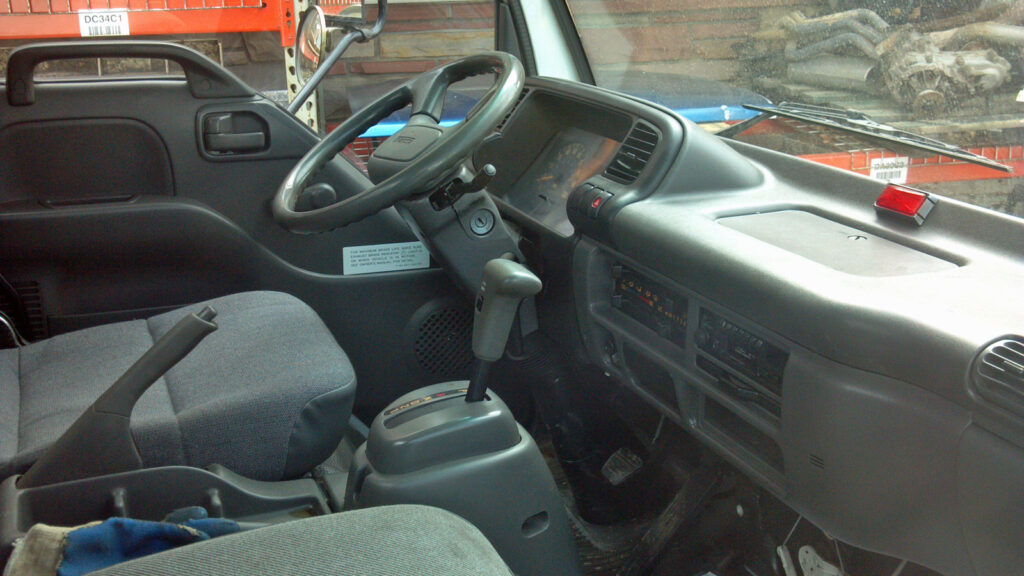
When we received the NQR and was able to inspect it in person, there were a couple things that stood out. First was the COE design. As mentioned before, if offers quite a few advantages. Turning radius being a big one, as well as visibility and hauling/towing capacity, but maintenance accessibility is superb.
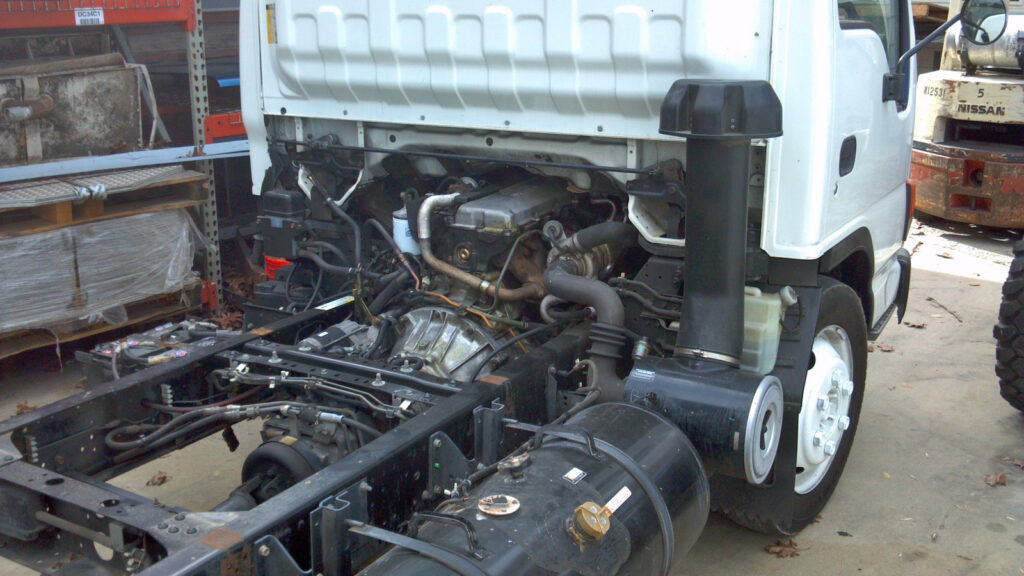
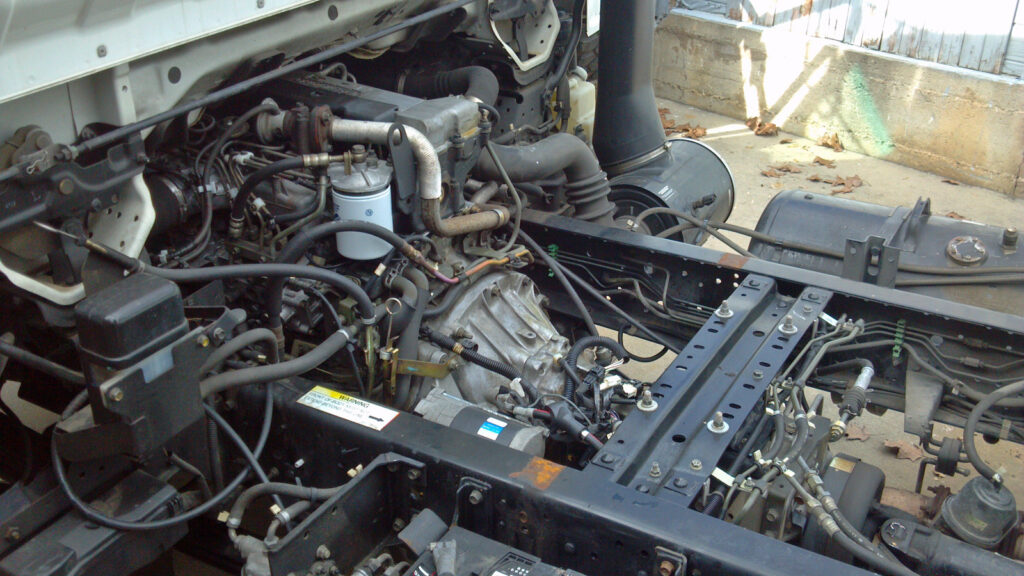
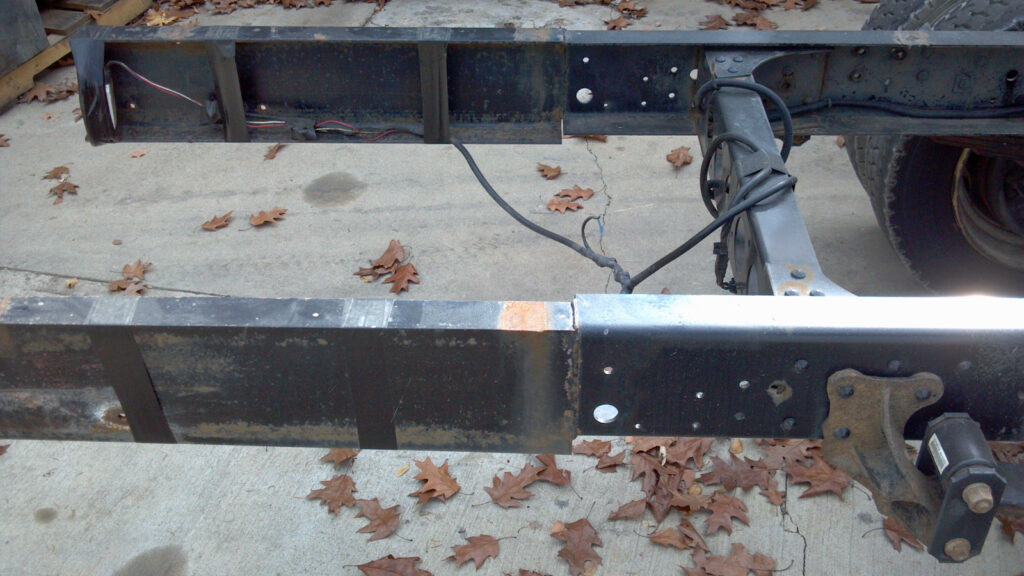
Overall everything was in good shape other than a slight oil leak from a valve cover and the front of the cab and bumper had some slight damage. Also someone had made some frame extensions off the rear to accommodate a large box or bed. The craftsmanship left little to be desired, so it will get reworked when the time comes.
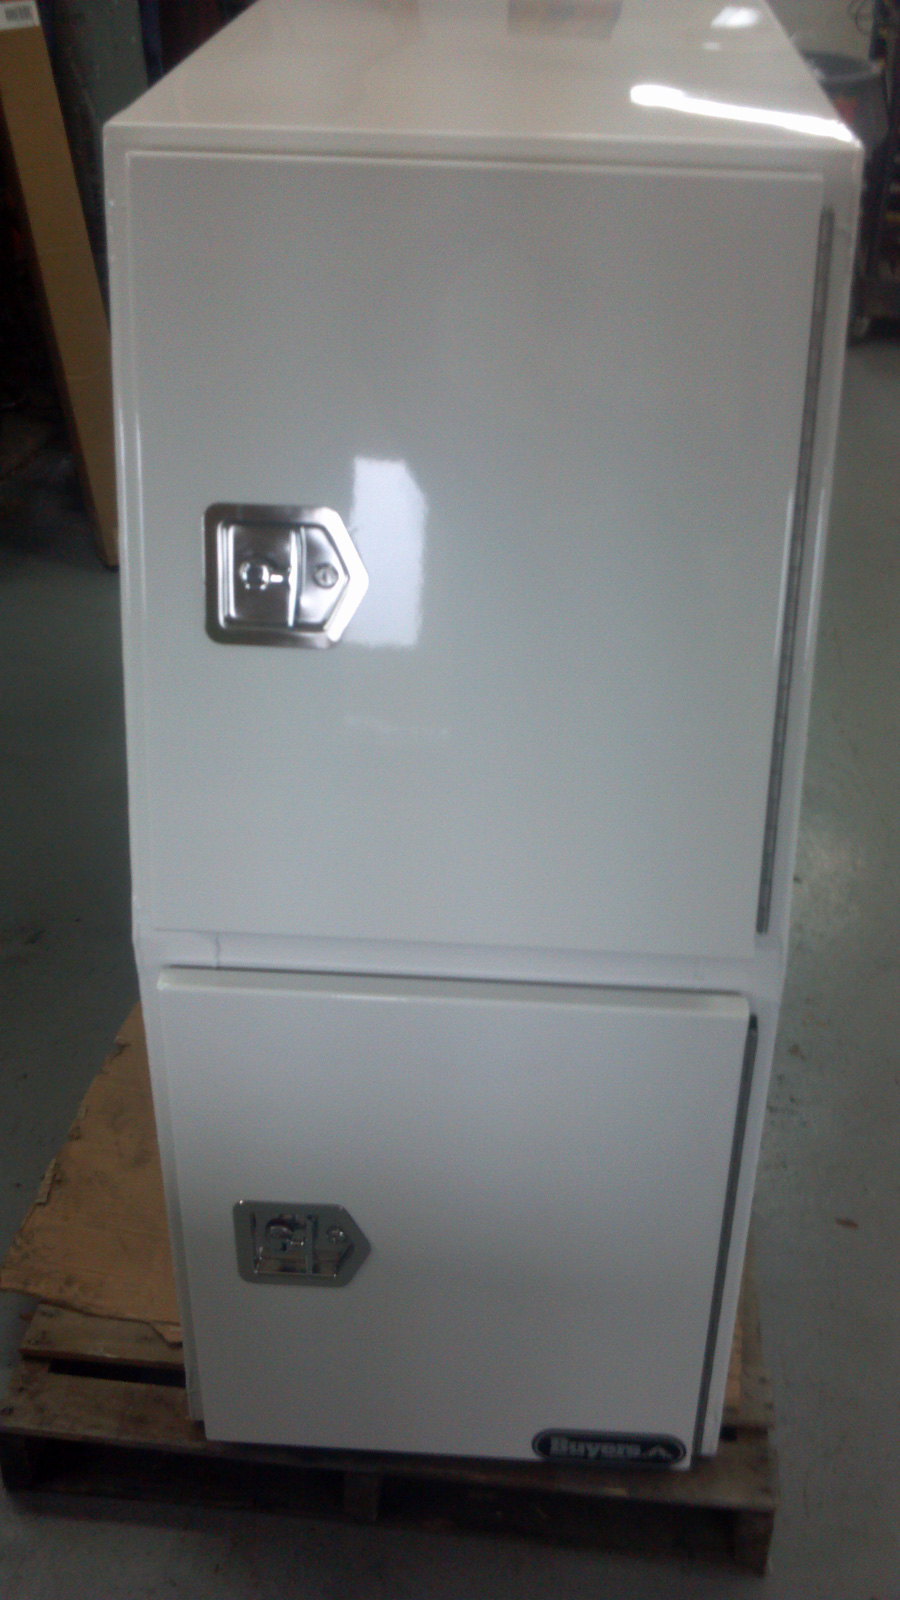
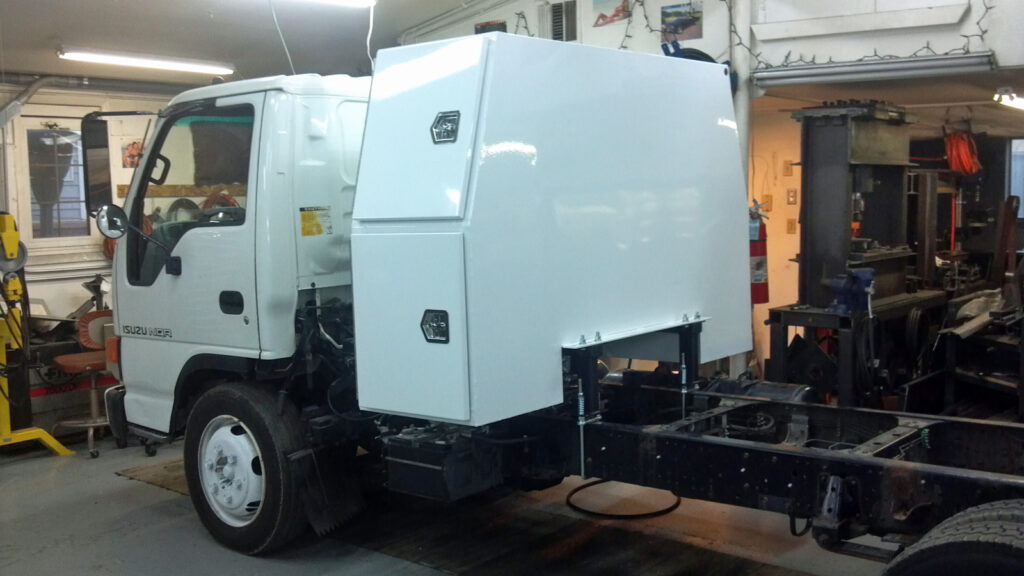
There are hundreds if not thousands of different ways to haul and store your gear. Let’s face it, everyone has their own opinion on what works best. So once we were able to figure out exactly what the clients needs were, we realized that again buying something off the shelf would more cost and time effective. After looking through many different options they settled on a B Pack tool box from Buyers (www.buyersproducts.com). We searched through all of the national dealers for the best price and was able to have one delivered for well under book price. We were very impressed with the quality when it arrived.

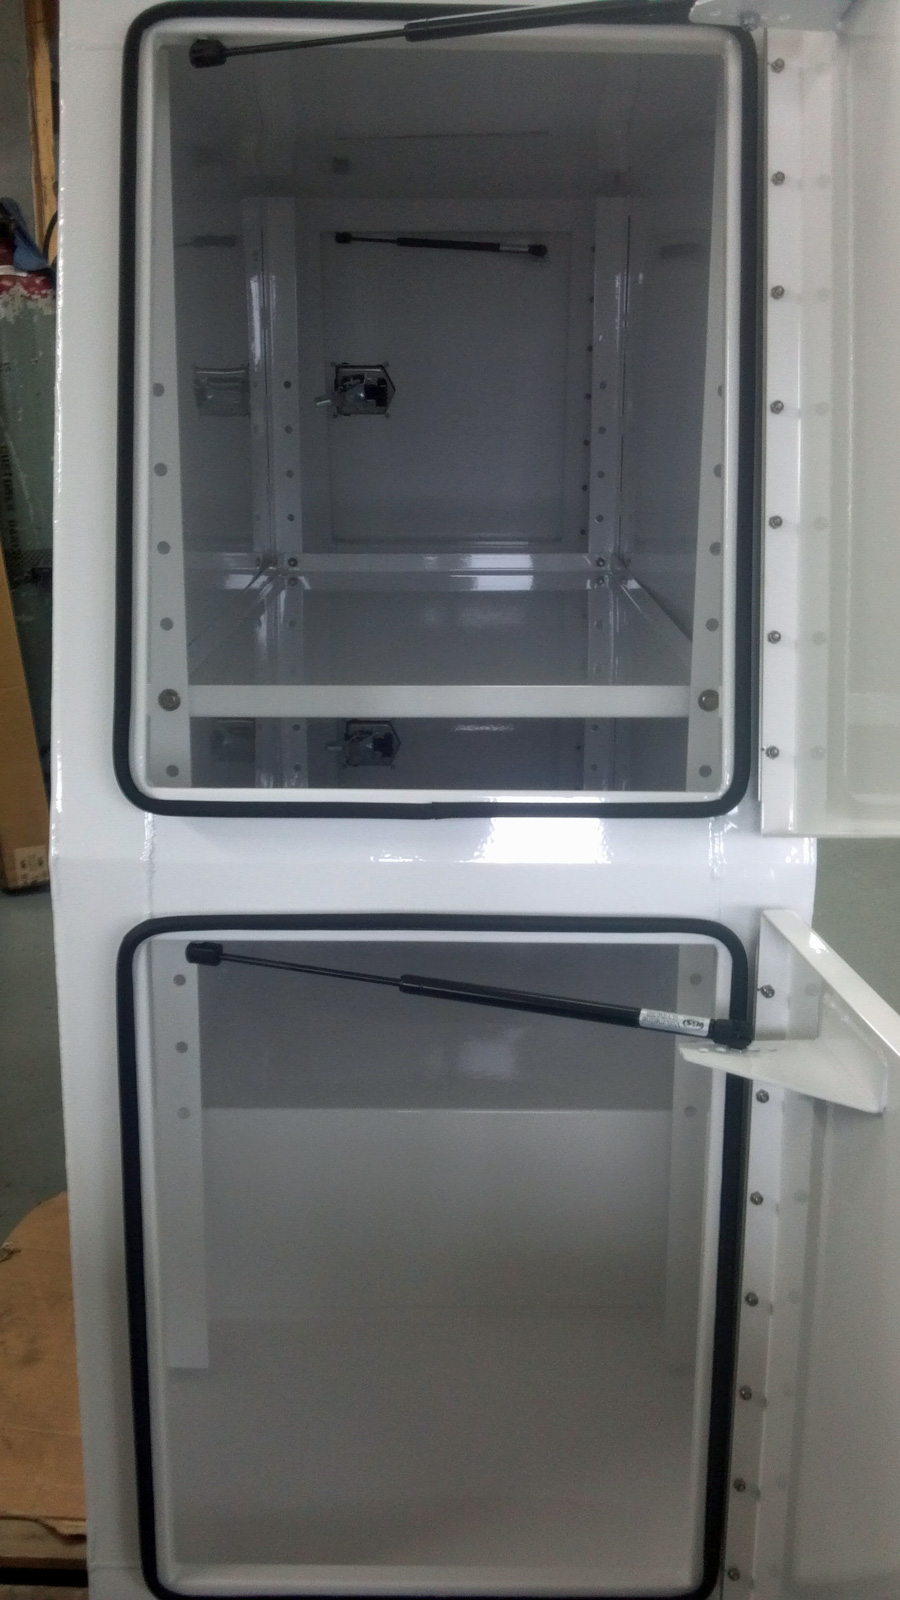
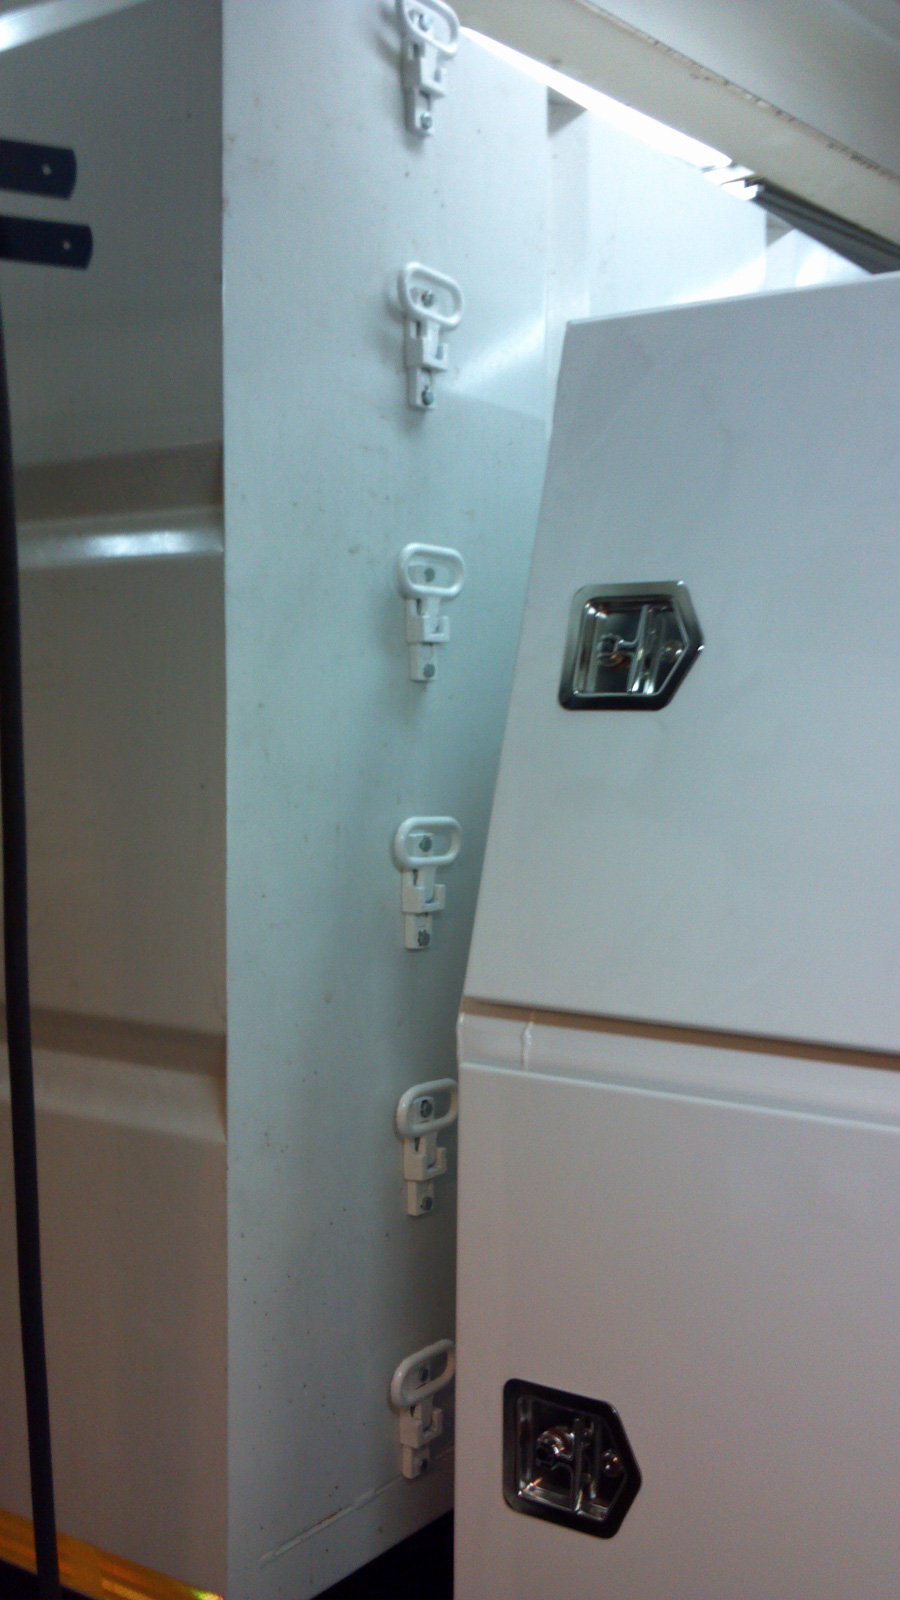
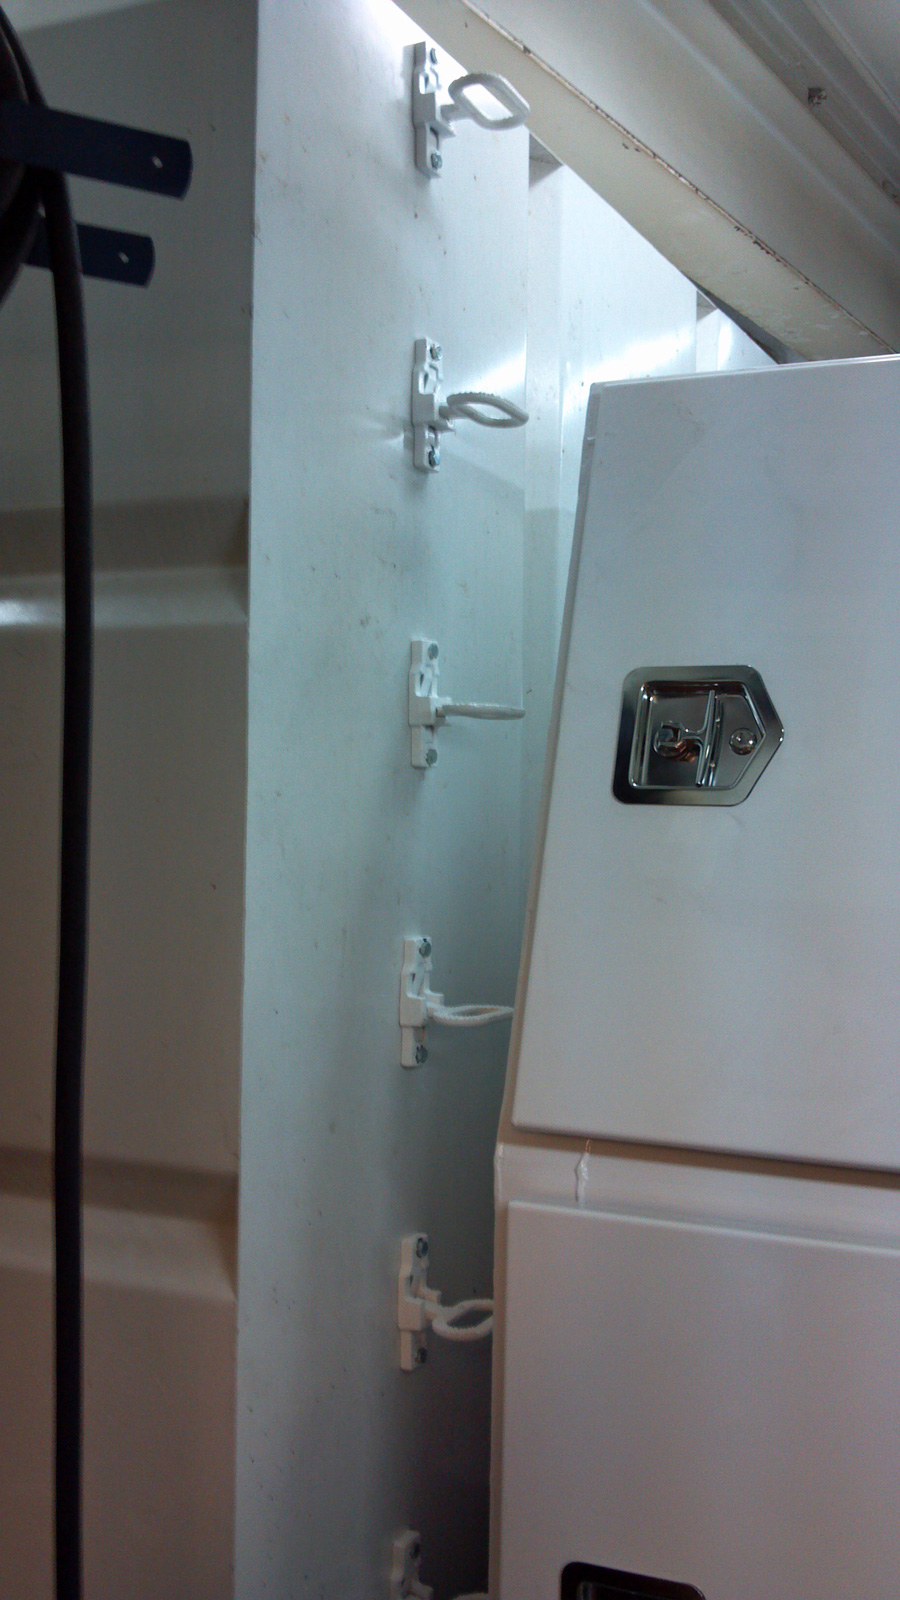
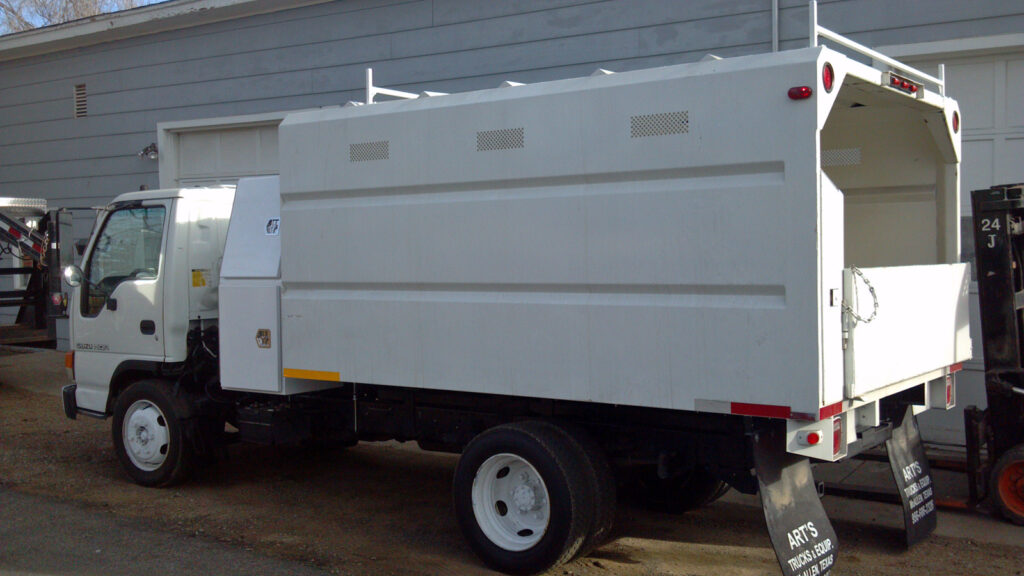
The fit and finish really was superb. There are four water tight doors with stainless hinges and hardware, and each has a dampener and are fully lockable. It offers a pass through design with room for multiple adjustable shelves in the center. It comes equipped with one shelf but more can be added easily later.
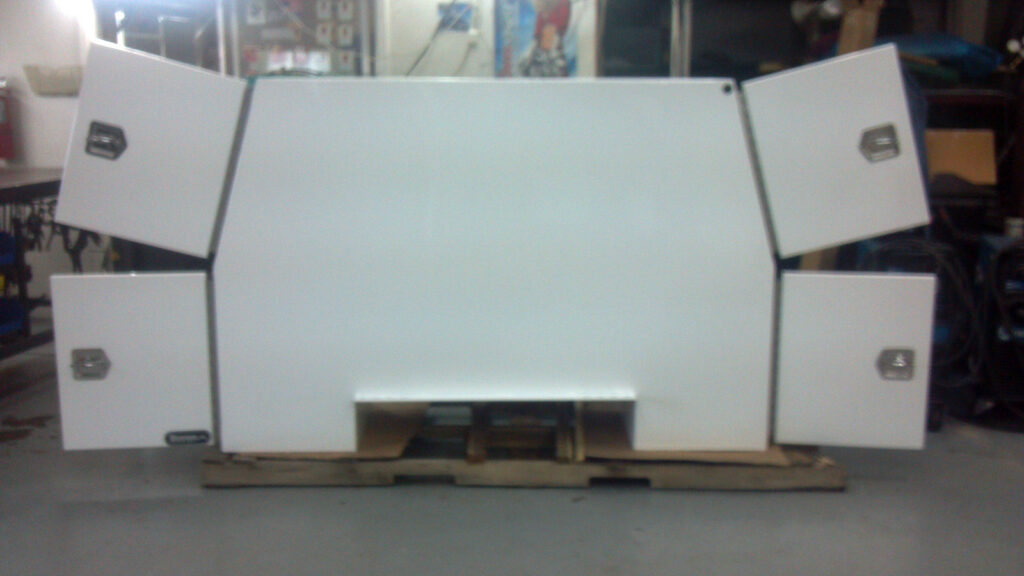
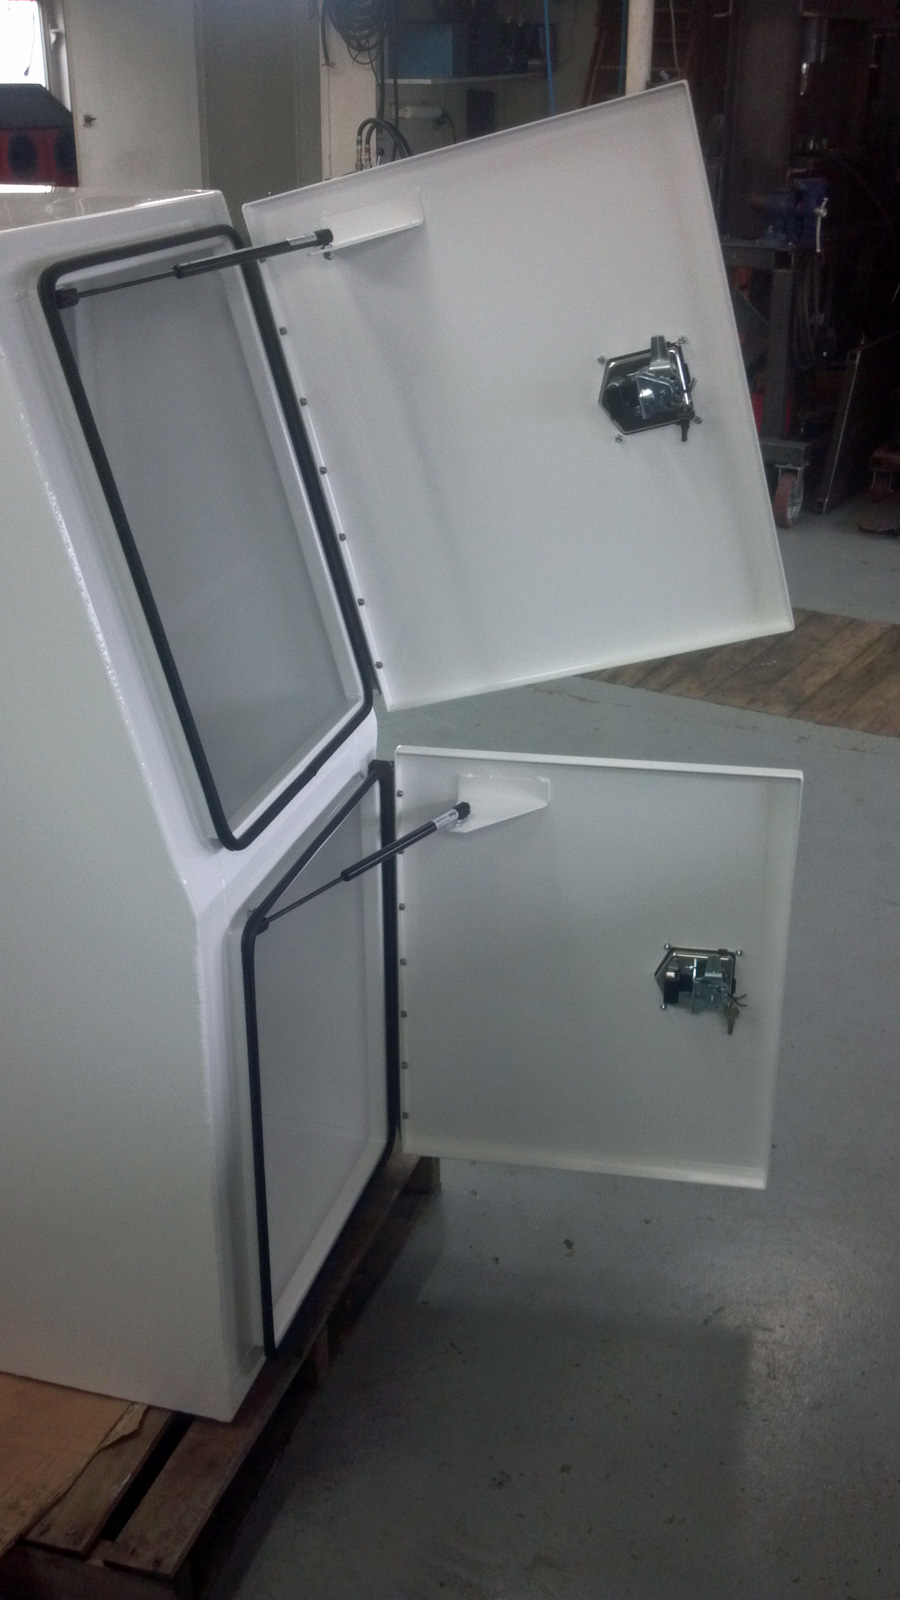

You may have noticed that the B Pack the client chose was a “saddle” style. It is designed to sit over and down around the sides of the frame rail. It creates two lower storage areas on either side. You might have also noticed that if we were to mount this directly behind the cab, it would not fit as intended. Trust me this was planned. Buyers actually offers a flat bottomed B Pack which would have been a direct bolt on. But the extra lower storage areas of the saddle style box offered my client something he considers almost priceless. A place for his saws and other oil and gas powered equipment to be contained in without getting all over his other equipment stored in the some box. And the extra space underneath it will come in handy later. Because of this, mounting the box in the way it was intended would take a little work.
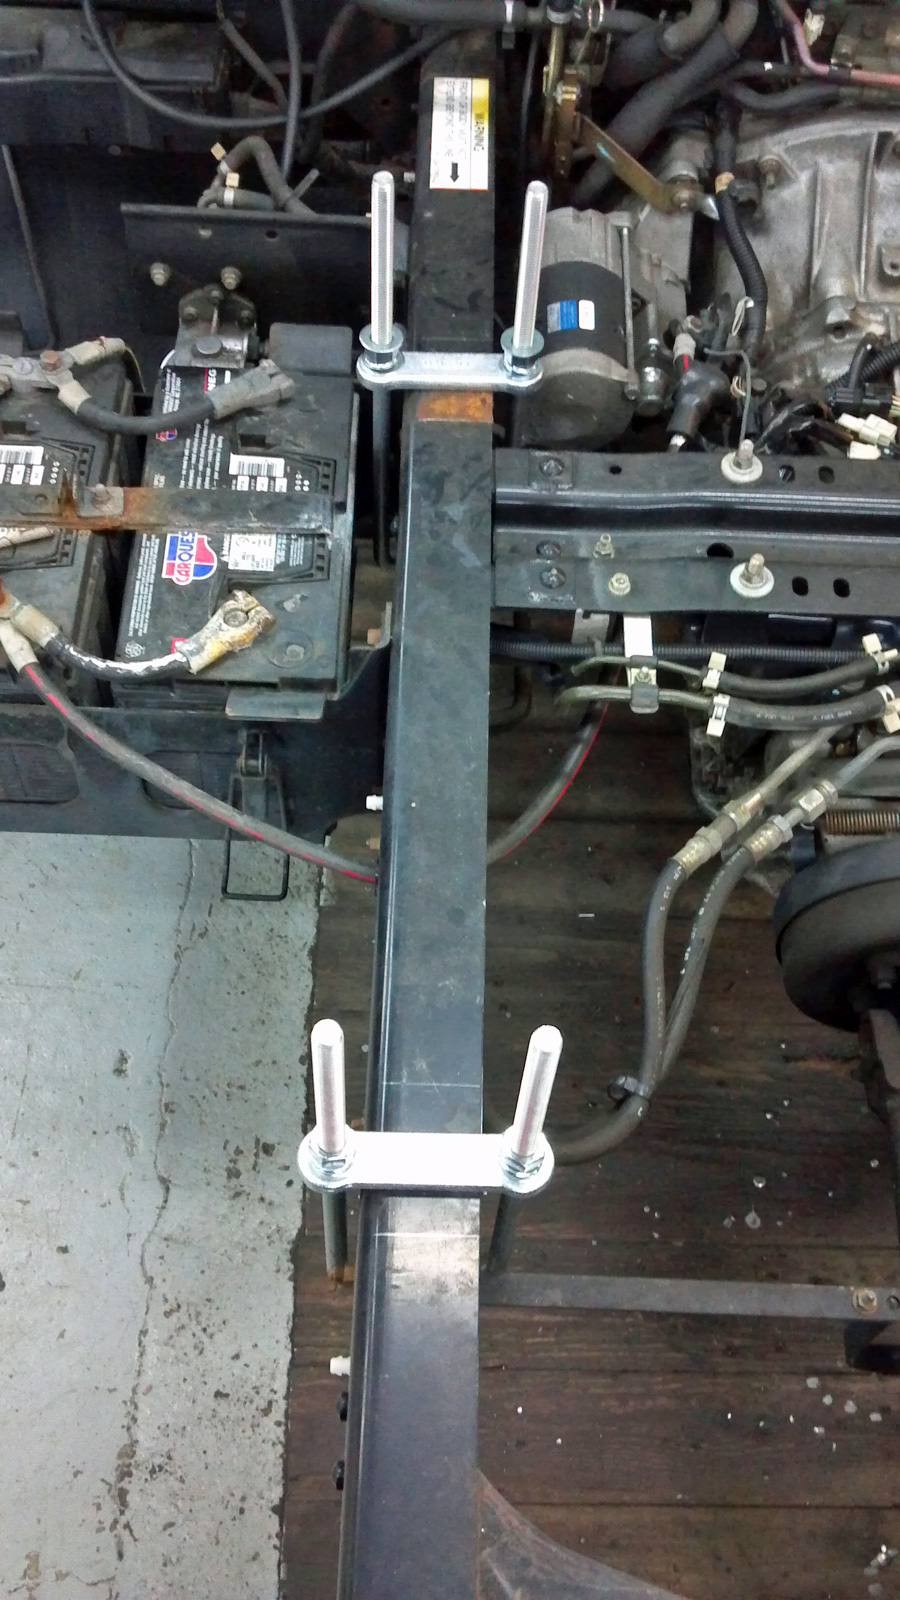
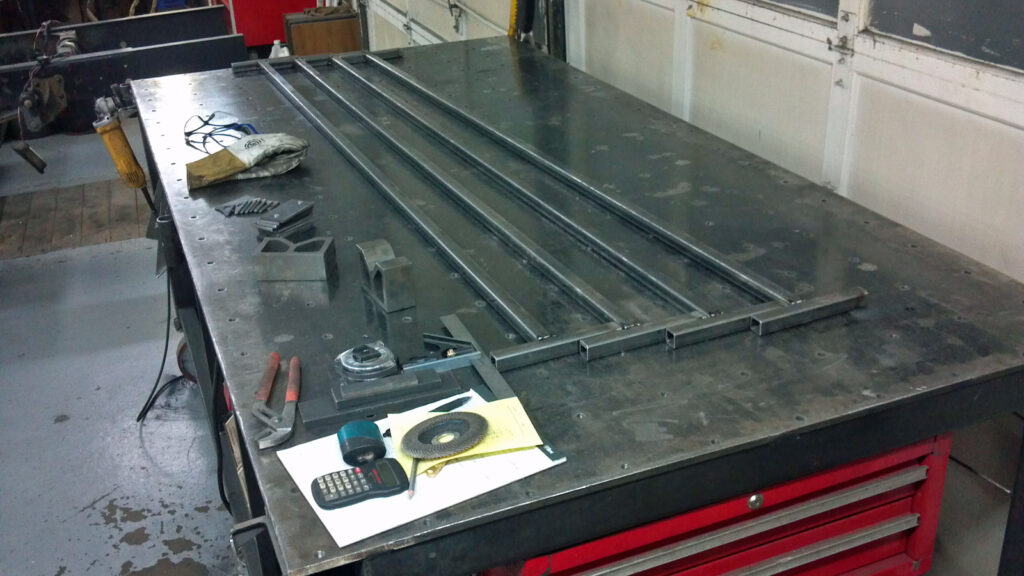
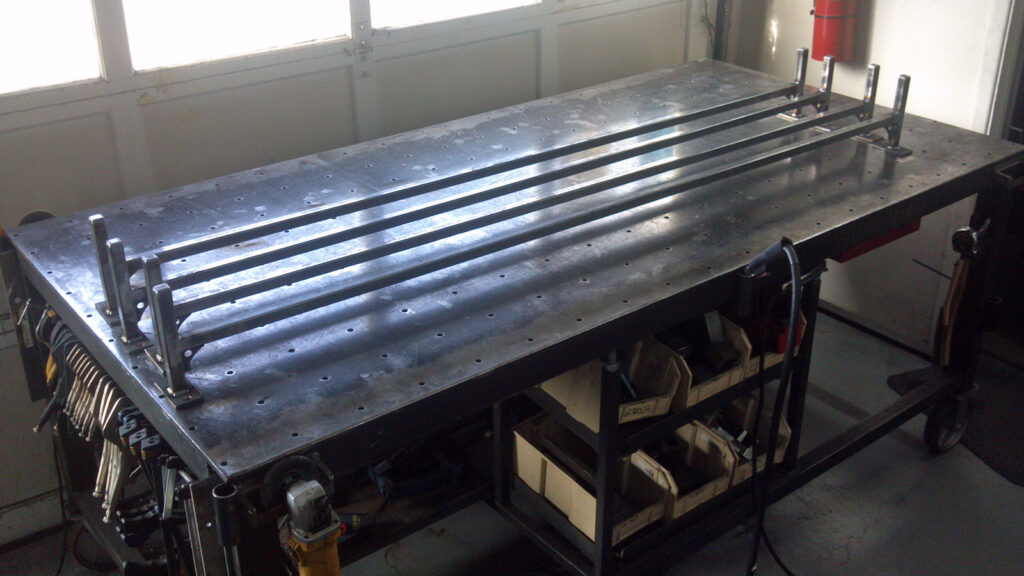
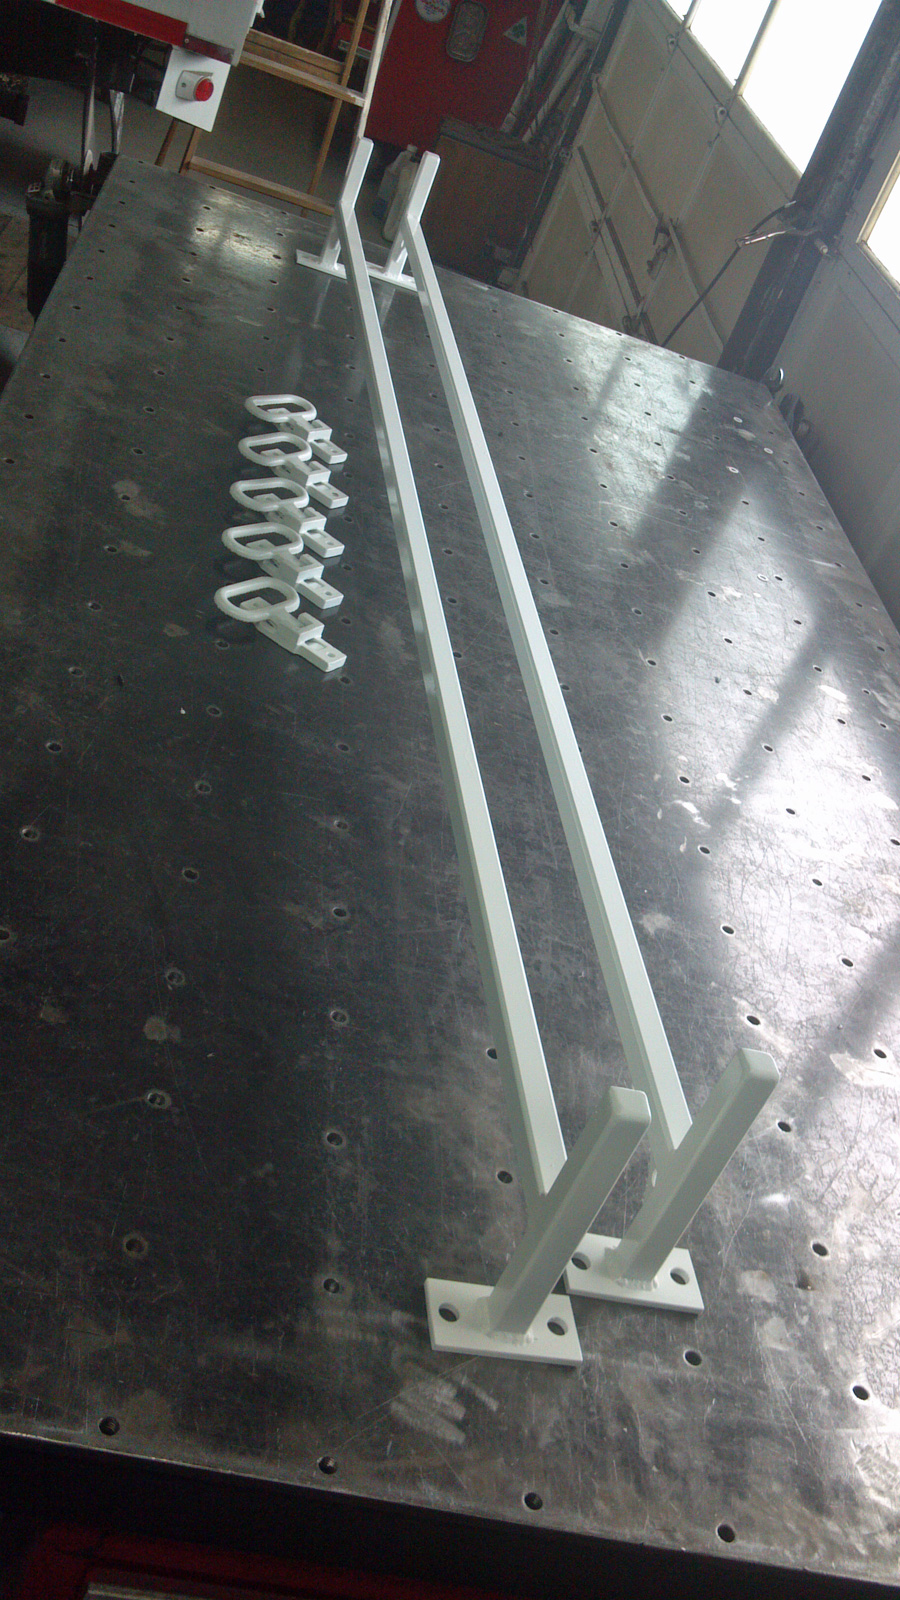
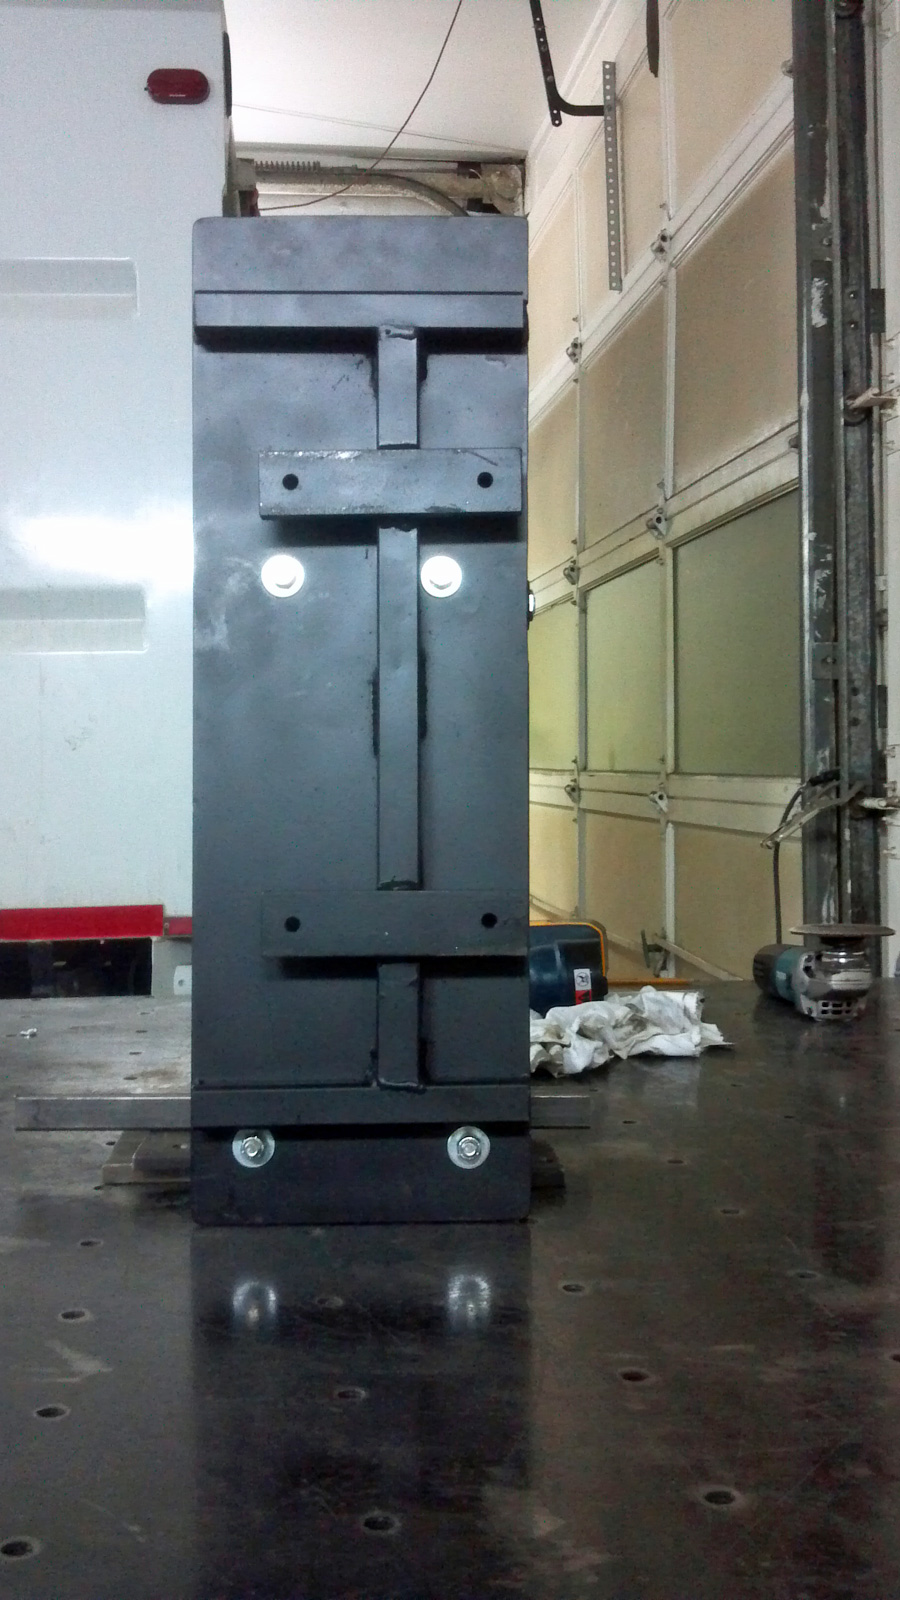
Decided building a riser of some sort would be the quickest, simplest, and cleanest approach. After a couple quick measurements we drew up a quick sketch and made a chop list and were able to start welding things together.
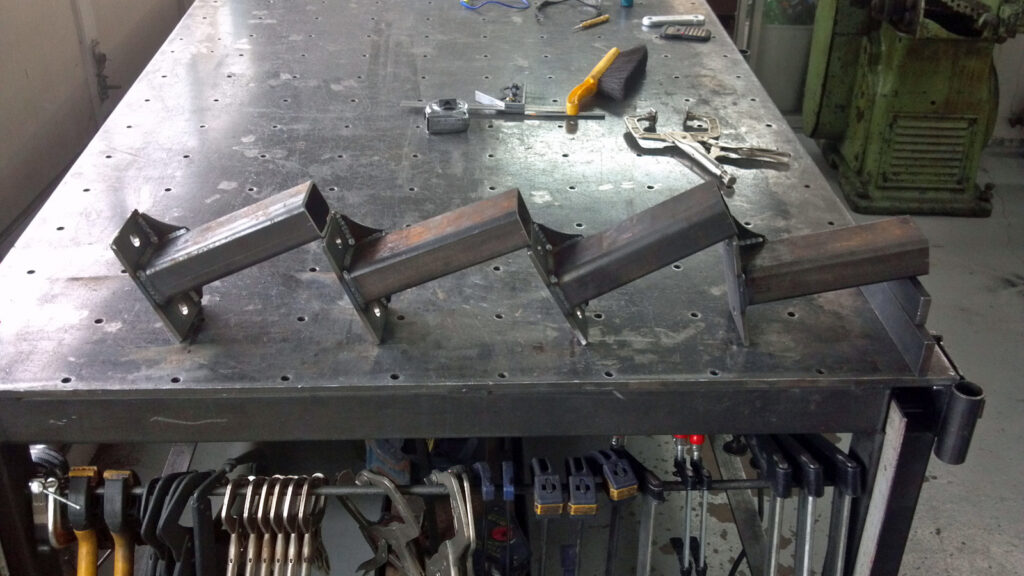
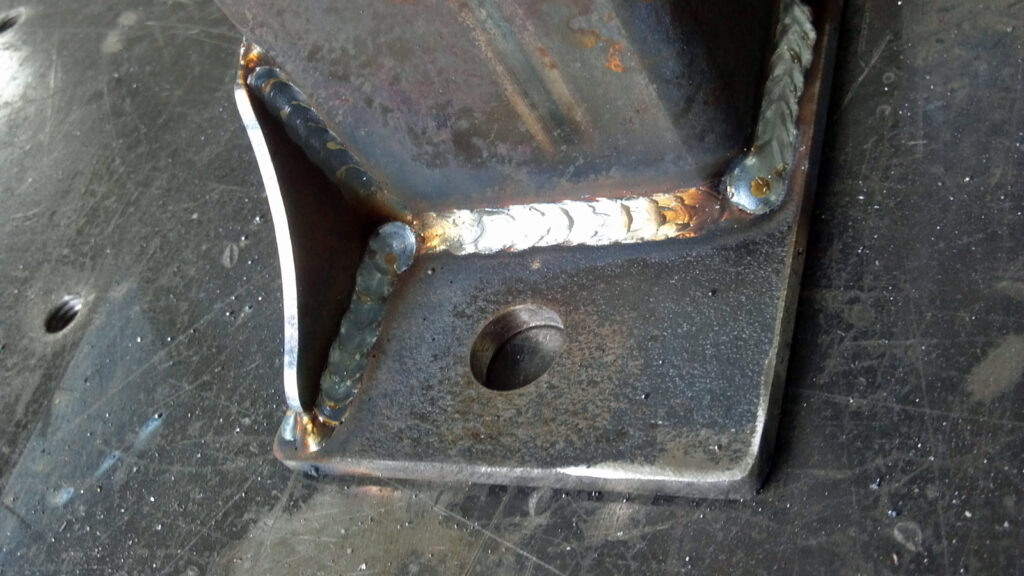
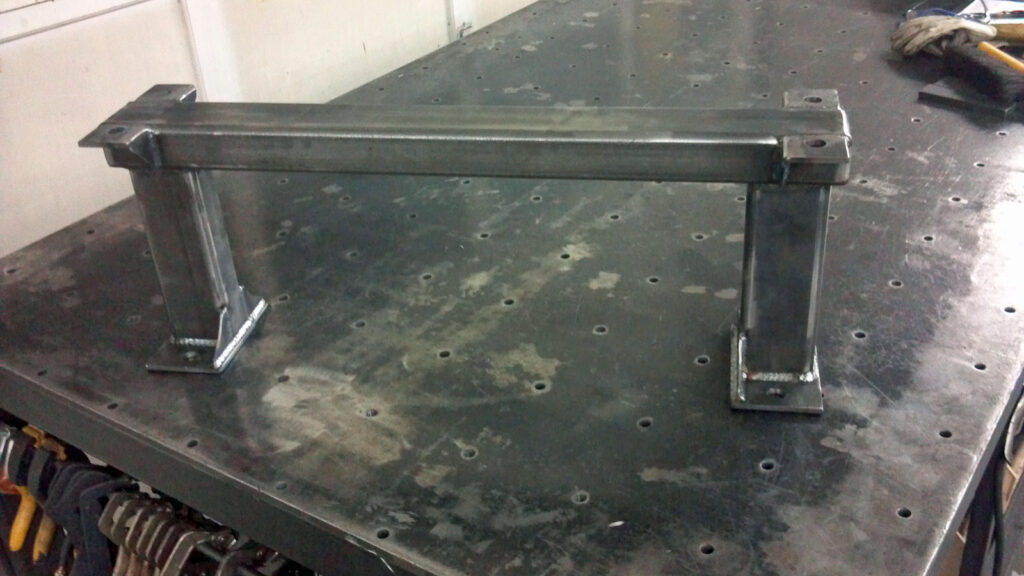
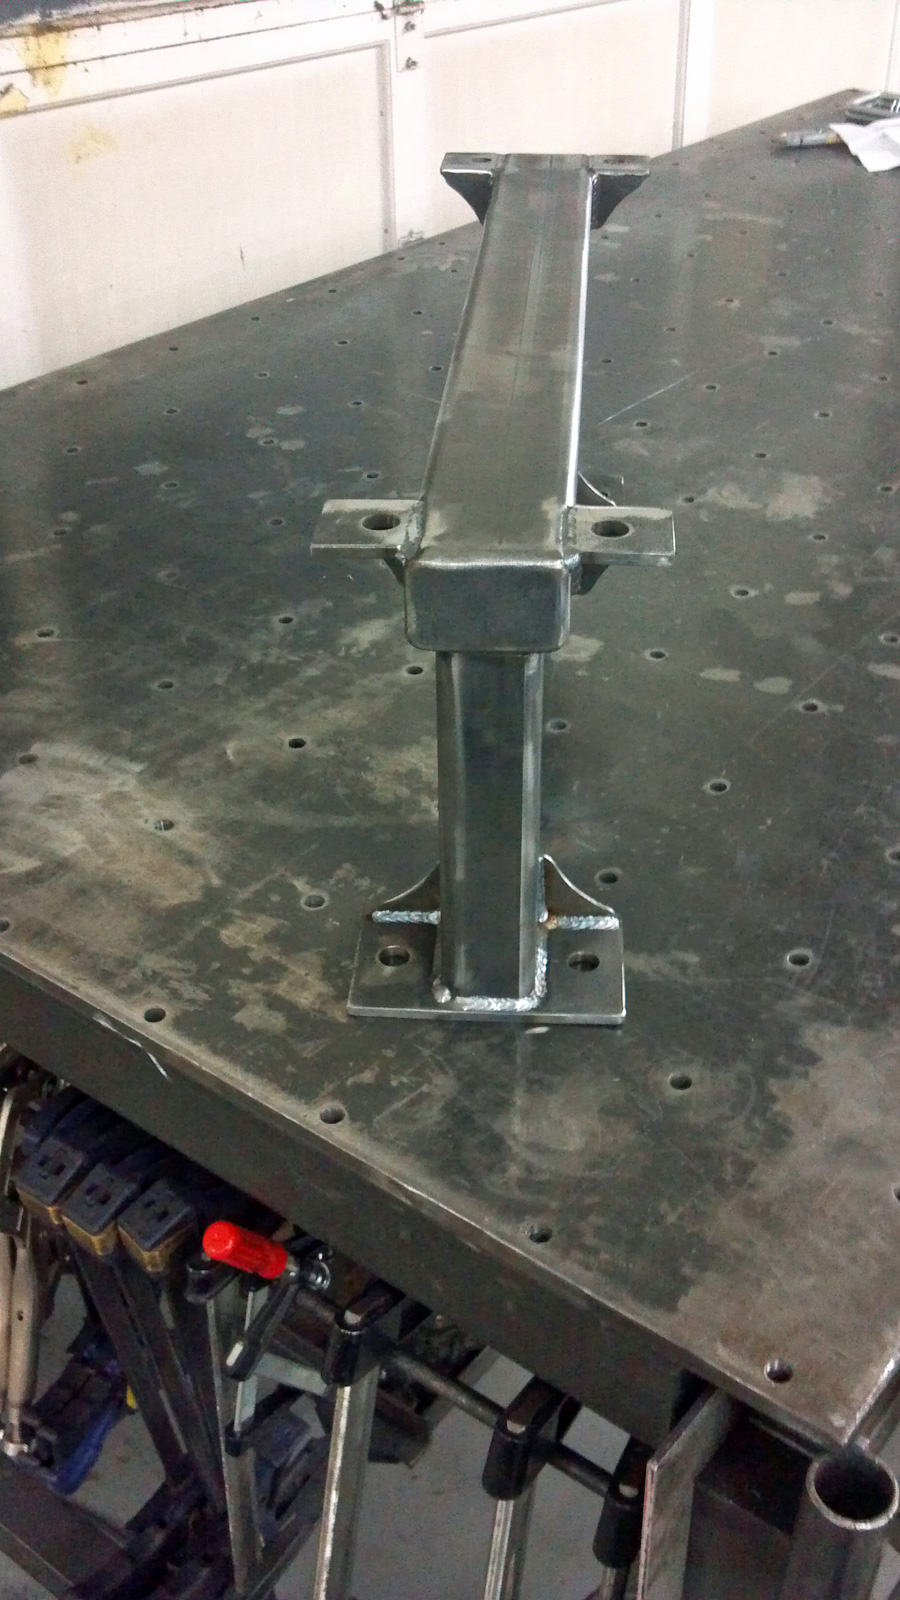
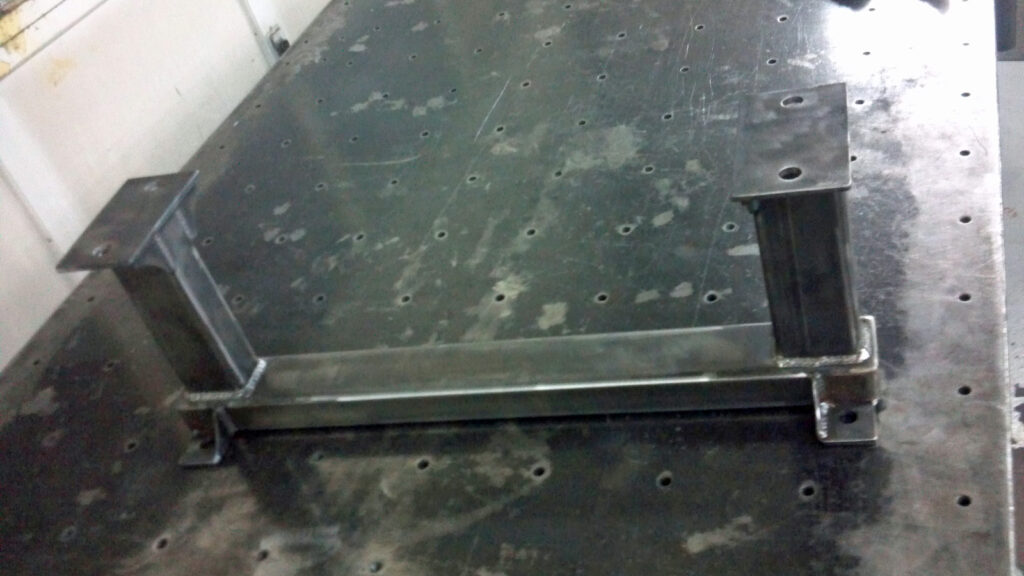
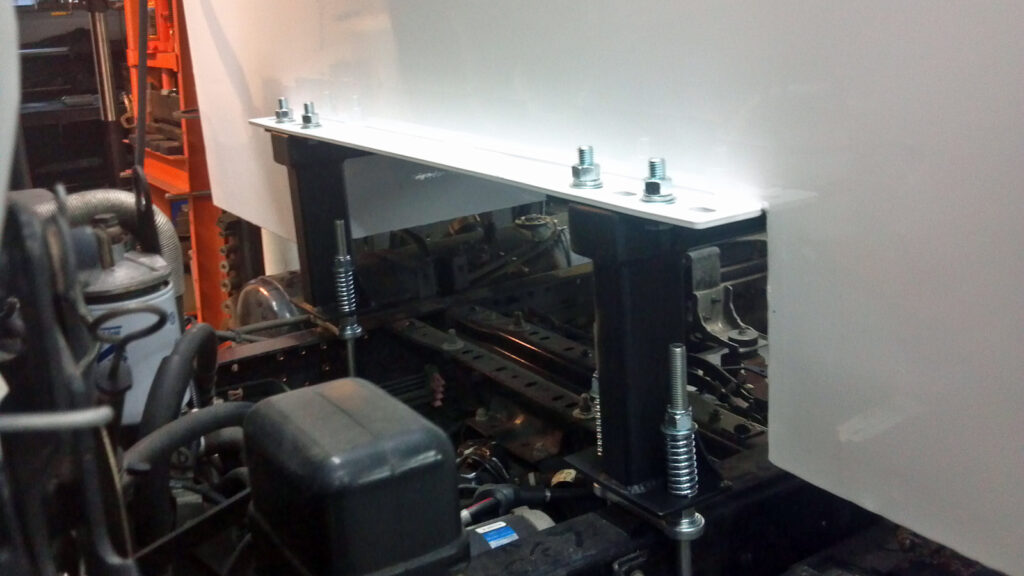
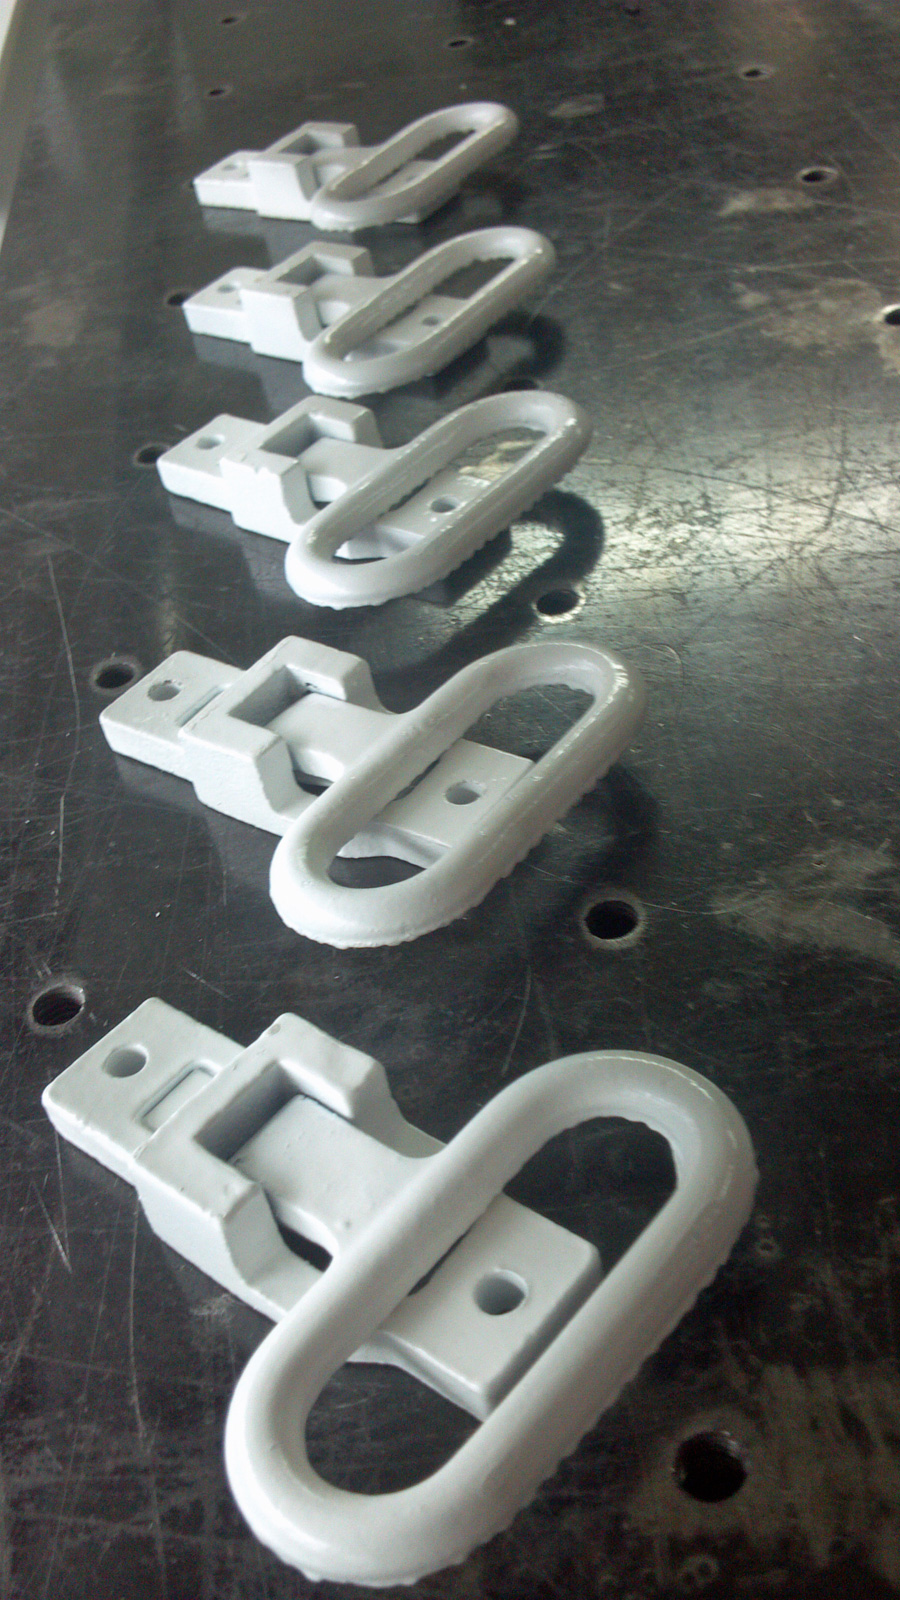
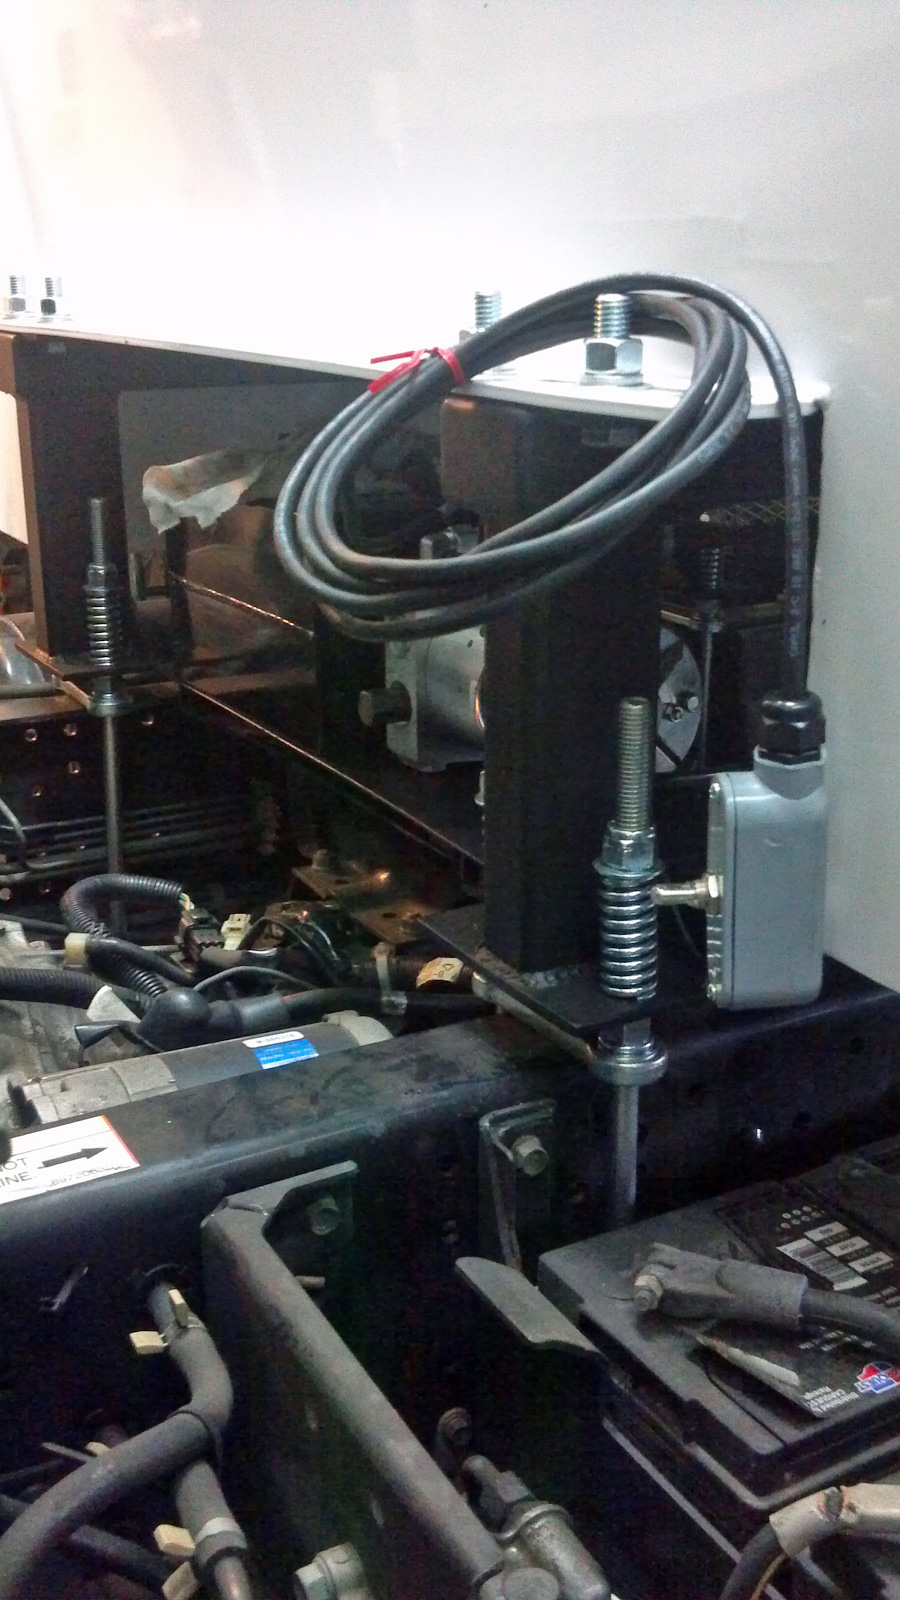
We prepped the two risers for paint and got them in the booth and shot them with black. Then we preceded to get back to work mounting the box. We took a few measurement and located the desired position, taking into account for the arch of the tilt forward cab, and the extra 4″ of free room the client insisted on for better accessibility during maintenance. Then we mounted the U bolts.
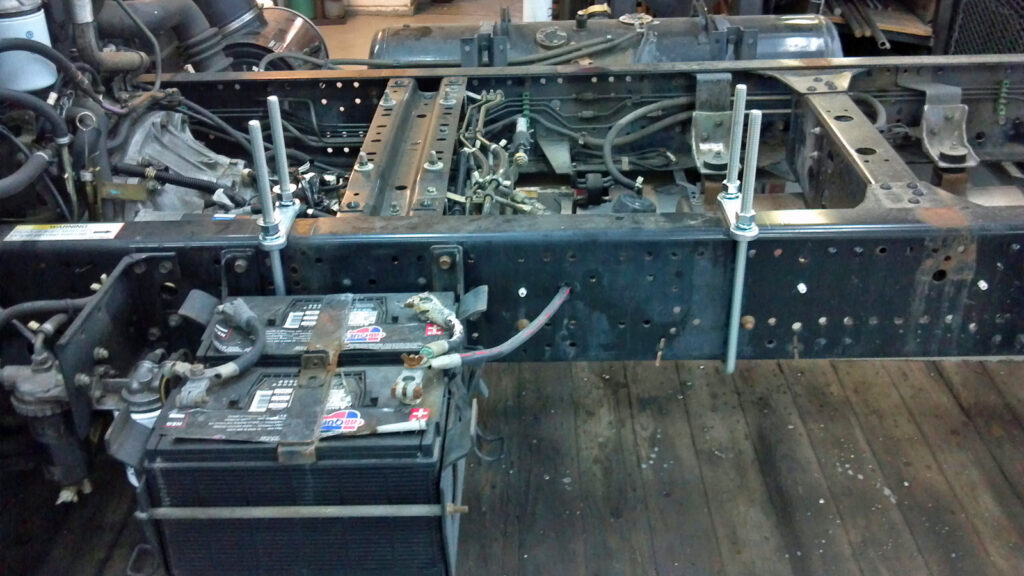
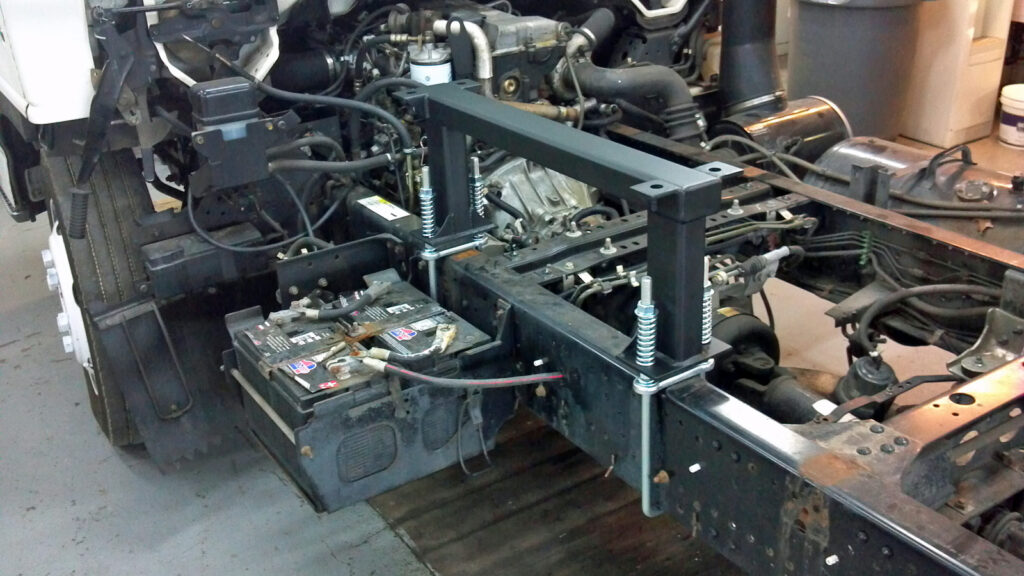
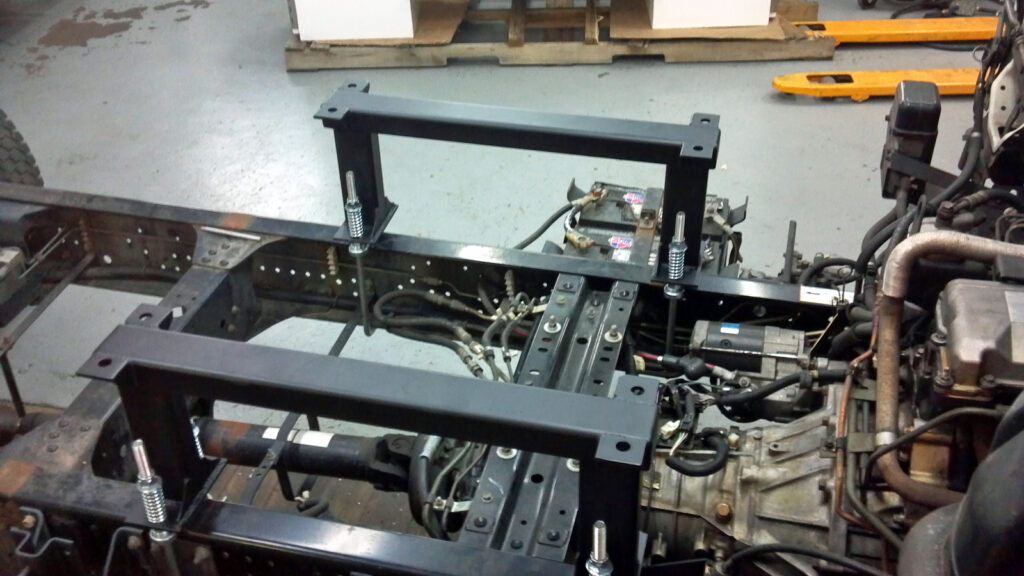
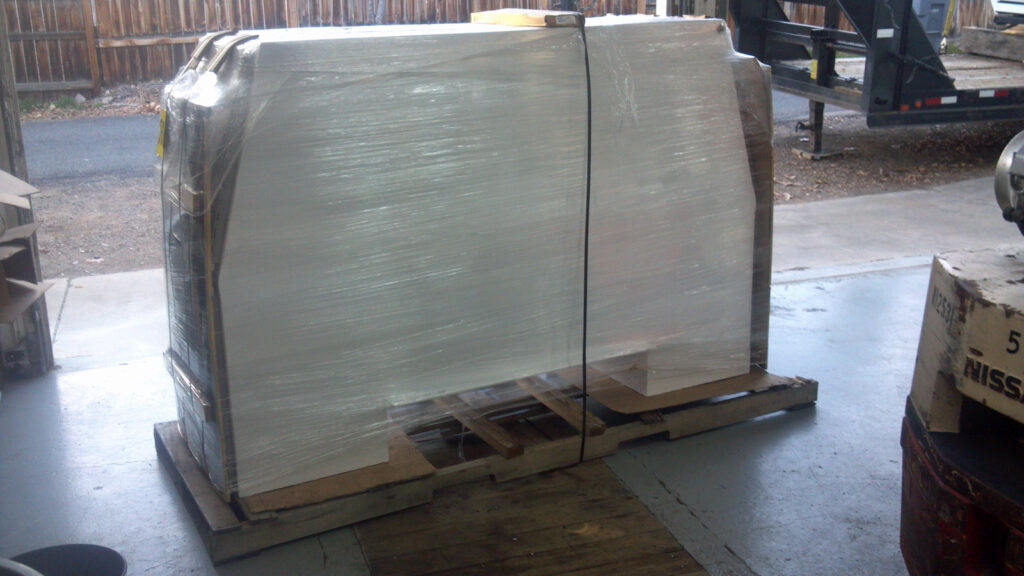
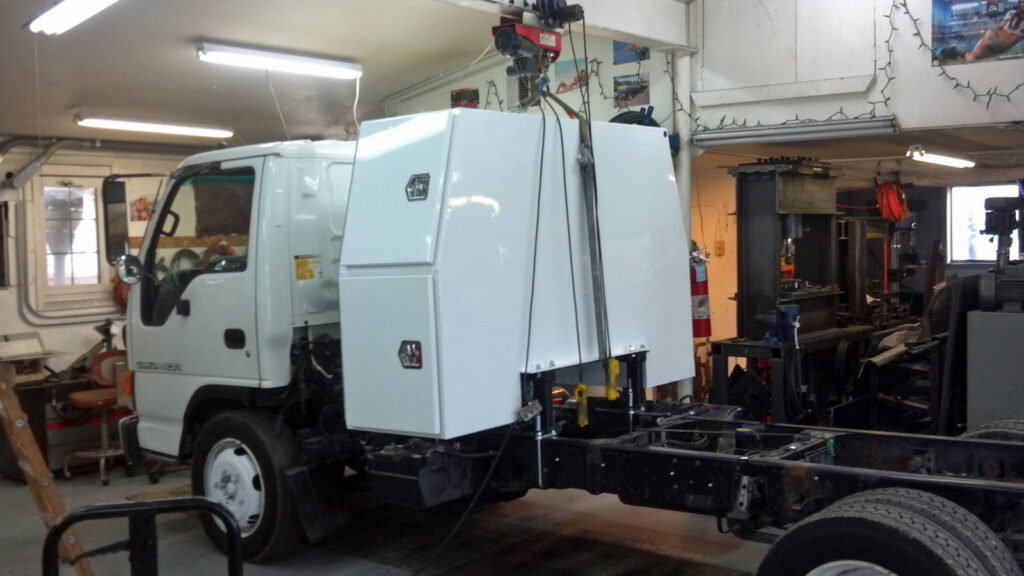
We used the overhead hoist to lift the 700 lbs B Pack into place and installed the final hardware.
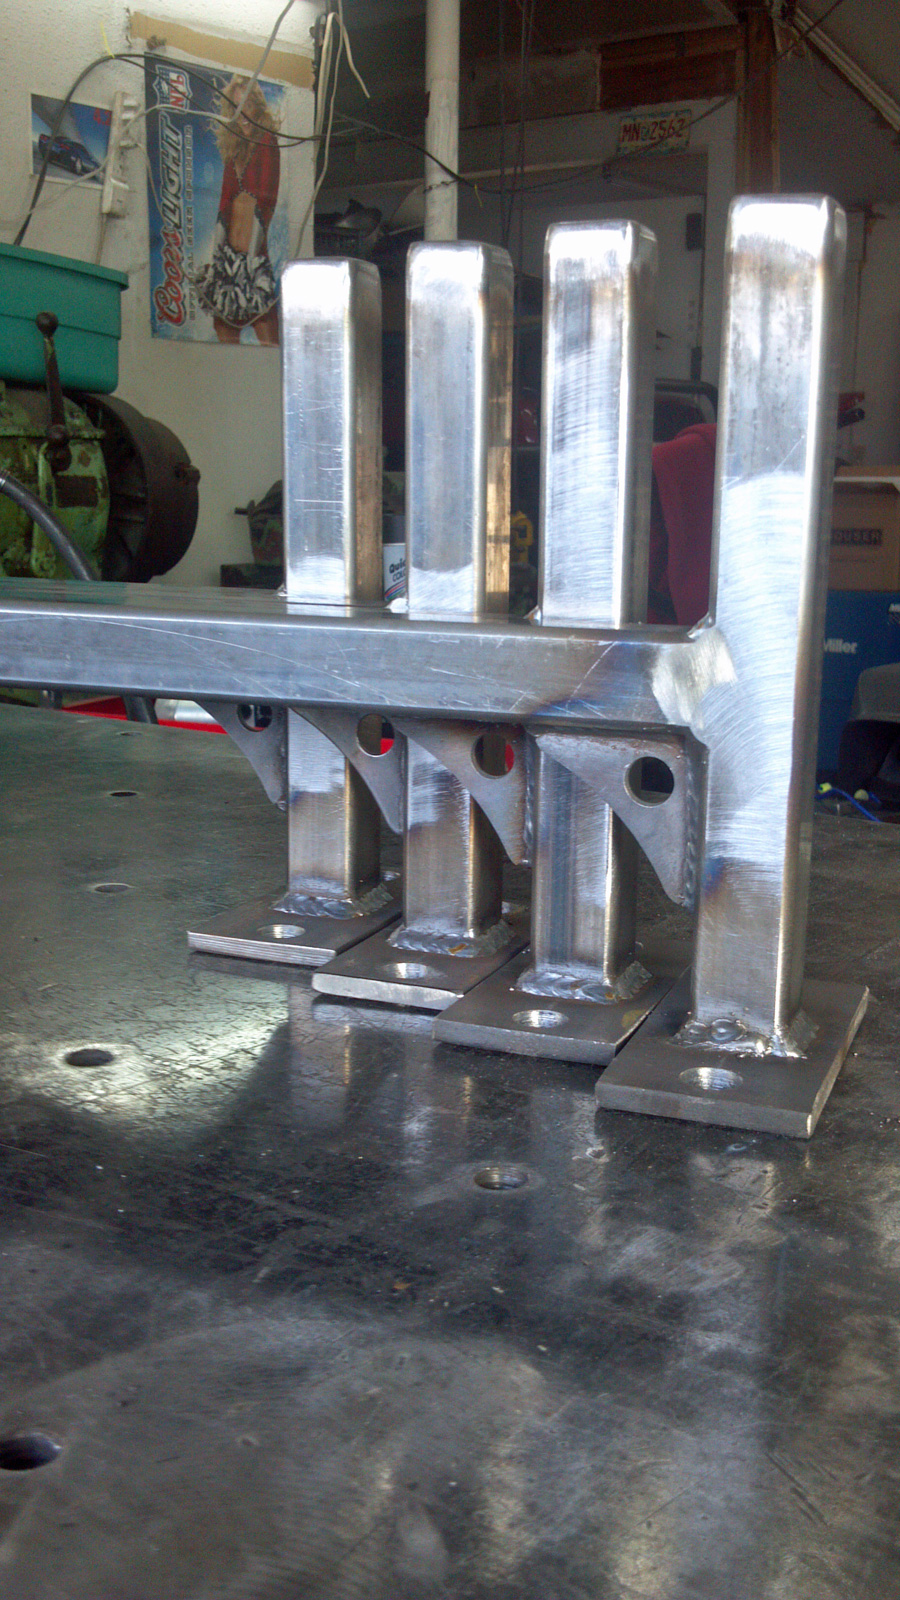
Fabricated some “H” bars to use as a ladder rack. Client first wanted 4 different bars spaced closely together so they could accommodate any length ladder easily. That planned quickly changed when they re-inspected the SouthCo unit and noticed the short ladder (under 11′) and pole lockable storage compartment. Unfortunately, we had already started making 4, so you will notice parts for four bars in some photos, while only two finally installed.

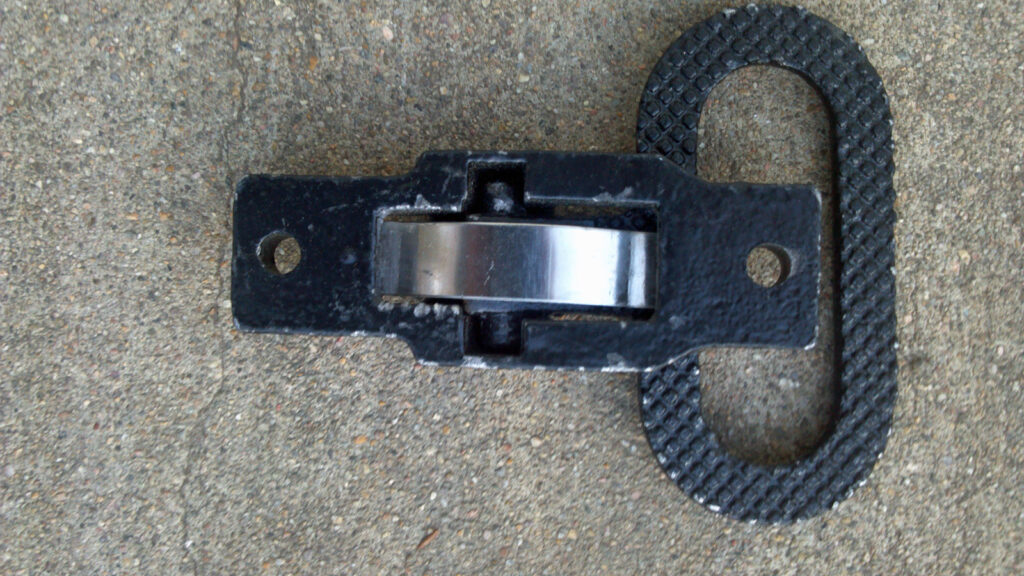
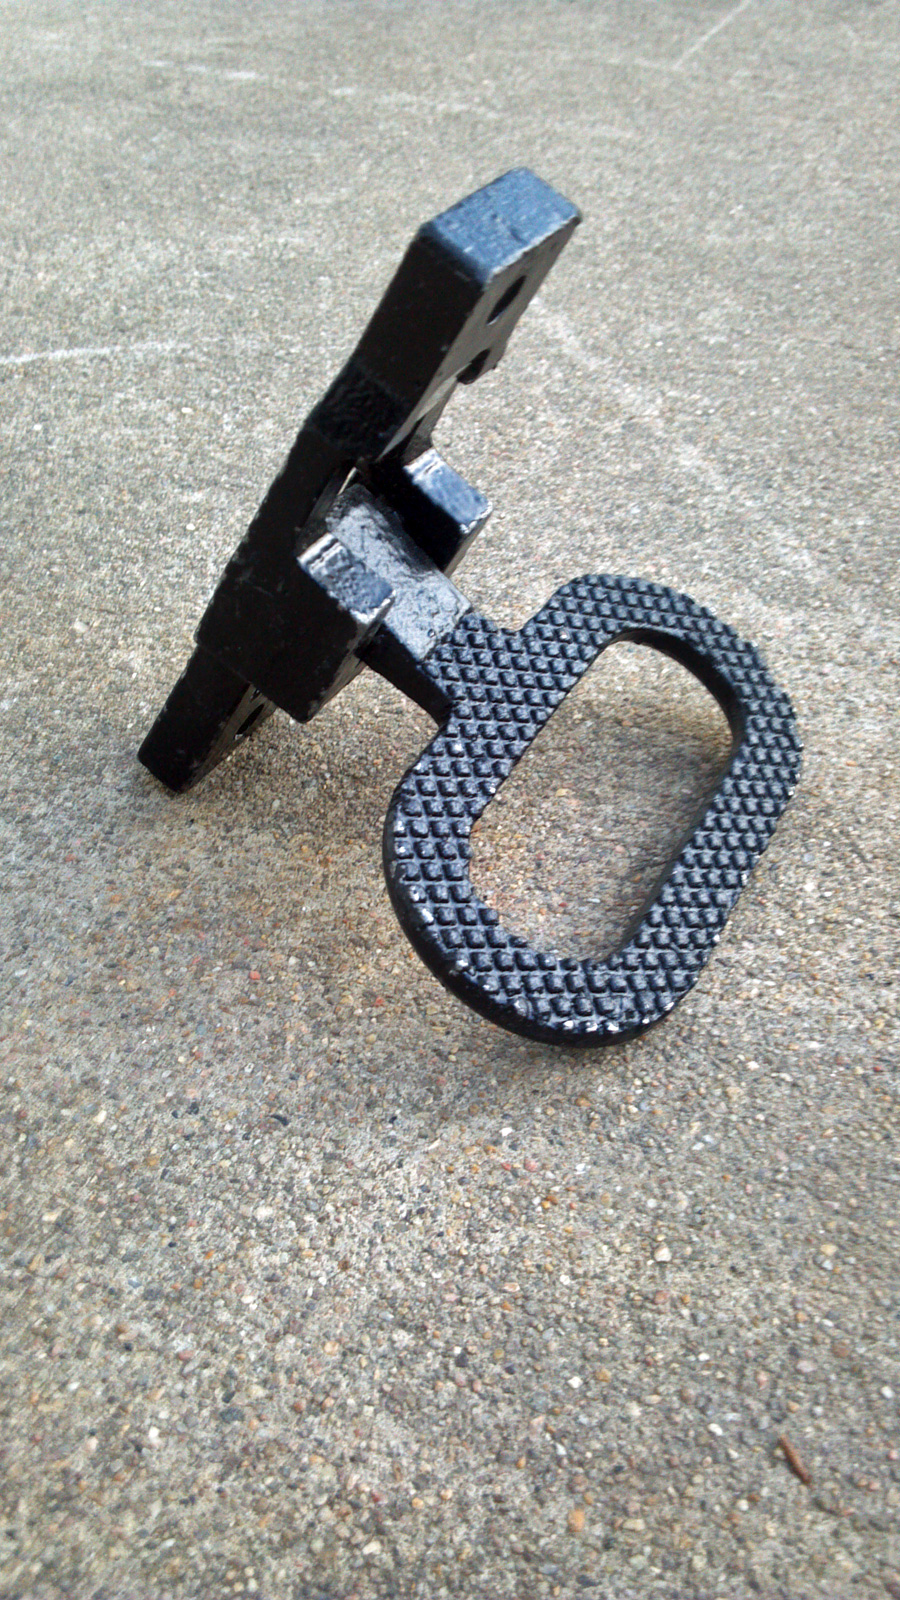
The clients need some way of accessing the ladder rack on top of the chip bed and opted for a fold out style steps that would be mounted on the front of the passenger side of the SouthCo unit itself.
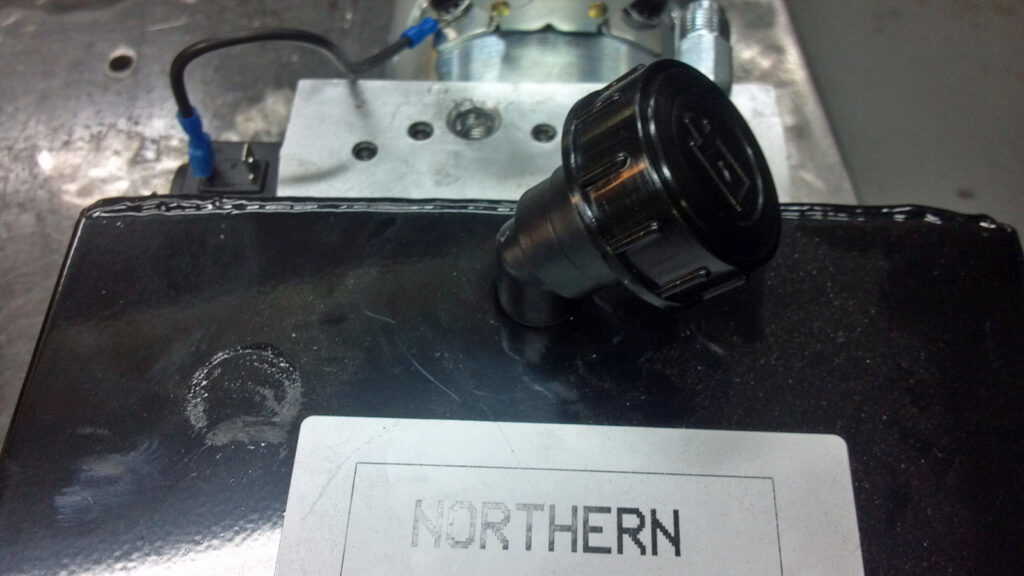
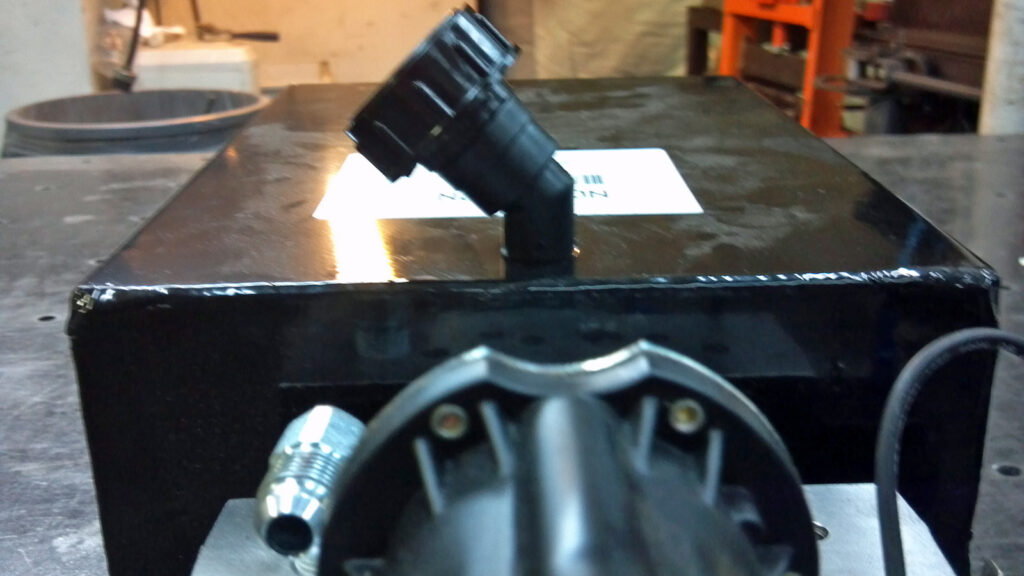
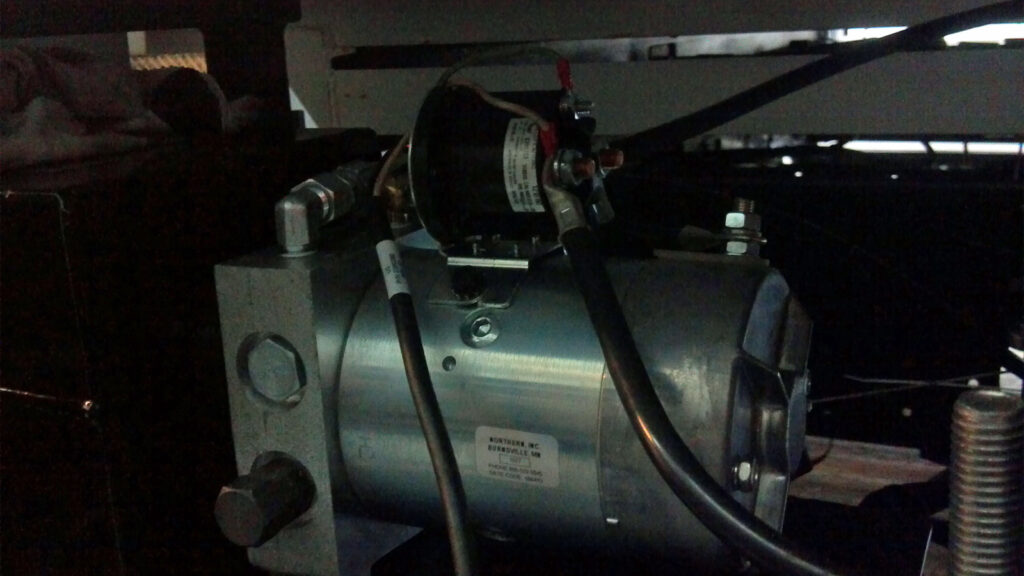
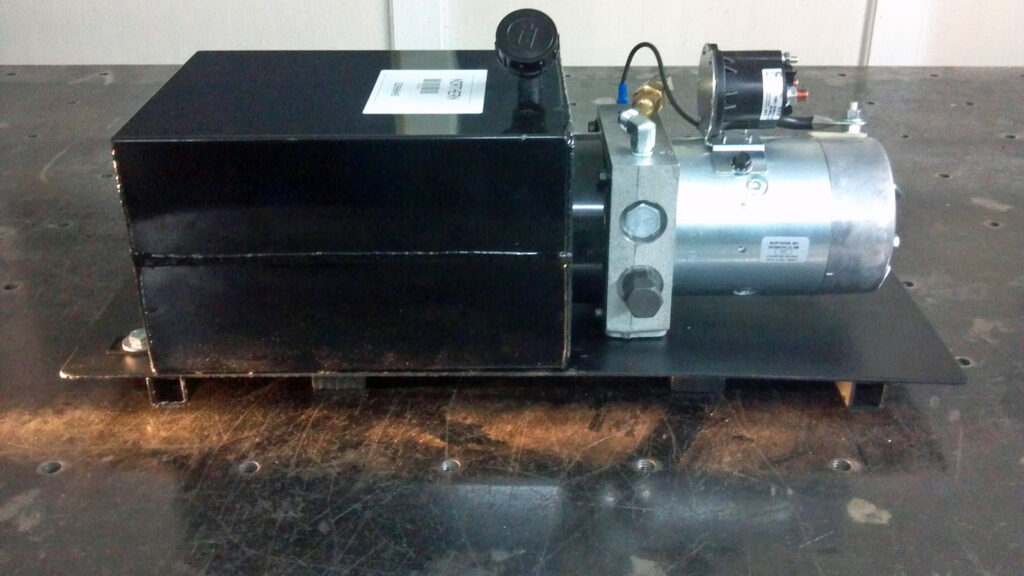
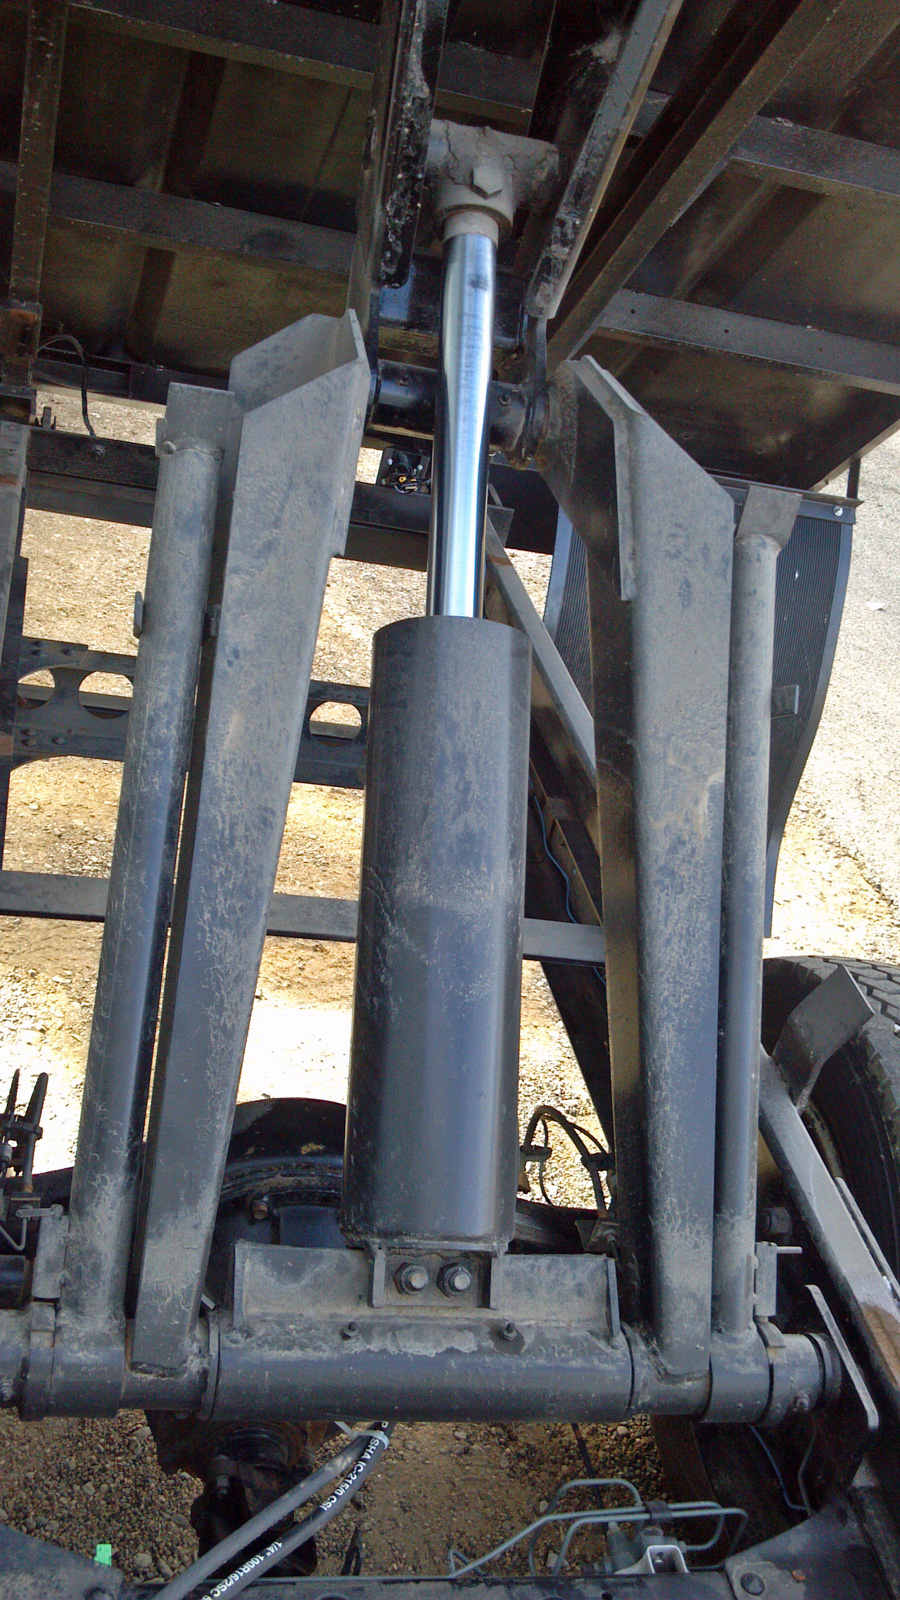
The new 12 volt hydraulic power unit arrived. We also had to order a larger capacity reservoir for it. It features a power up, hold, power down type electric solenoid and relief valve. This means the solenoid will only open under power therefore you are able to lock the cylinder in whatever position you desire.
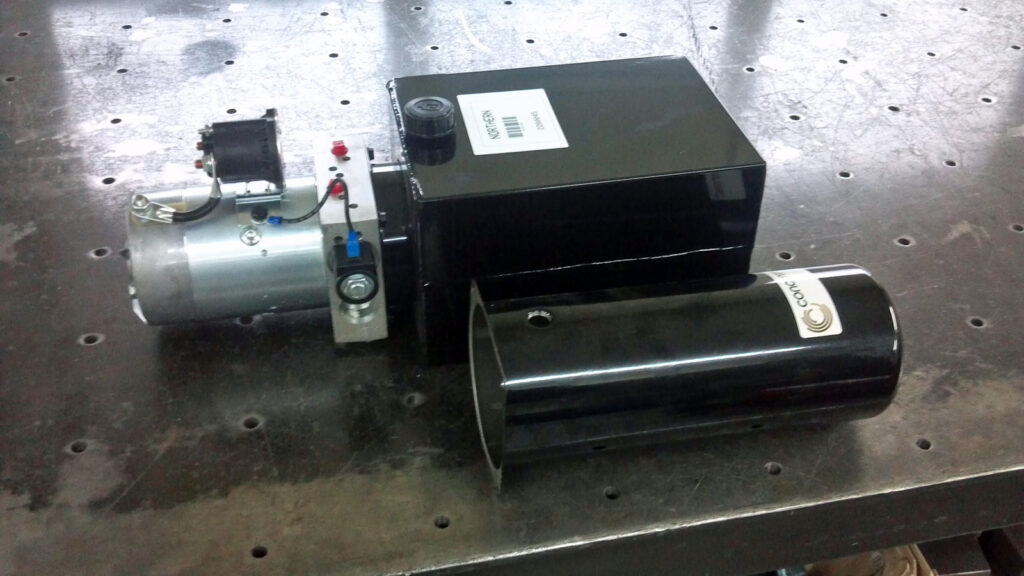

All that was left was wiring in the controls and power, then routing of the hydraulic lines and plumbing to the cylinder. Most will come once we actually mount the power unit to the chassis and get the SouthCo unit installed.
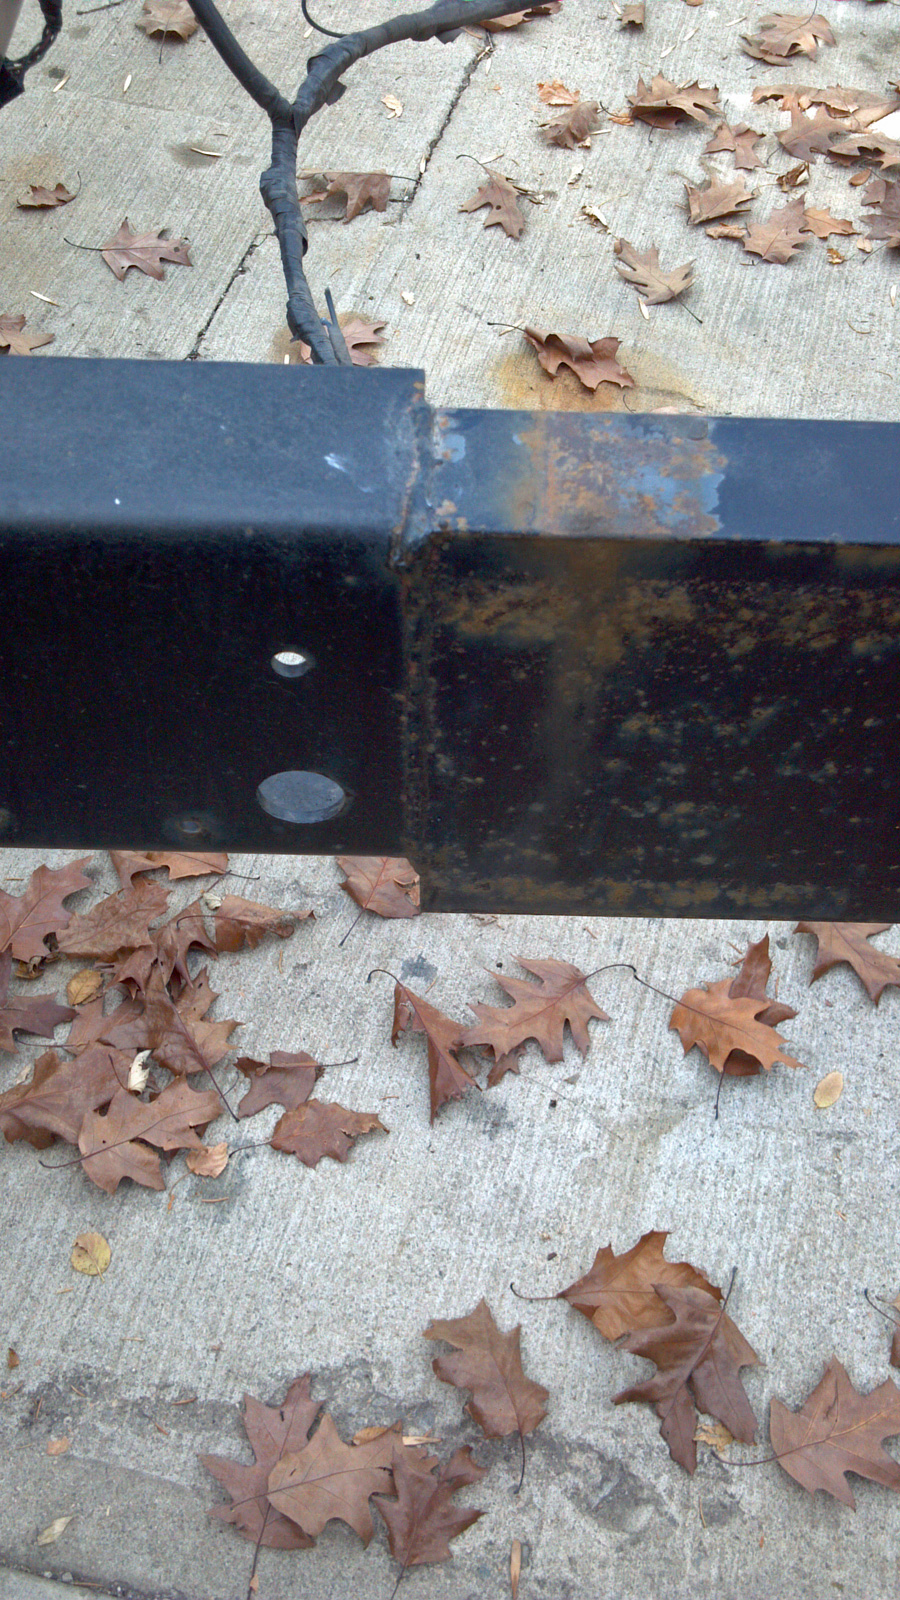
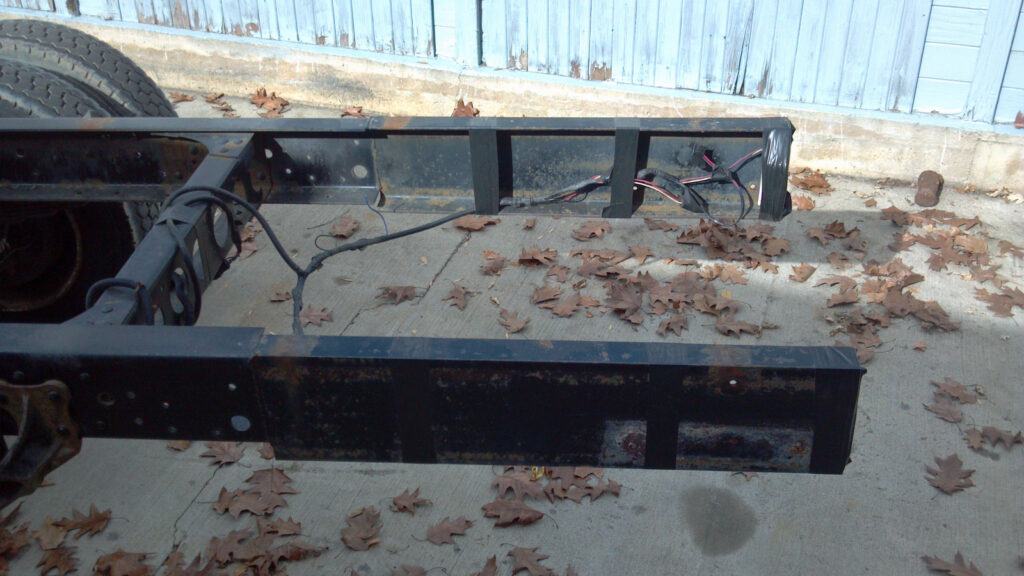
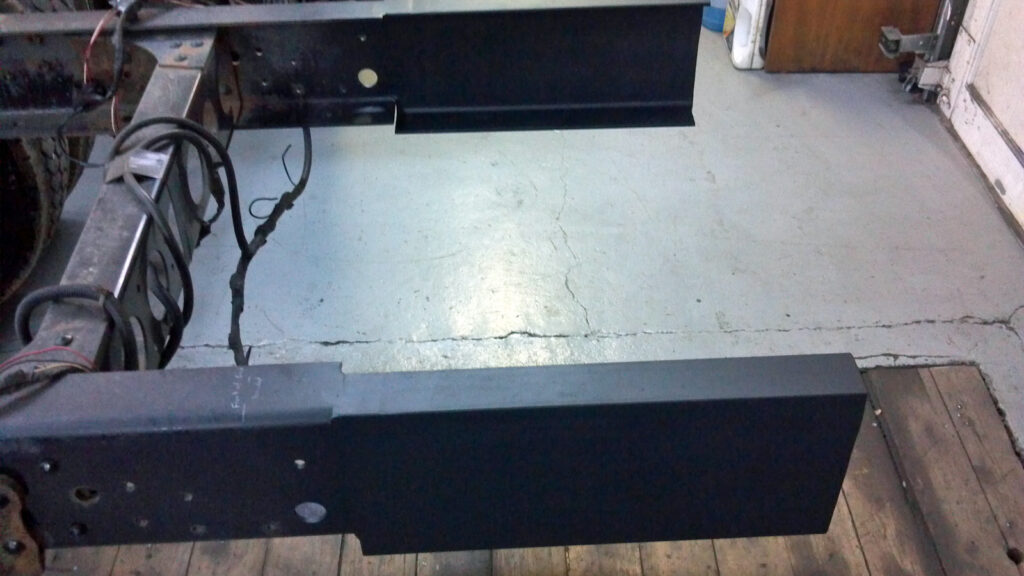
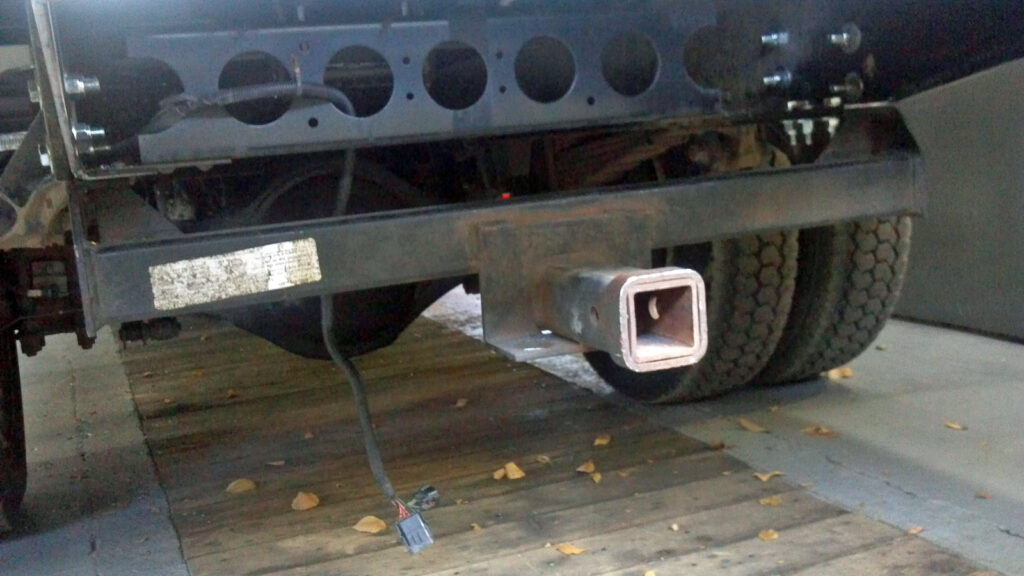
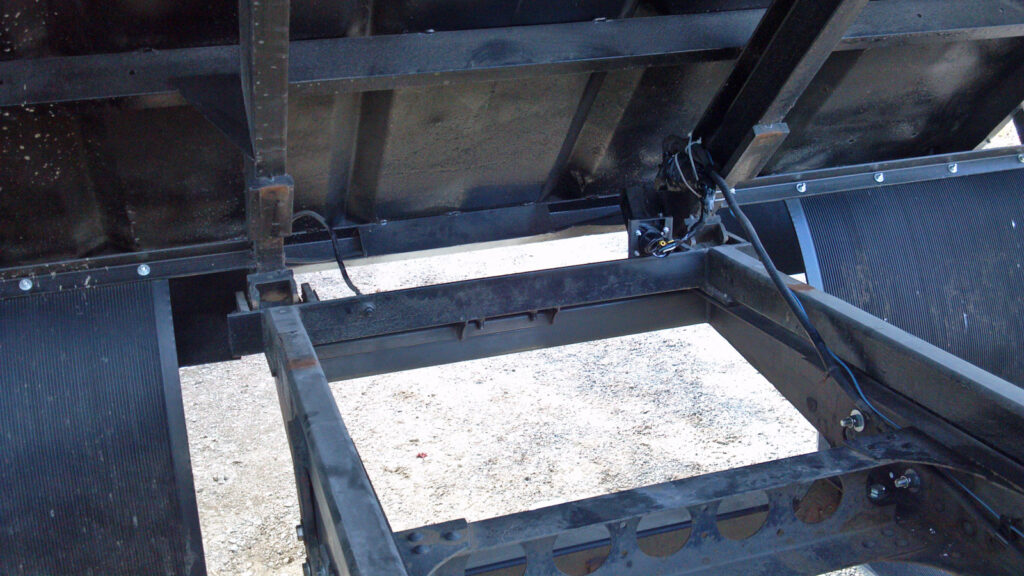
Before we could place the chip box onto the chassis, we had to deal with a few things. First, we took some measurements and figured out the total frame length needed. Then cut the extra off (about 18″) and cleaned up the rest of the frame extensions and coated them in black.
The other issues were the actual mounts to the frame on the box itself. All the mounts were damaged bent and we didn’t feel comfortable about how they were designed.
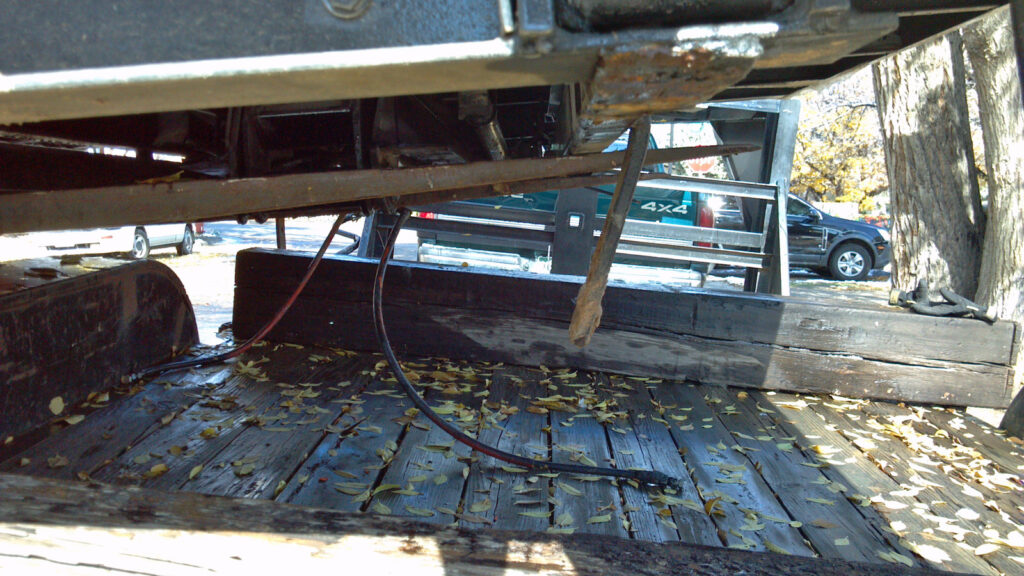
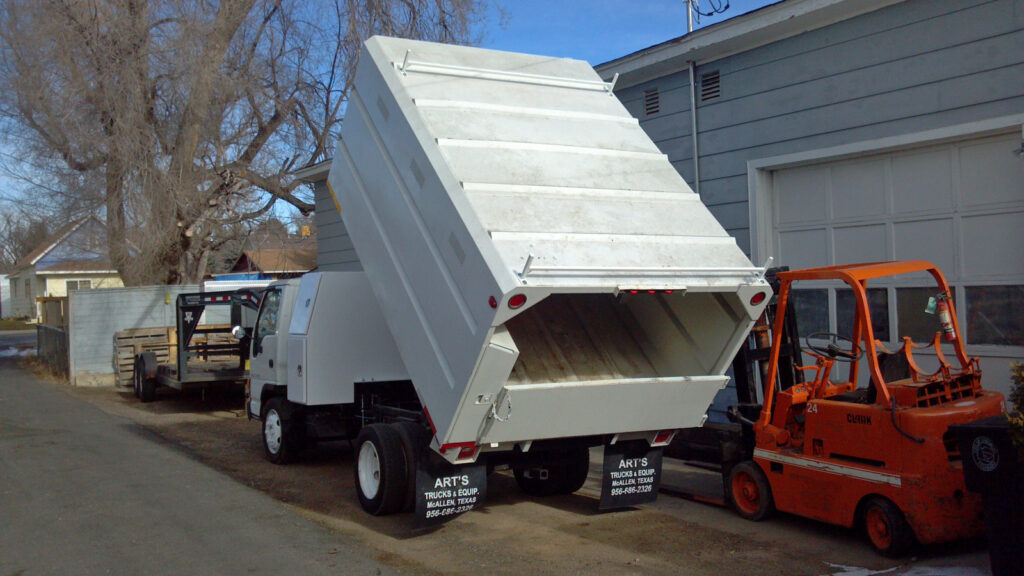
SouthCo stated that the stock mounts were perfectly acceptable and anything else would be “overkill”. We didn’t want to just bend the material back into place, so we cut off the mounts and made identical new ones. When that was complete we could hoist the bed onto the chassis. Once the box was placed onto the frame we then had to use the fork truck to adjust it front to back by an inch or so. Once it was in it’s final resting home, the frame was drilled at the correct locations and it was bolted together.
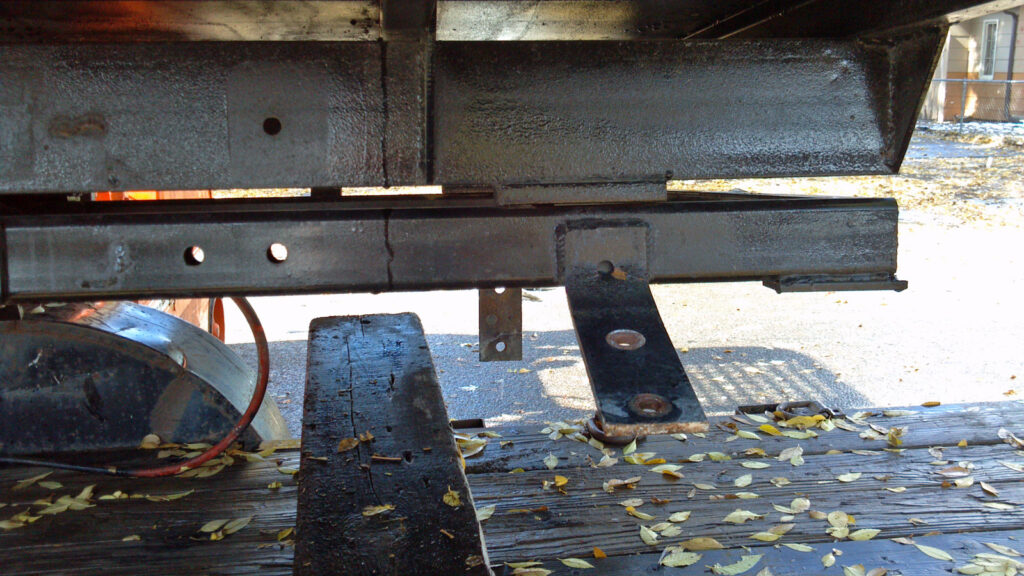
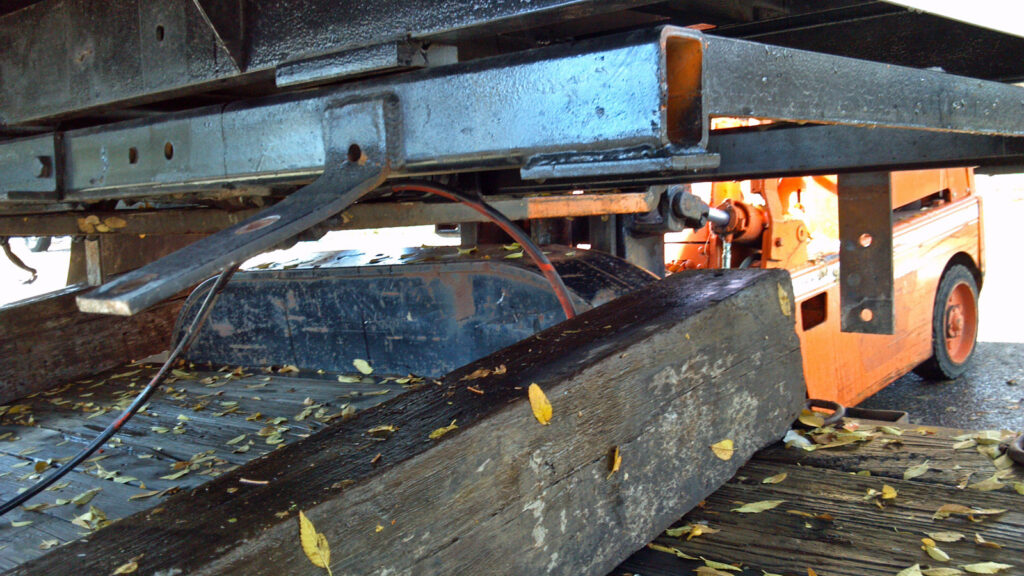
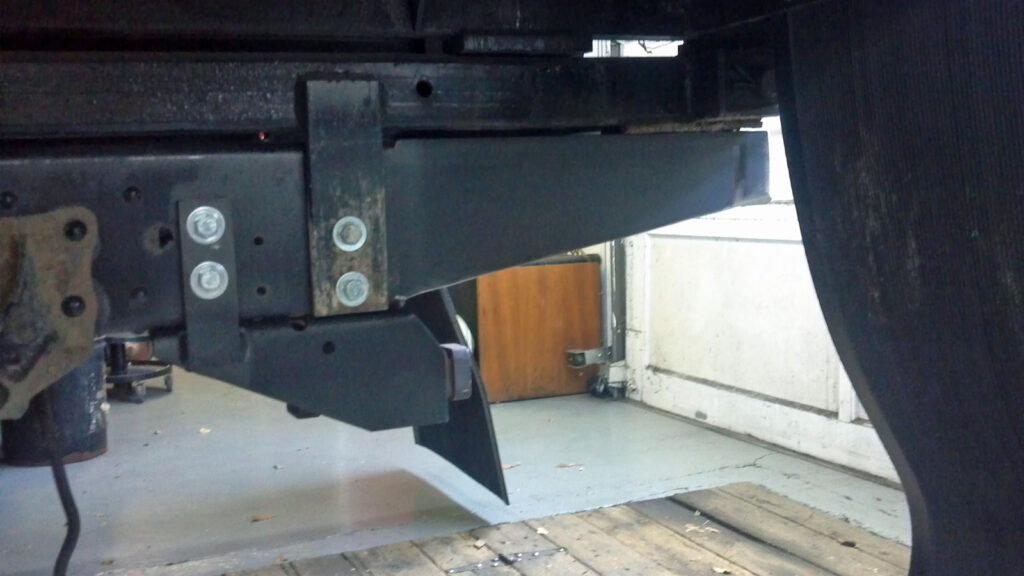
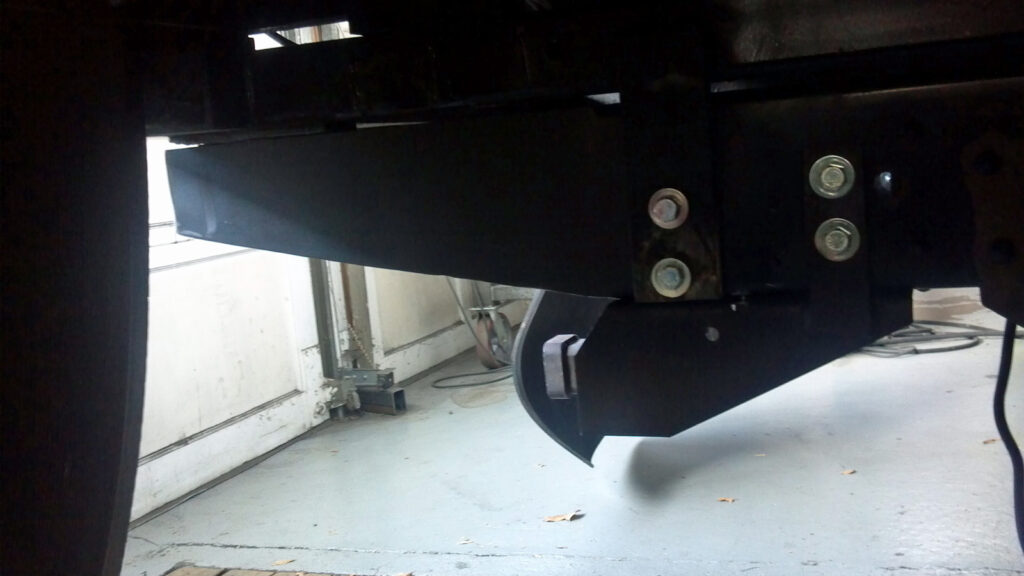
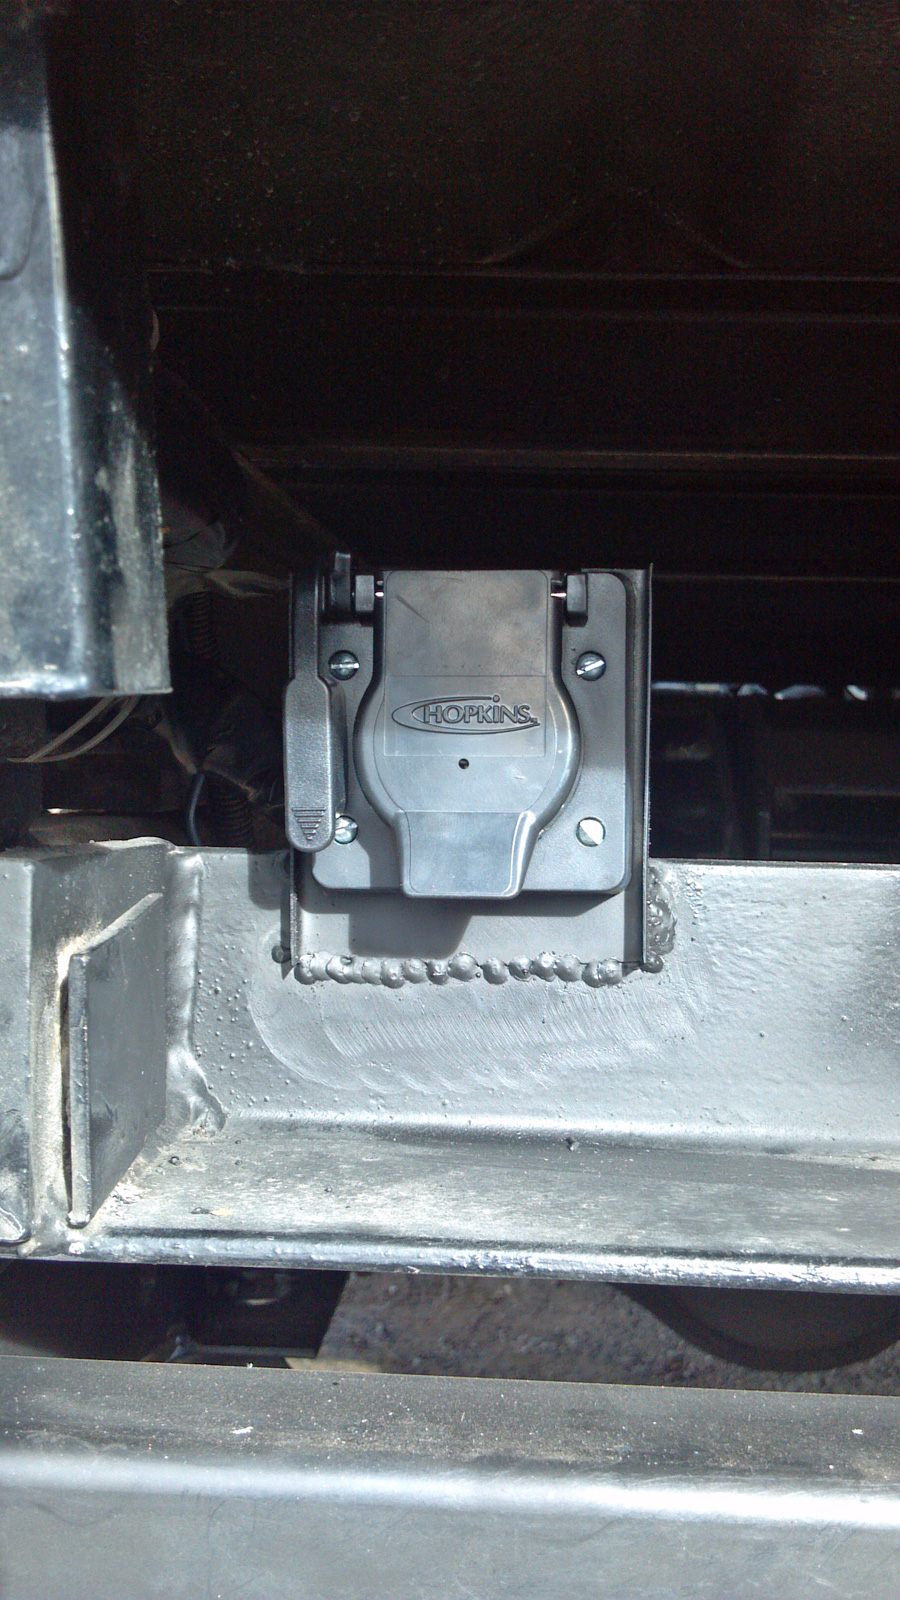
Modified the rear frame extensions and built a new cross member and a new rear mount for the box. Then bolted on the hitch so that the bed wouldn’t dump on top of it but would still be easily accessible and keep the same characteristics while towing. Also made a mount for the trailer plug and coated everything in black paint.
Installed the fold out steps/hand holds on the front face of the box, inset about 12″ from the passenger side.
Fastened the two “H” bars to the top of the box. Located the rear one as close to the rear as possible as the client likes to load his ladders from the ground and this way the would slide against the bars and not the box. Located the front one 9′ forward of the rear. This would allow the rack to easily carry any ladder longer than 10′, and then use the built in compartment for the shorter ones.
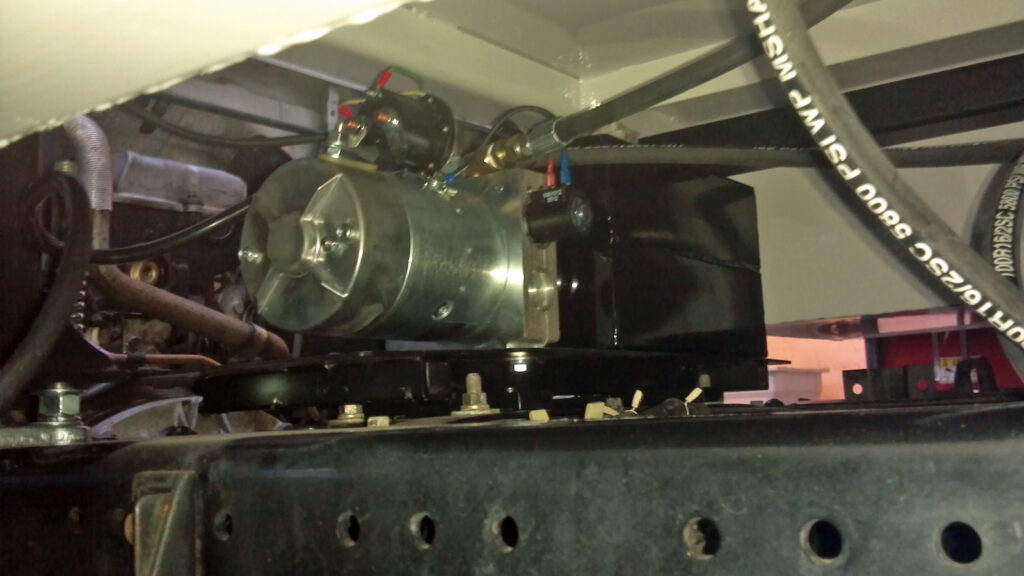
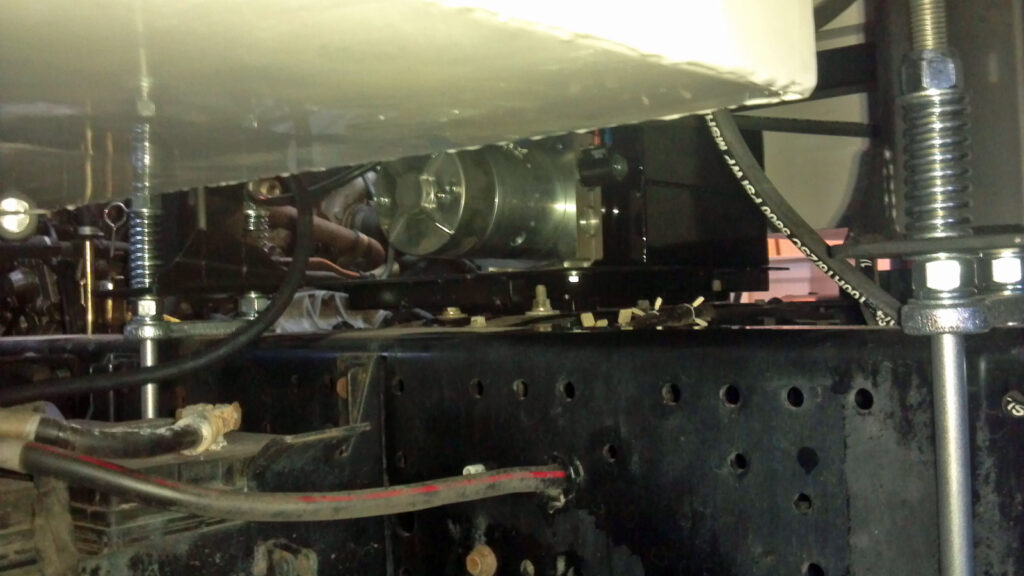
Removed all the original hydraulics setup, except for the cylinder. The PTO was in decent shape but the lines were well worn. Fabricated a new “floating” mount for the new 12 volt power unit, and installed the whole assembly onto the chassis with poly bushings in between. Then routed the pressure lines and the electric wiring.
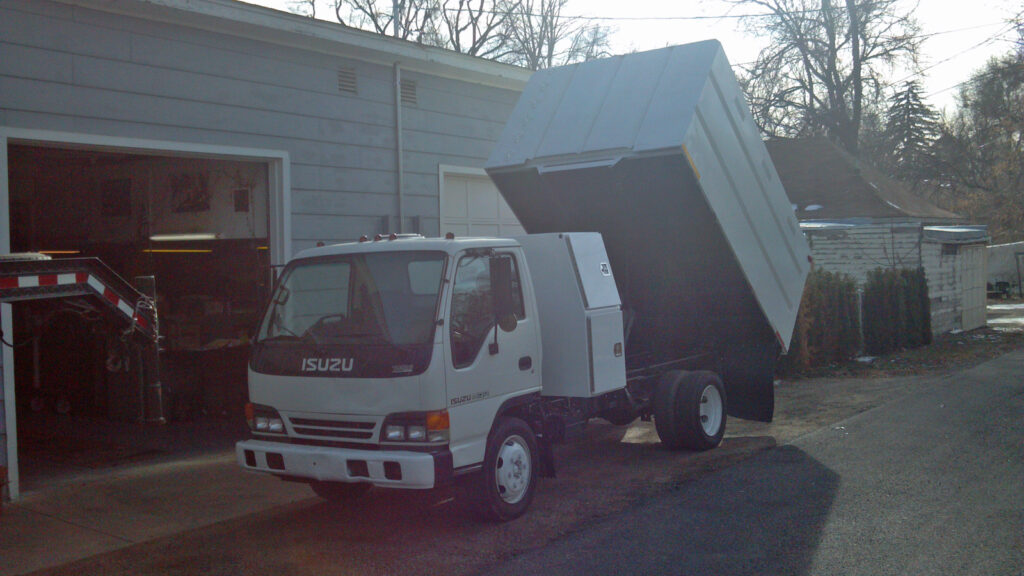
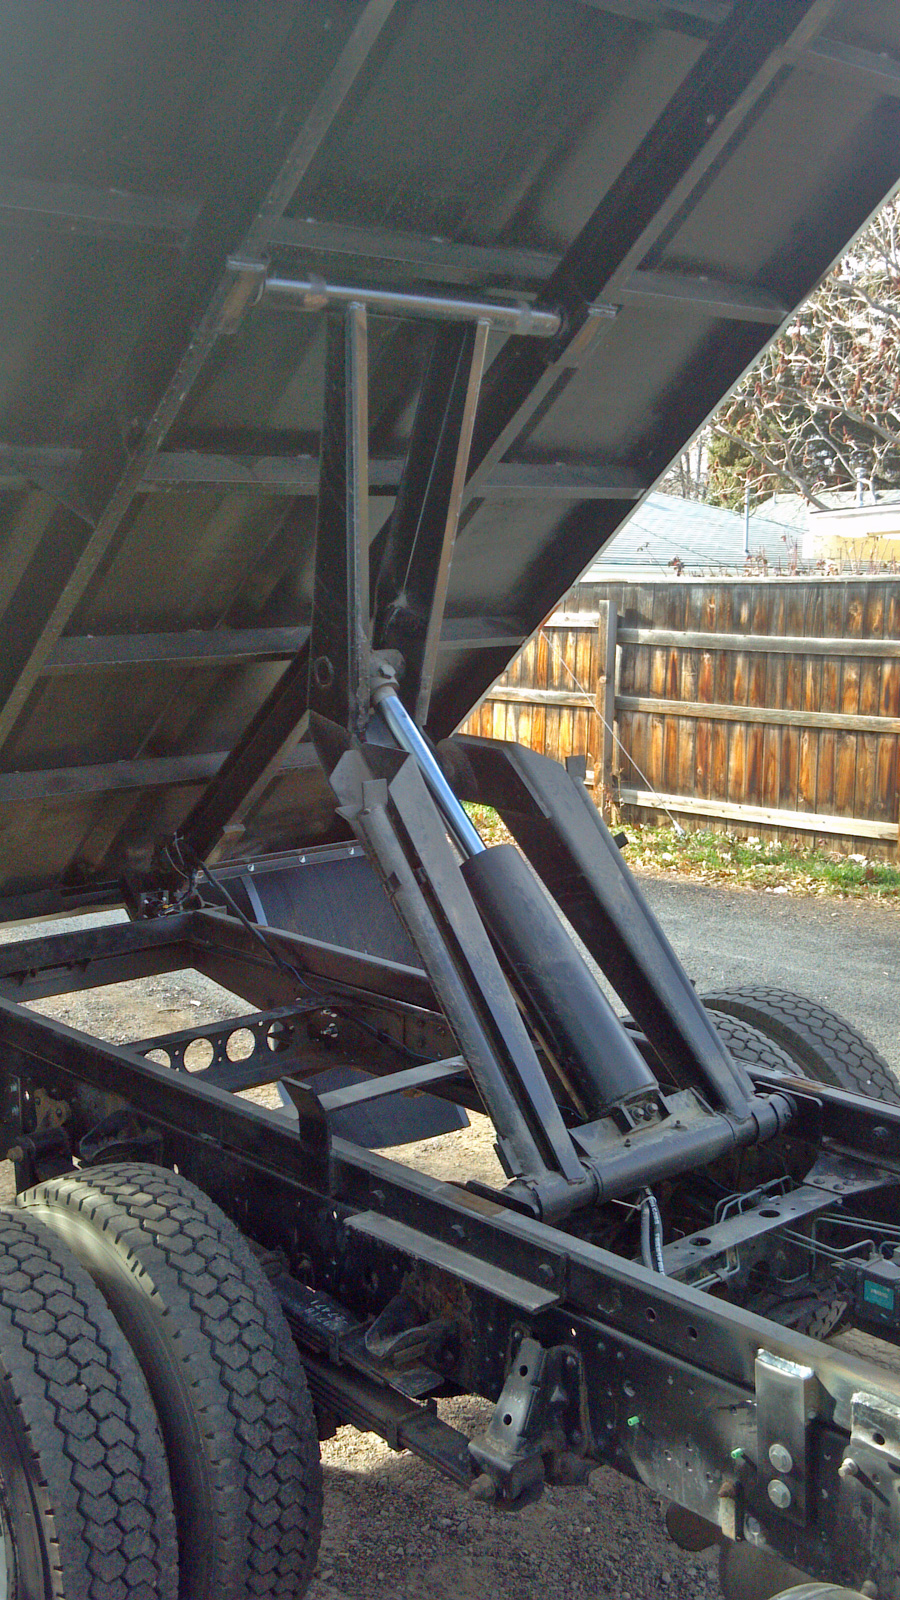
With everything mounted, plumbed, and wired, it was time for a bit of testing. If everything went well, we would then bleed out the hydraulic system, check out the safety mechanism for the first time, then lube everything while checking for leaks.
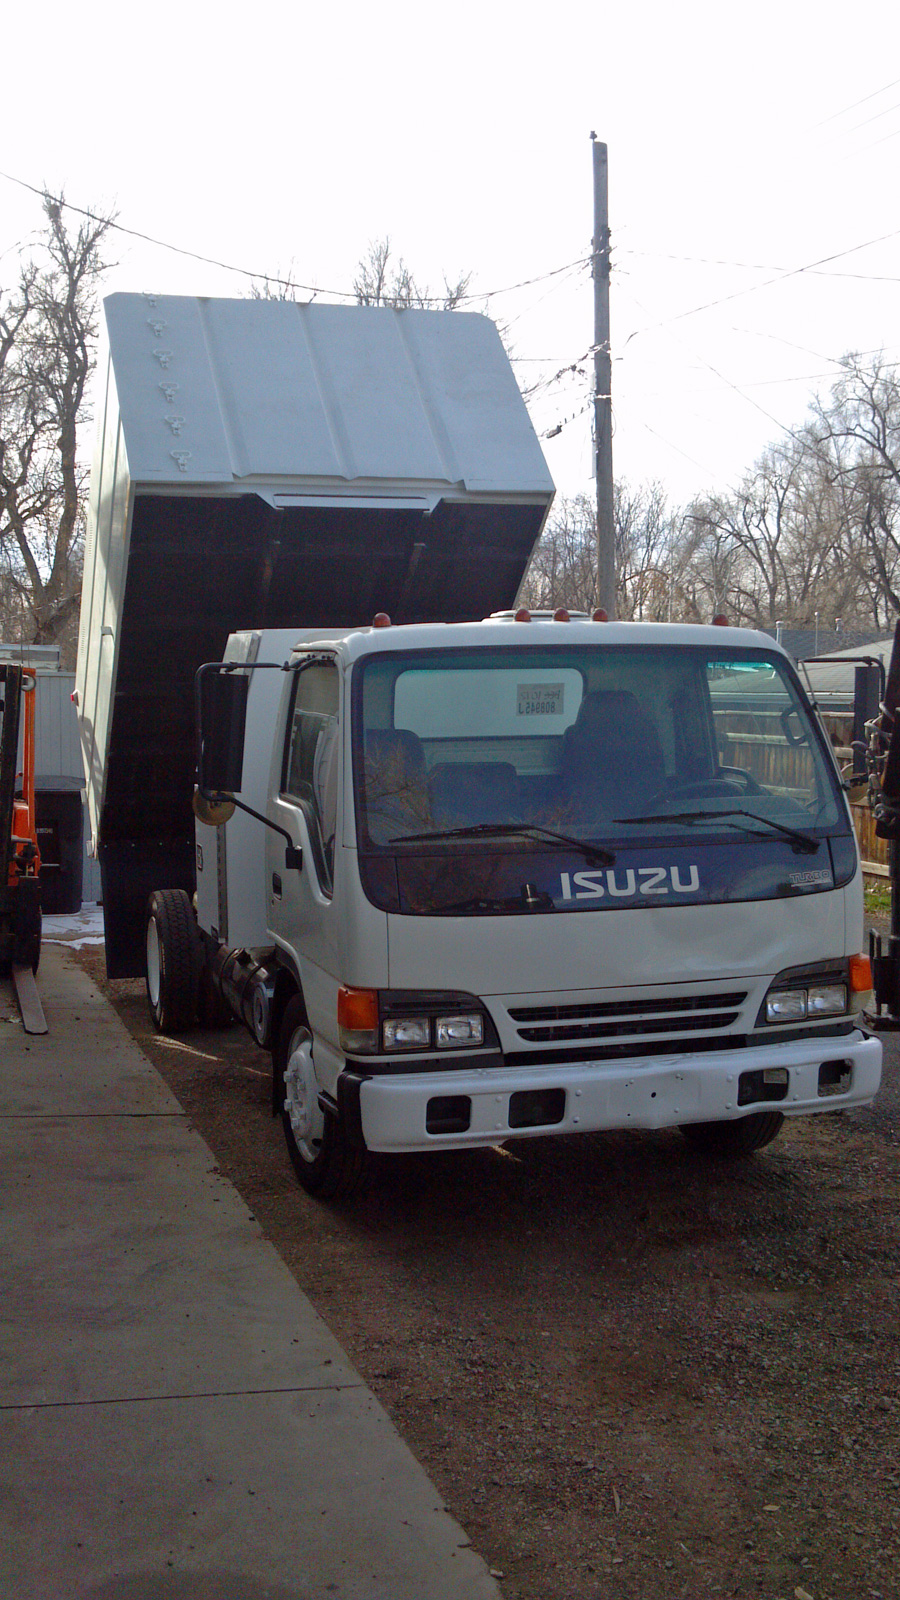
The first cycle was actually very smooth and quick but it did slip down a short ways before holding. Here are a couple of shots of it locked at full extension, the shop roof is just over 16′ for reference.
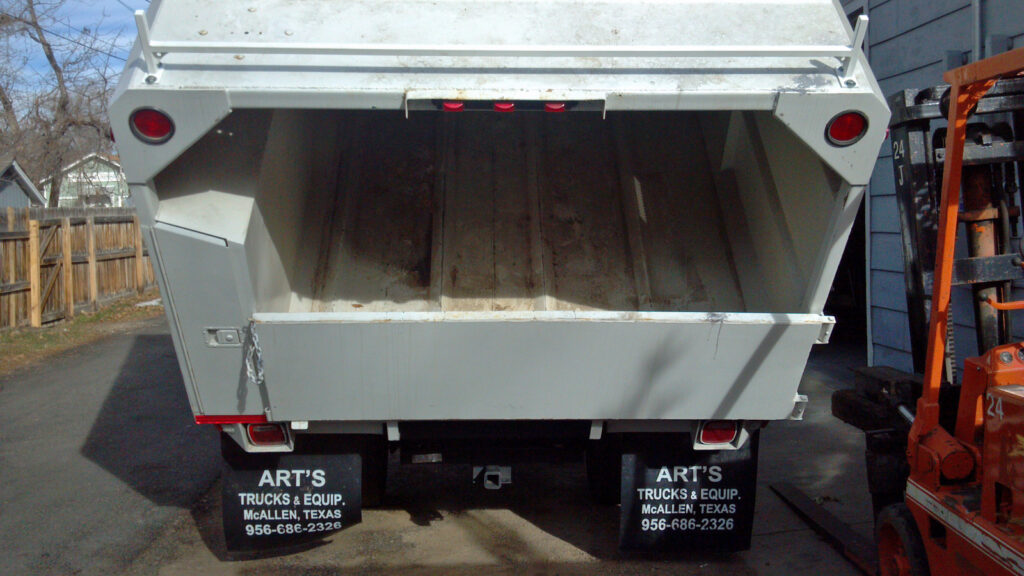

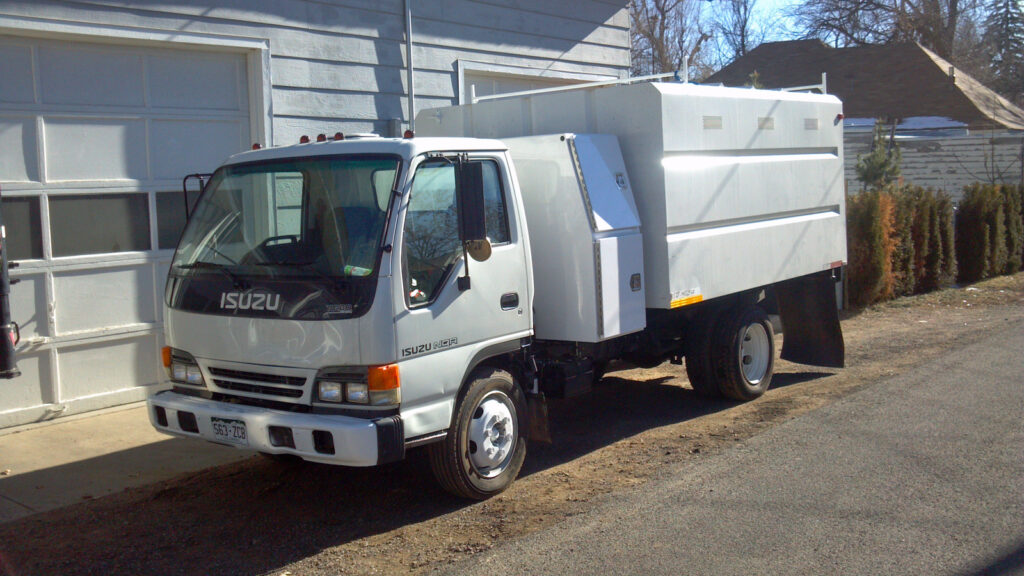
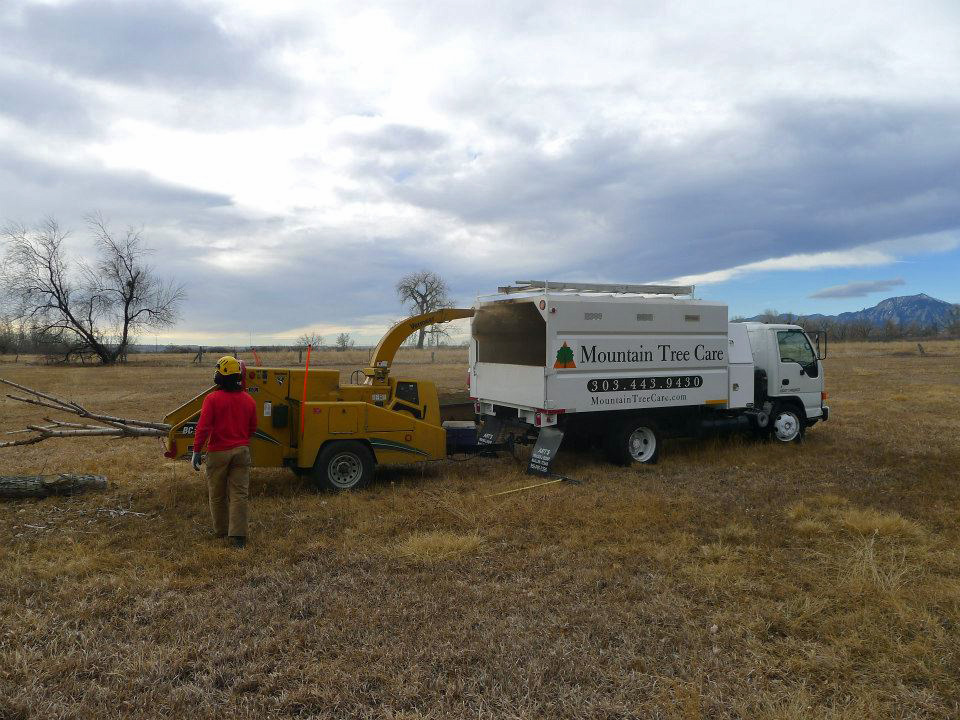
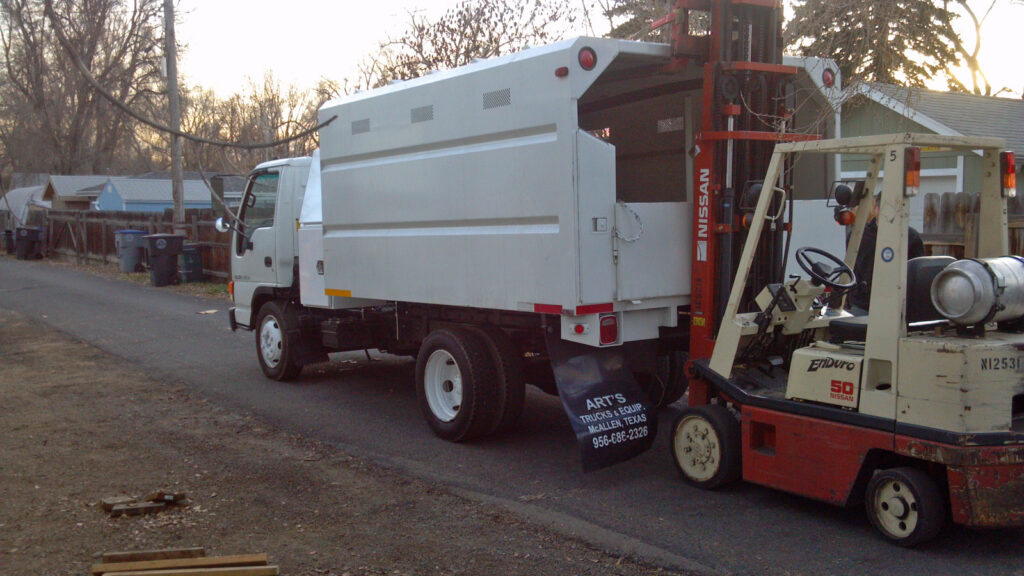
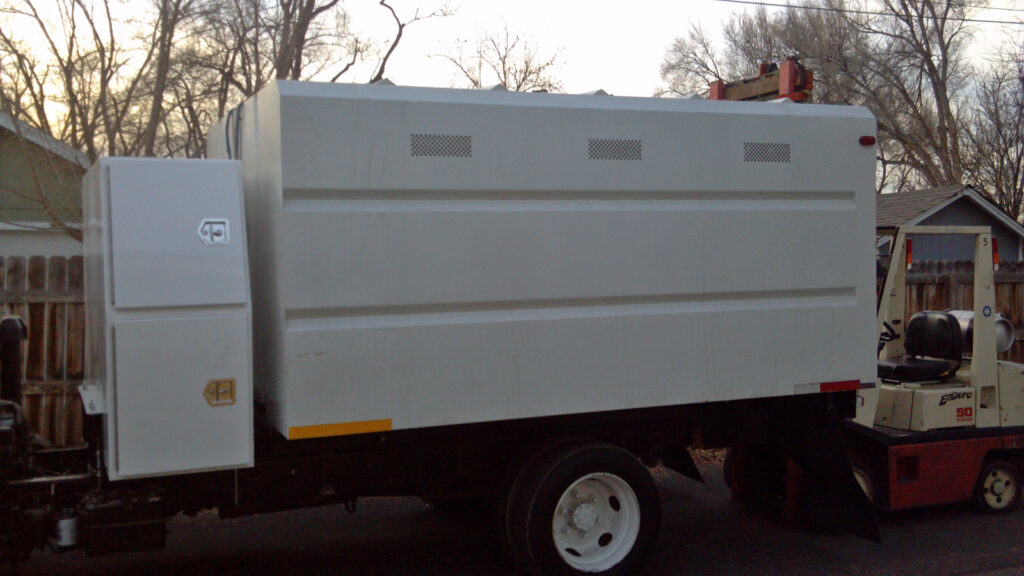
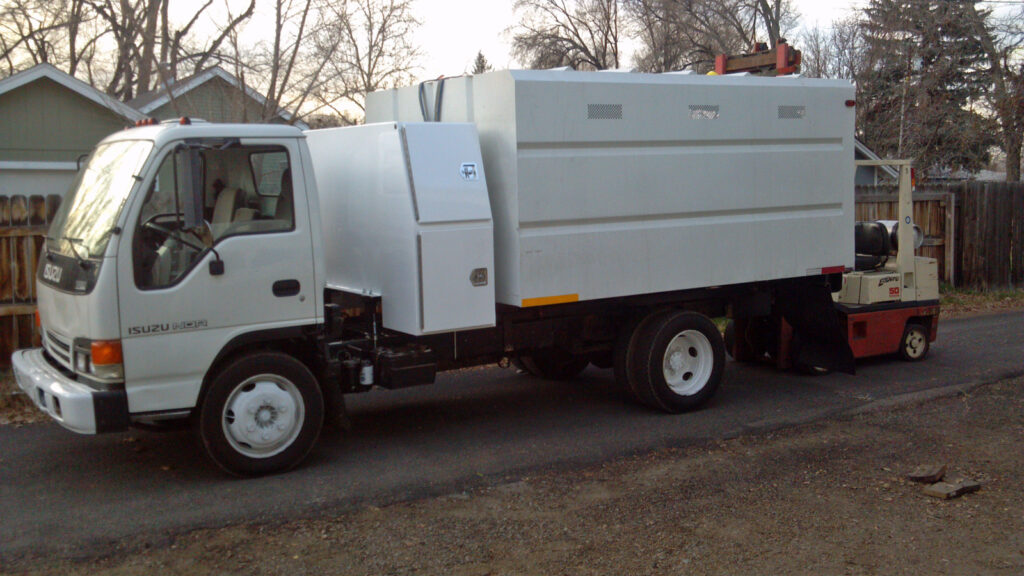
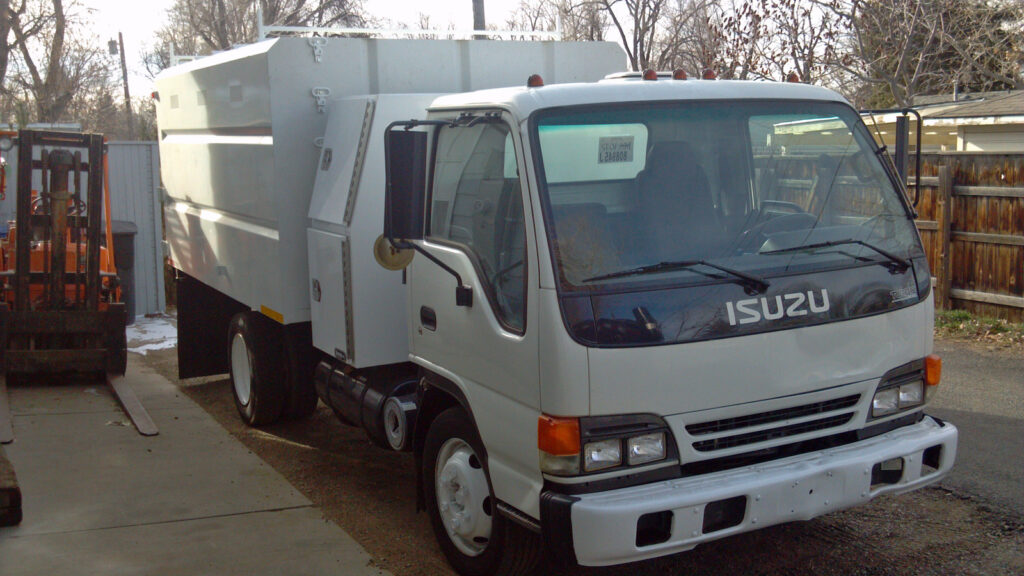
The finished project: