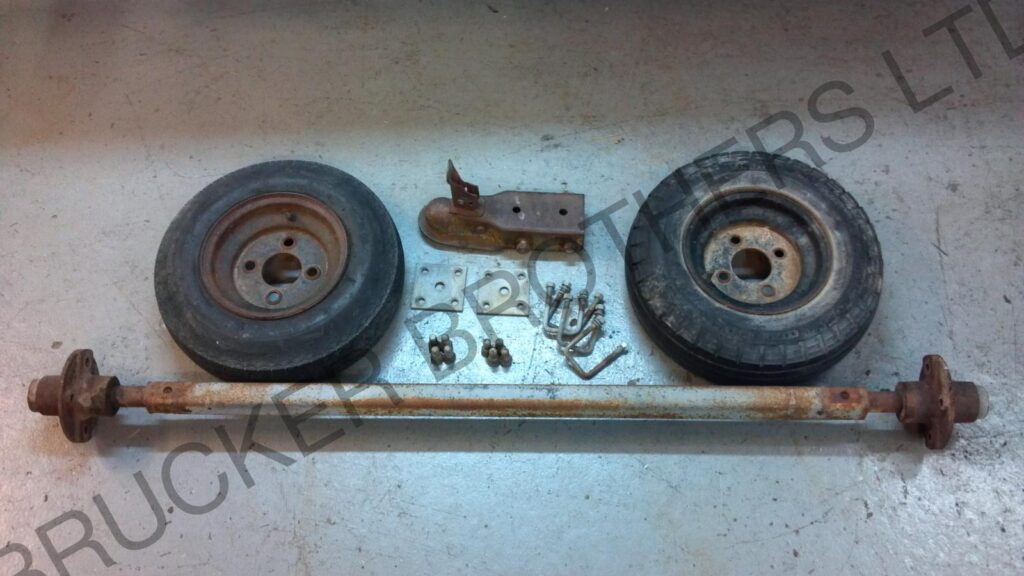
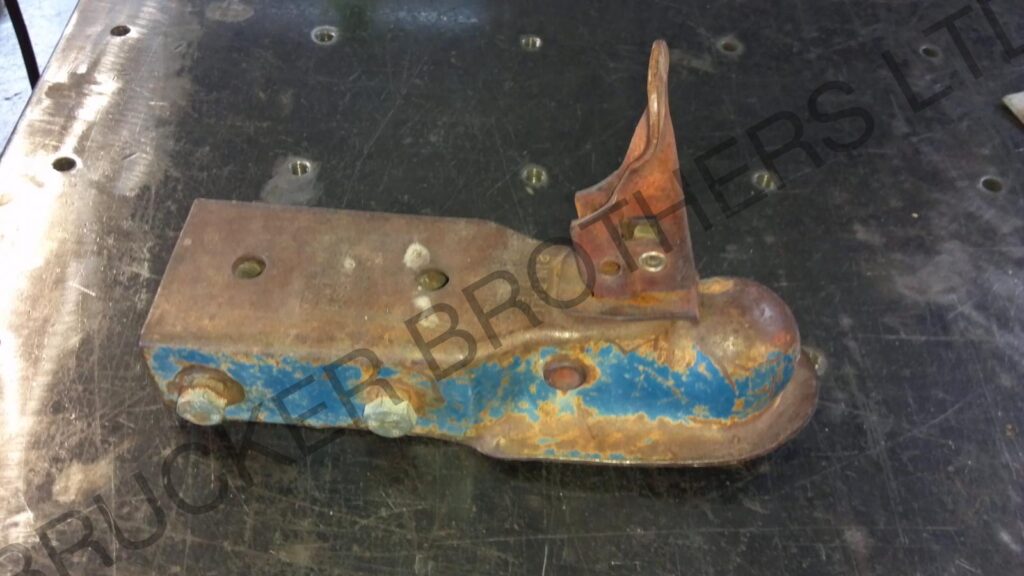
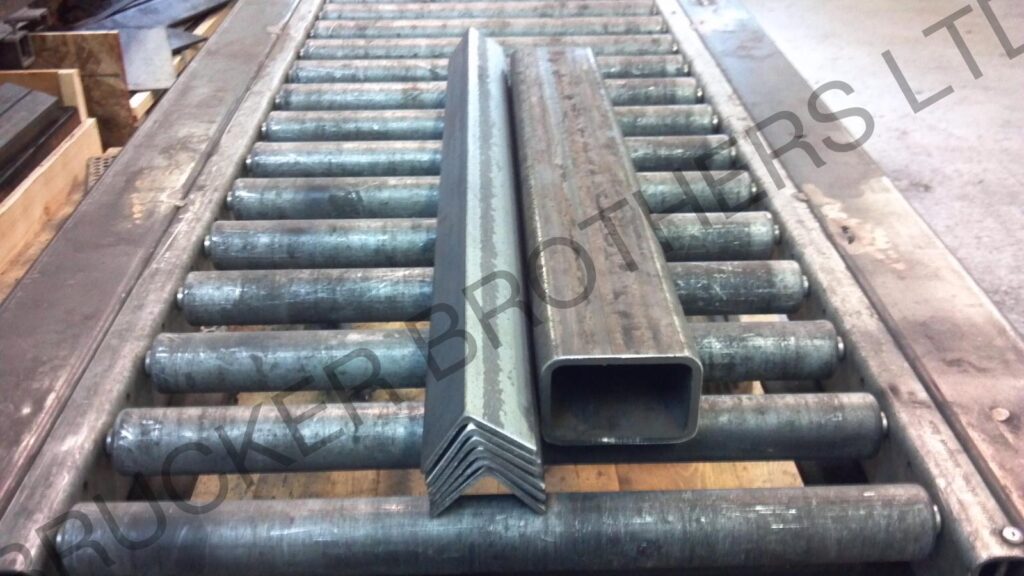
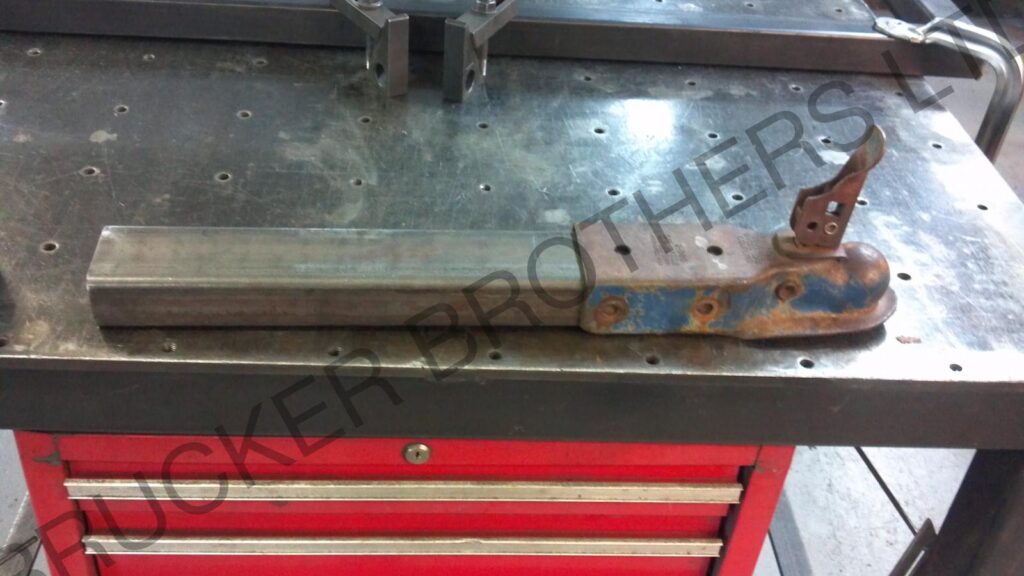
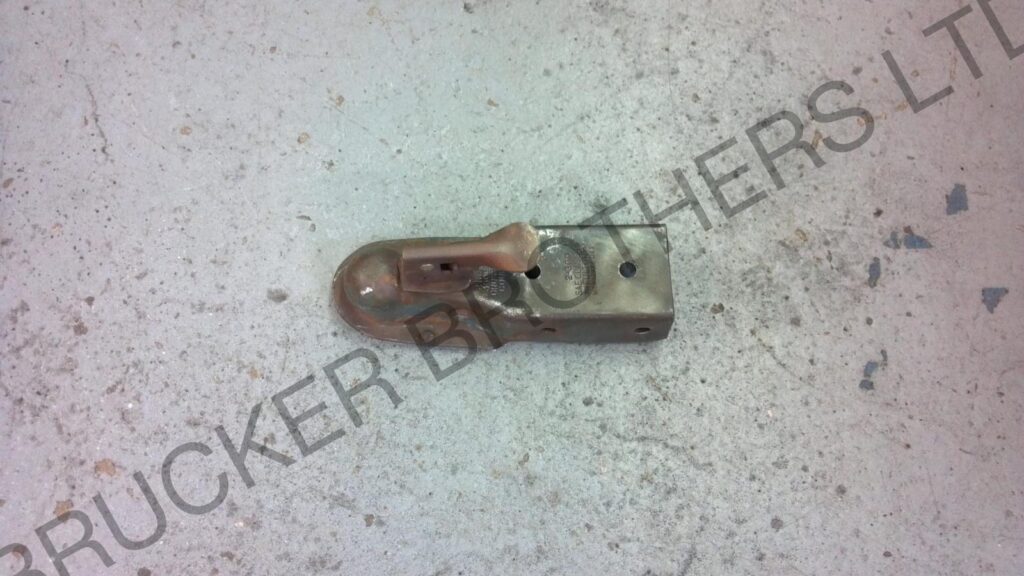
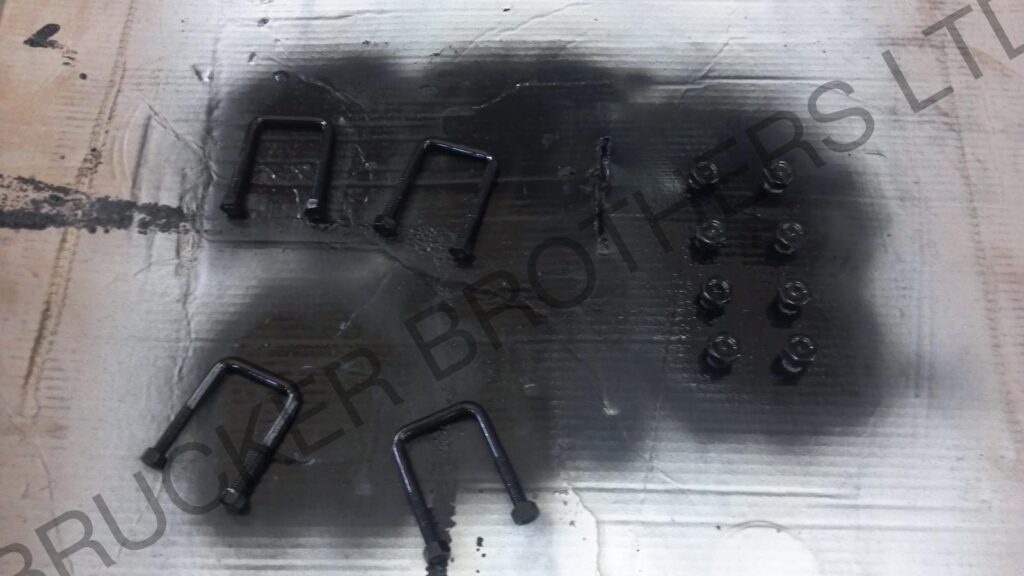
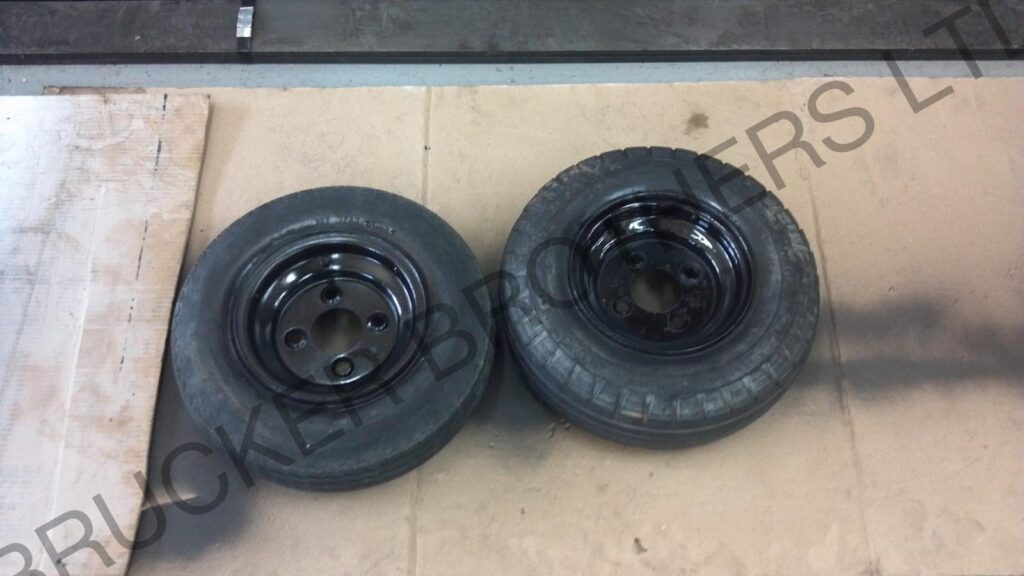
A client recently brought us these well used parts and told us he was sick of the cheap, foreign made utility trailers that keep falling apart and breaking on him. Said he couldn’t afford much, but had these extra parts and some wood (some 2×4’s and some 2×8’s).

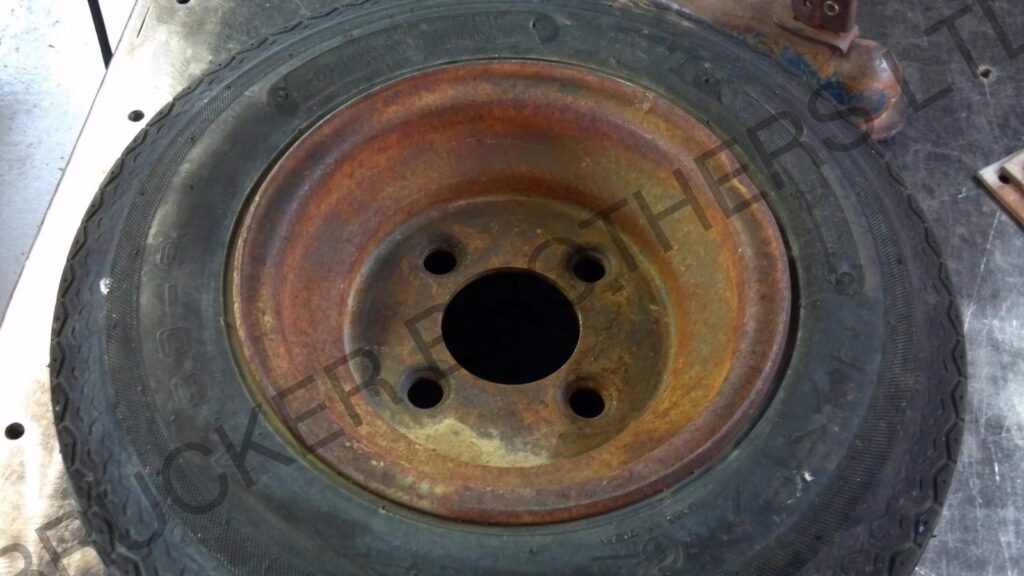
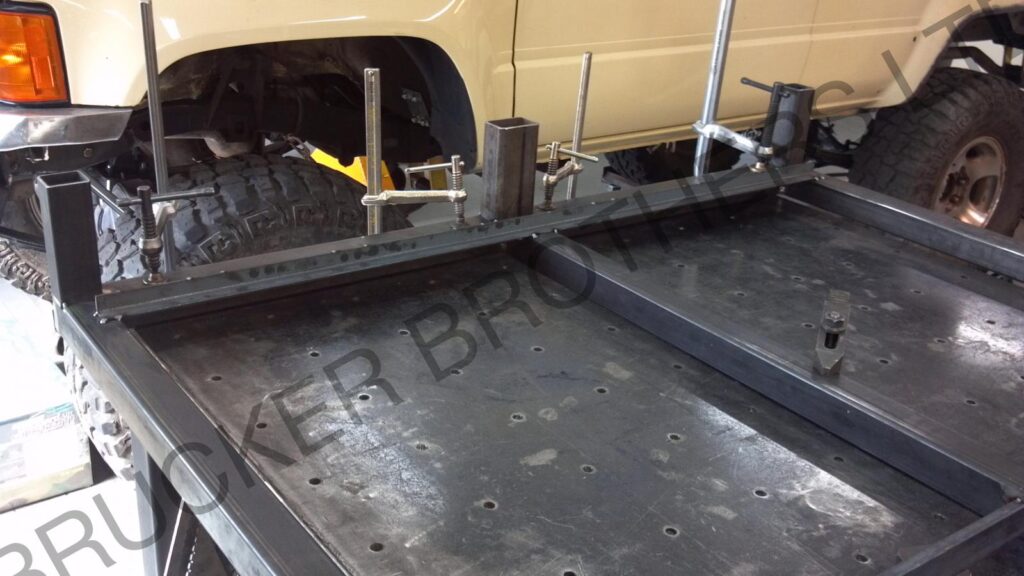
He was looking for a “deck over” style with the deck about 5′ wide and about 6′ long, with side stake panels on all four corners. Mentioned he could do the wood work if it would save some money, but that he couldn’t do the metal fabrication. We agreed to let him build the stake sides to save some cash and we would take care of the rest. He then gave us a couple more critical dimensions (like desired hitch height and the width of tractors he’d be using), and a strict budget to stay within. Then he paid the deposit and told us to “hustle up”!
Well, you heard the man, off to work we go!
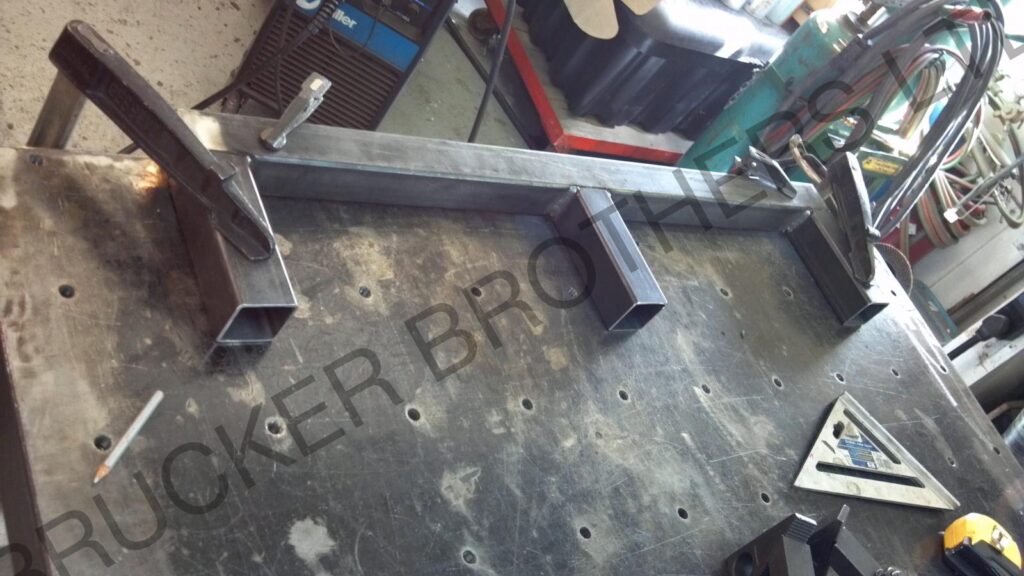
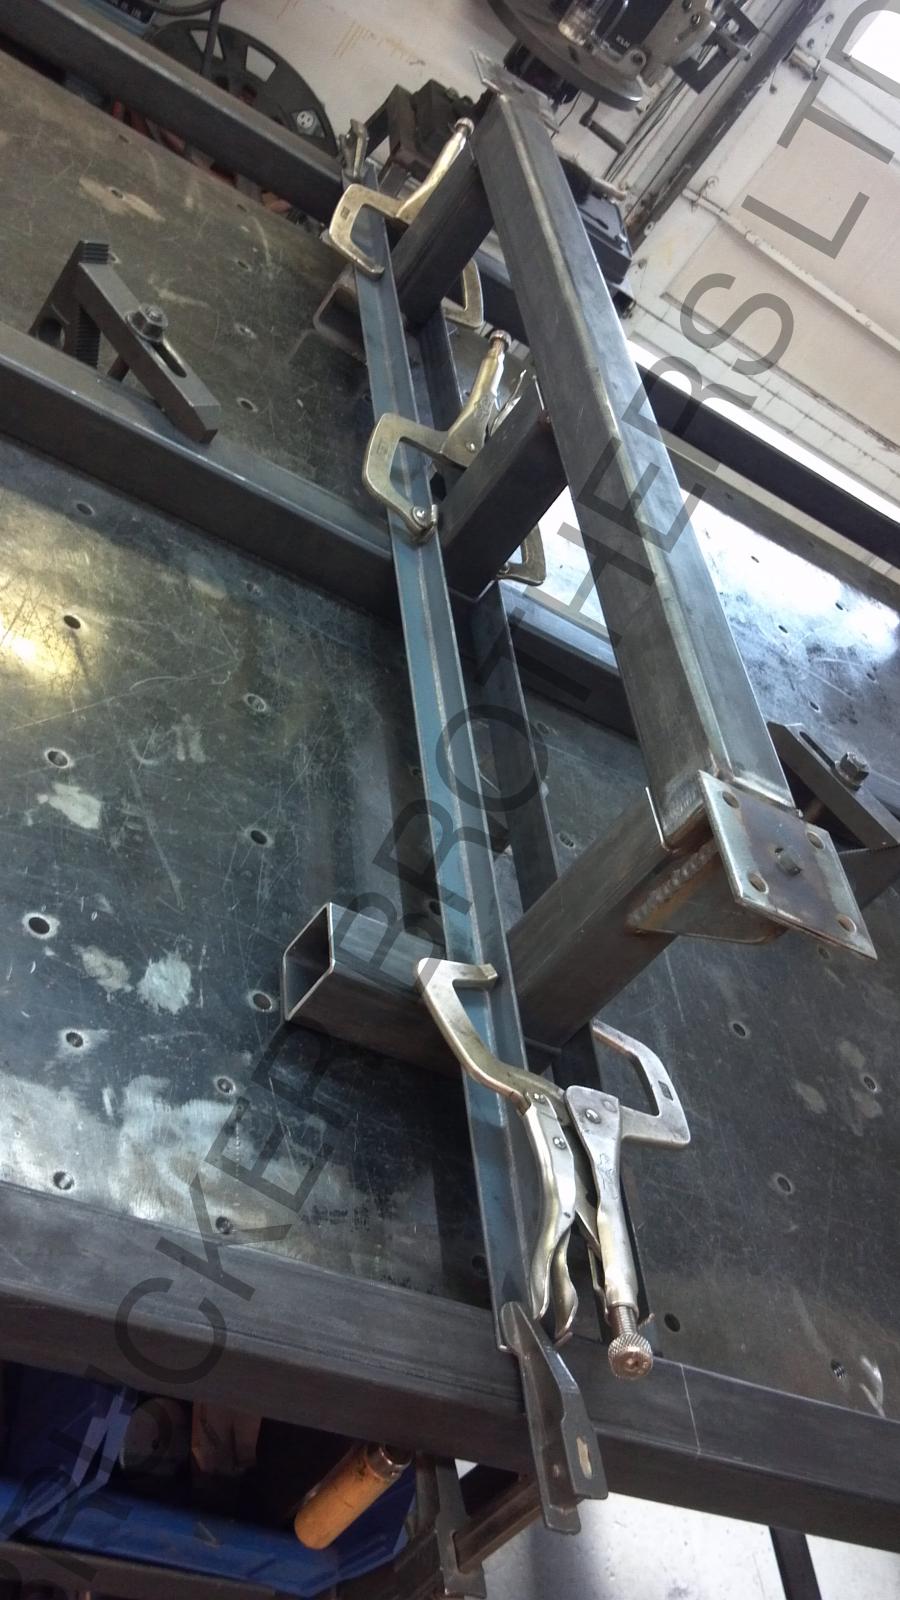
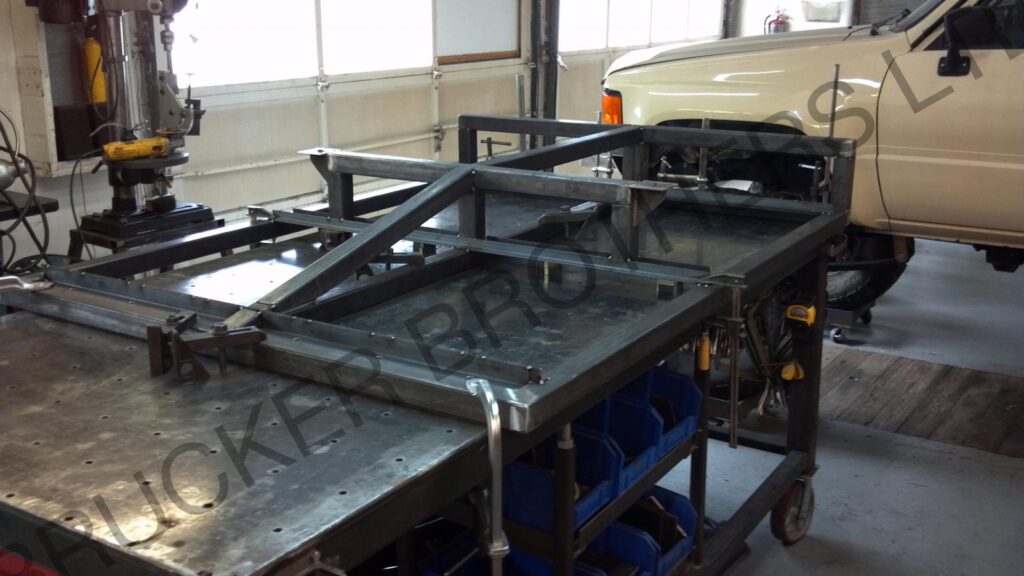
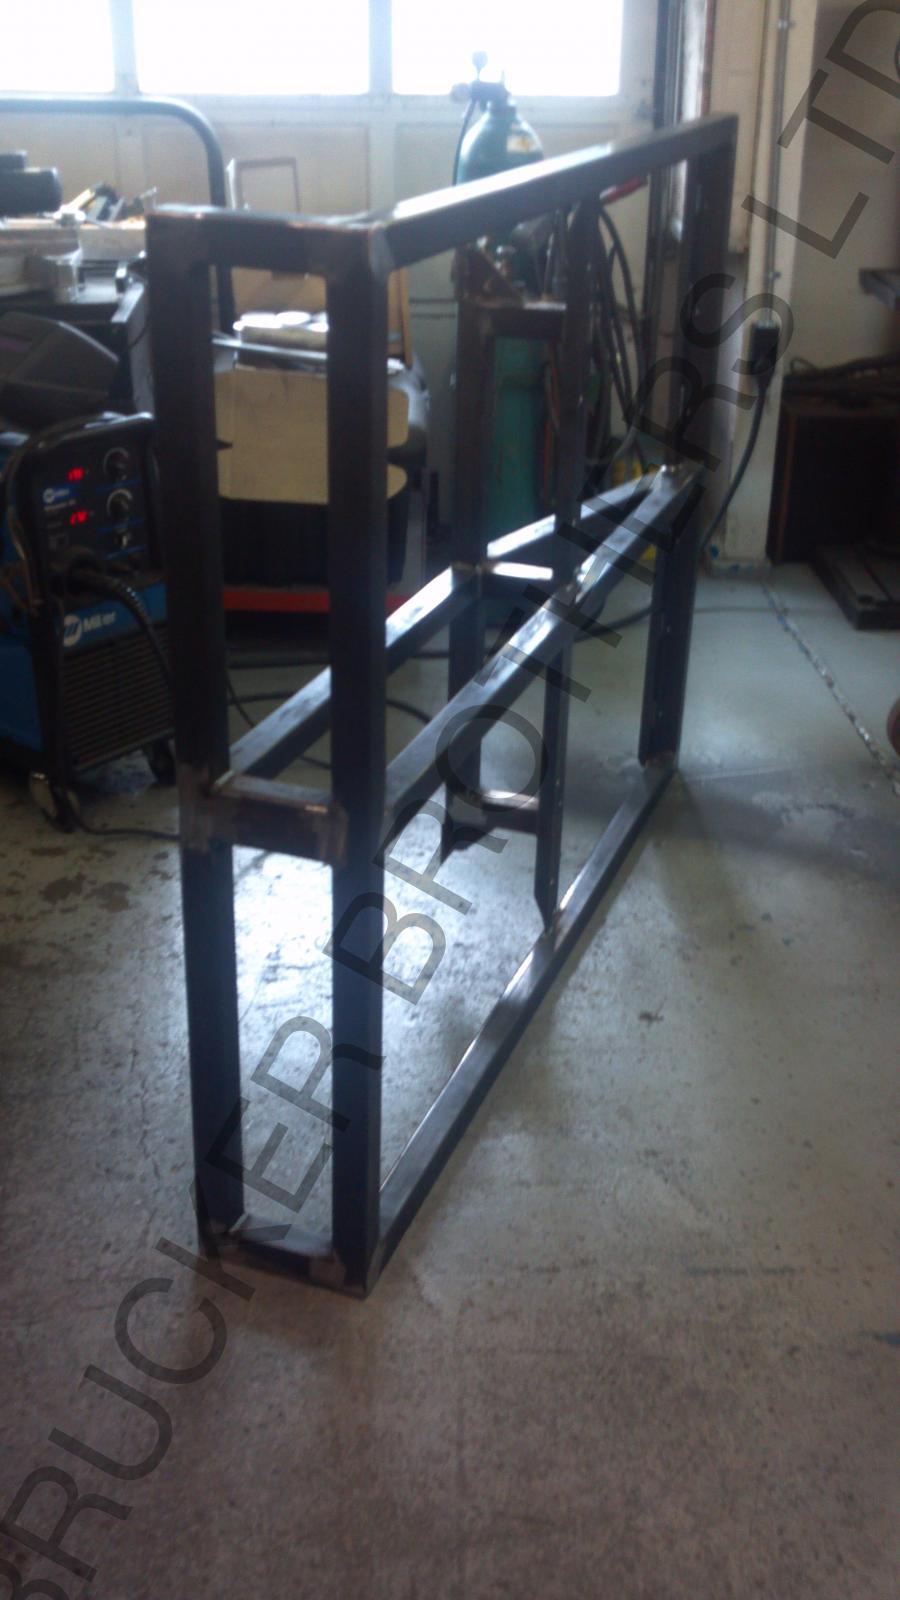
Once we came up with a solid plan of attack, we made up a chop list and started the bandsaw cutting. After the first couple of pieces were cut and deburred, we tack welded a simple frame together out of square tubing on the fab table.
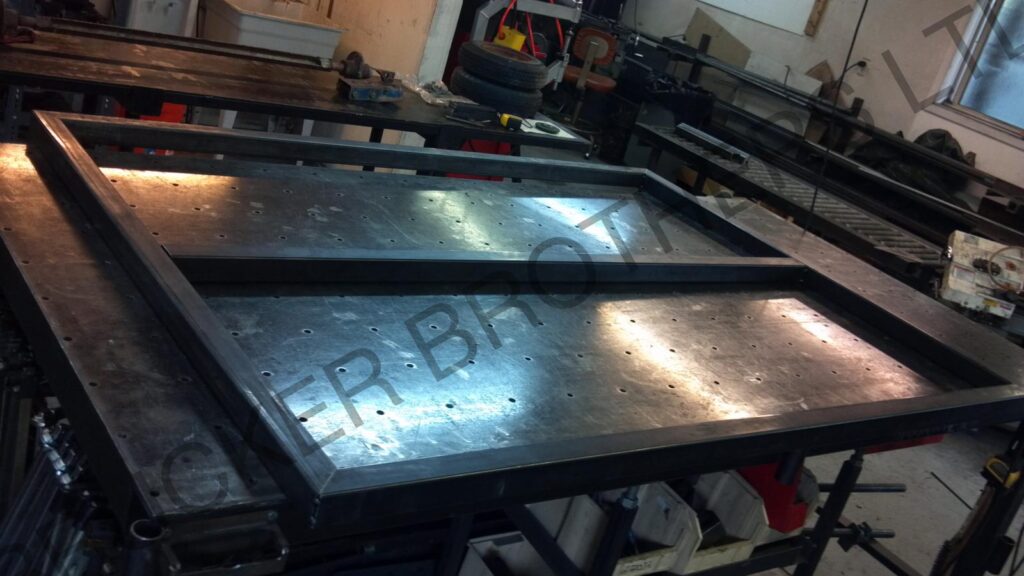
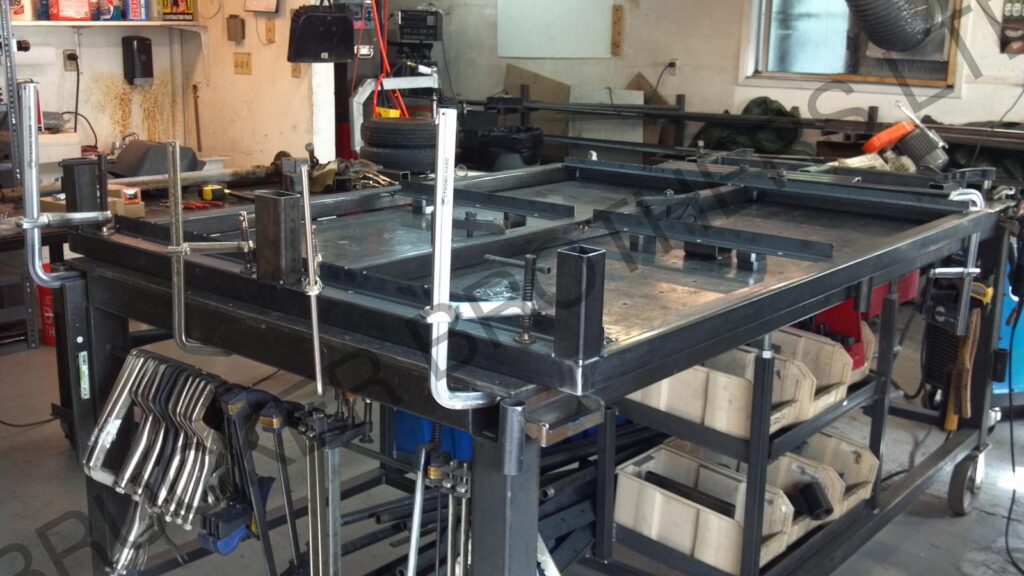
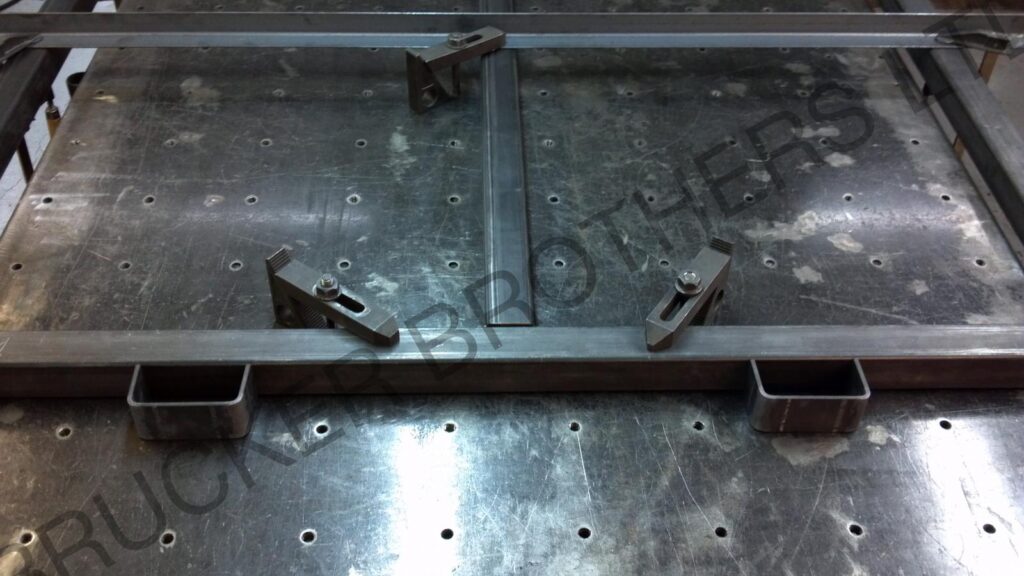
Clamped the frame, using a couple extra supports (angle iron in this case) to the fab table in order to keep everything flat, square and in the same plane.
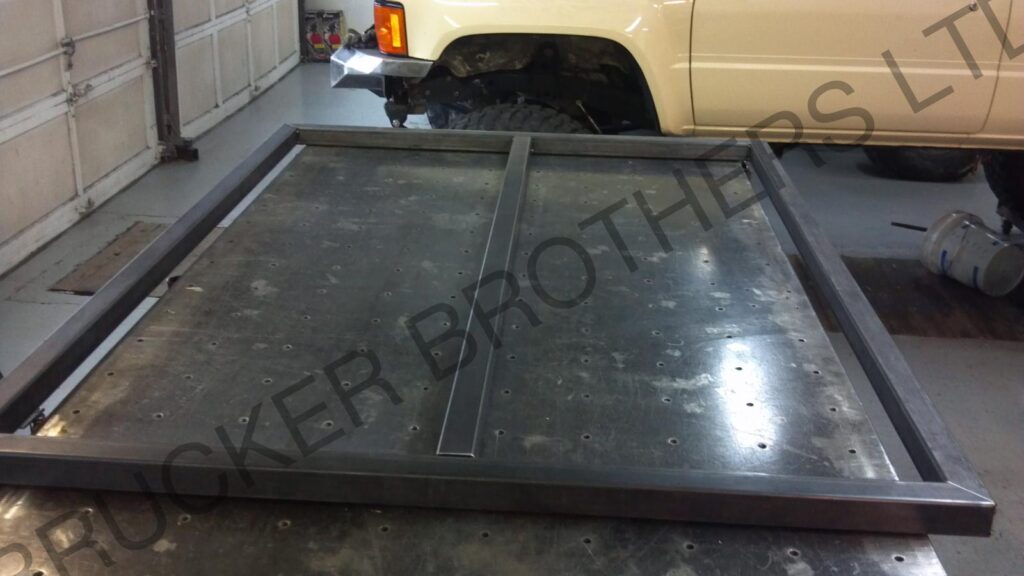
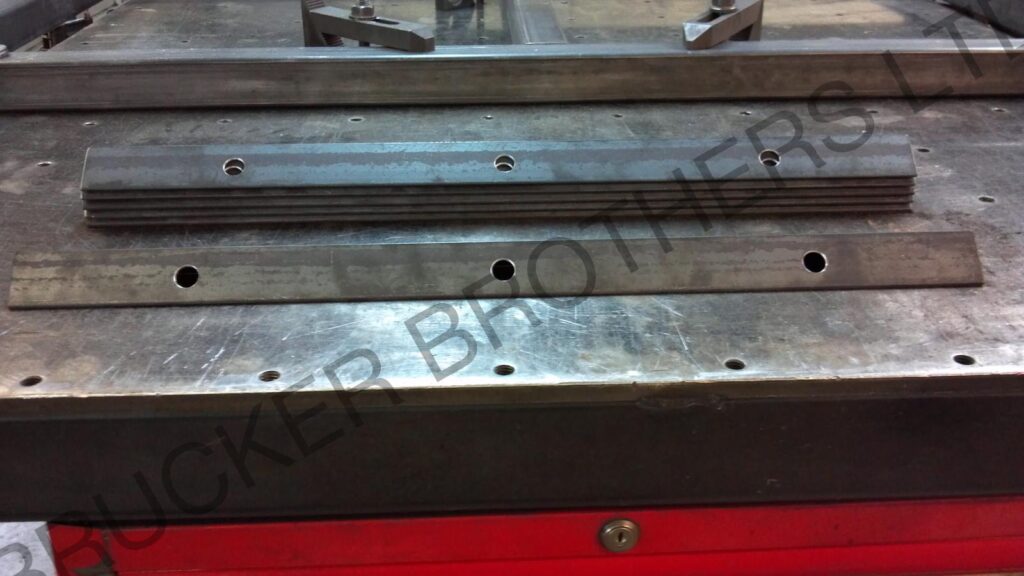
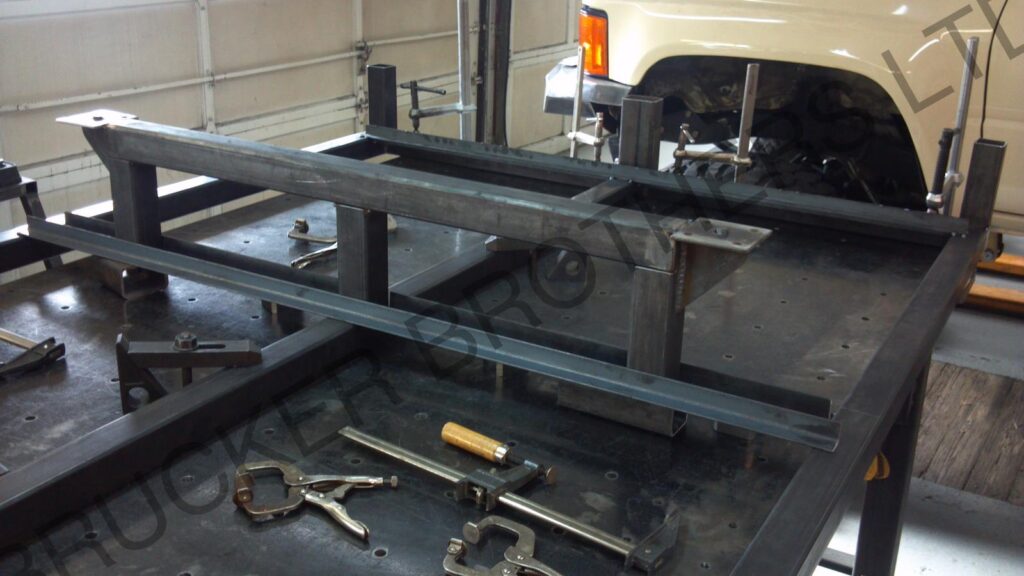
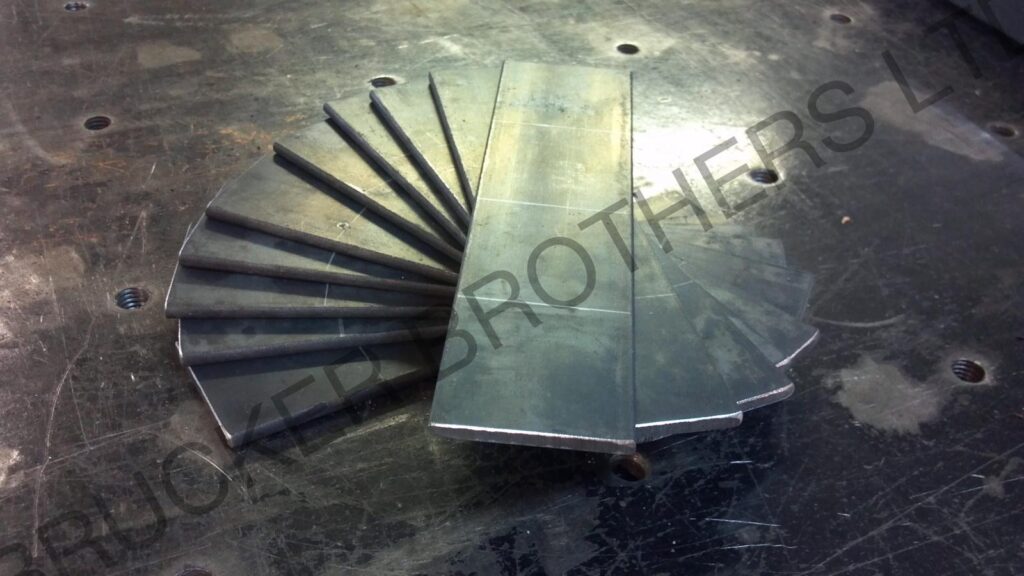
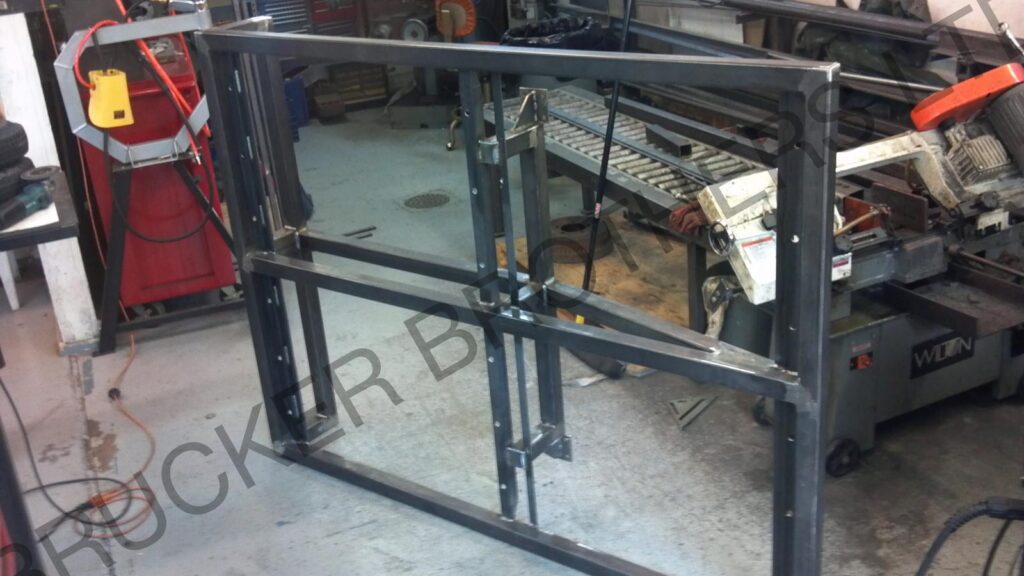
With the main frame welded together, we then cut, drilled and deburred sections of angle iron as an attachment point for the wood decking.
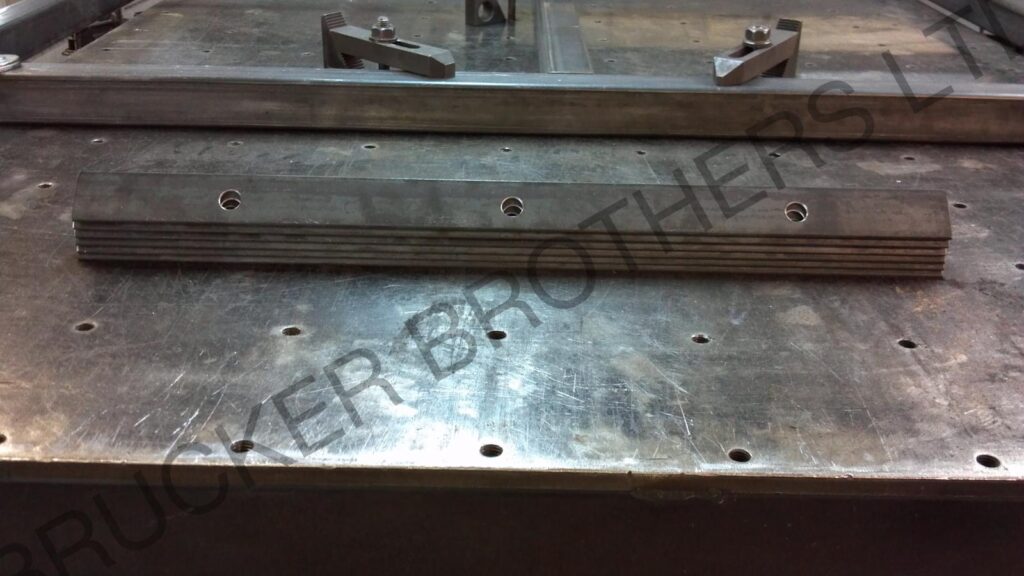
Then we began tack welding the angle iron pieces into place.
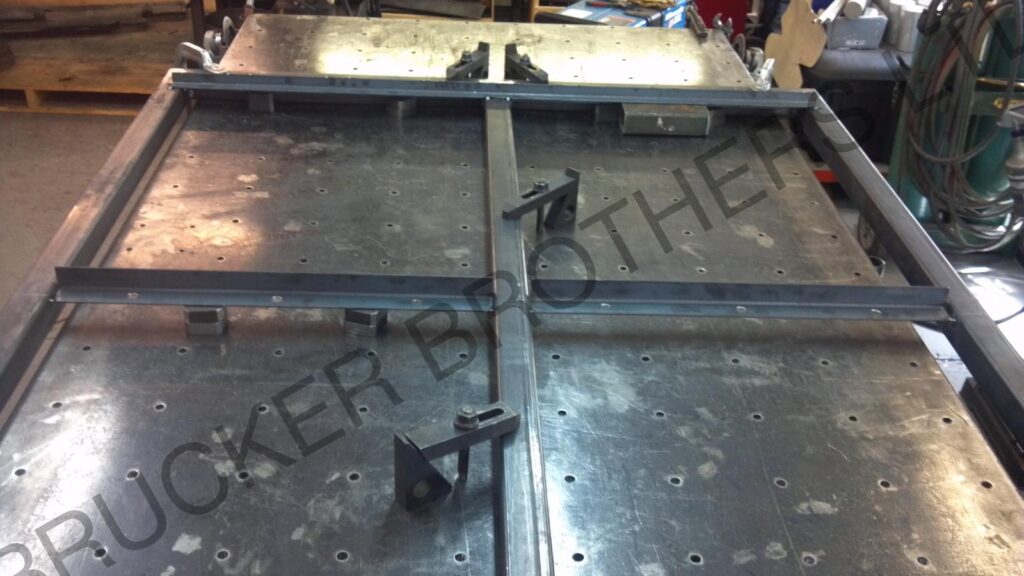
These mounting strips will also act as cross supports once welded to 3 other smaller sections of angle iron that span from each side to the other.
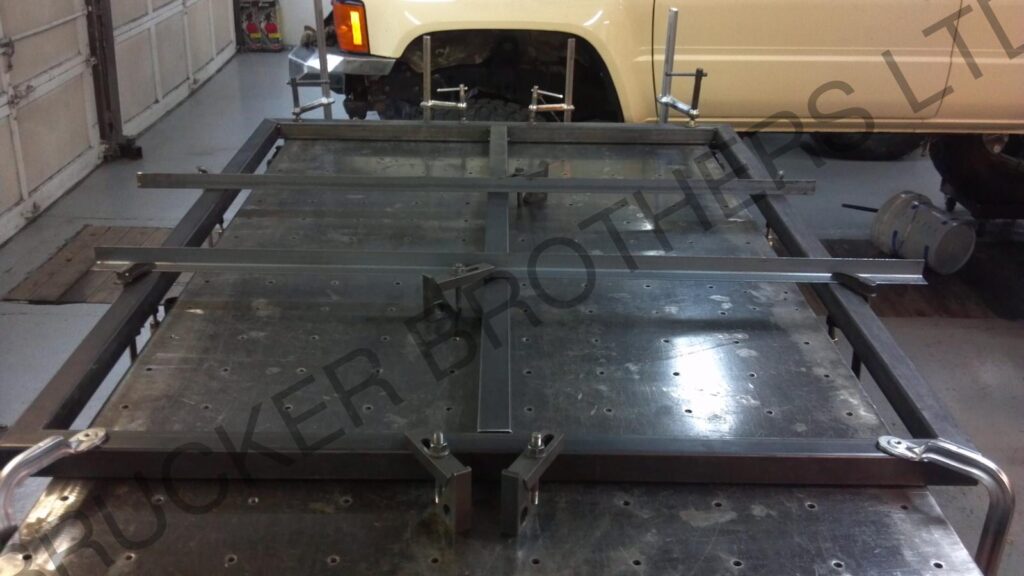
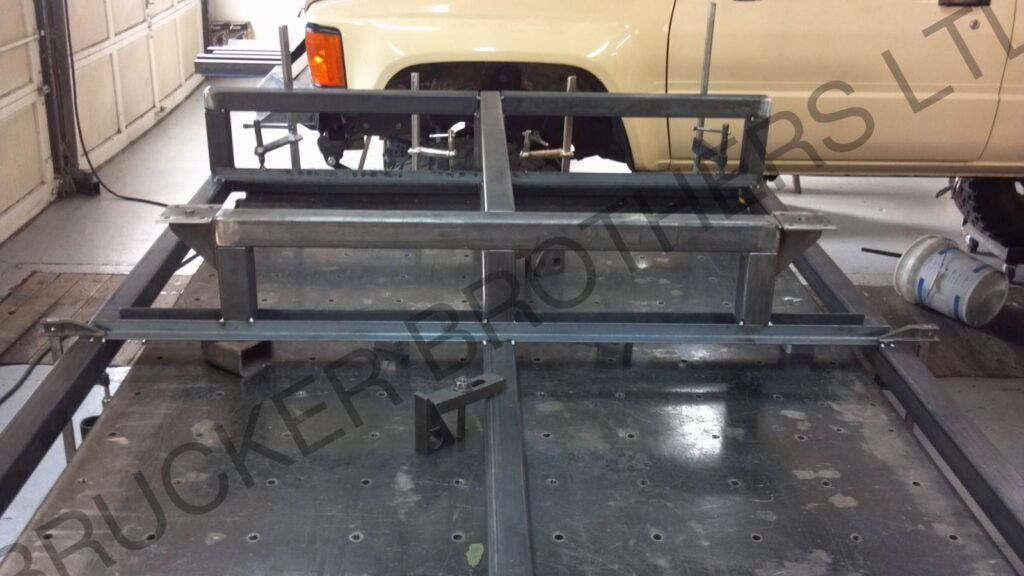
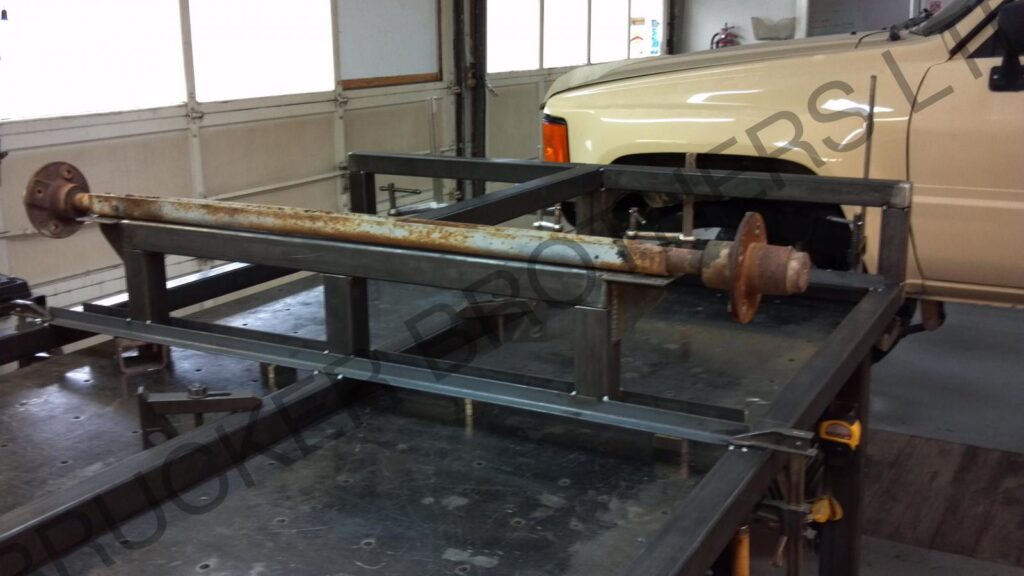
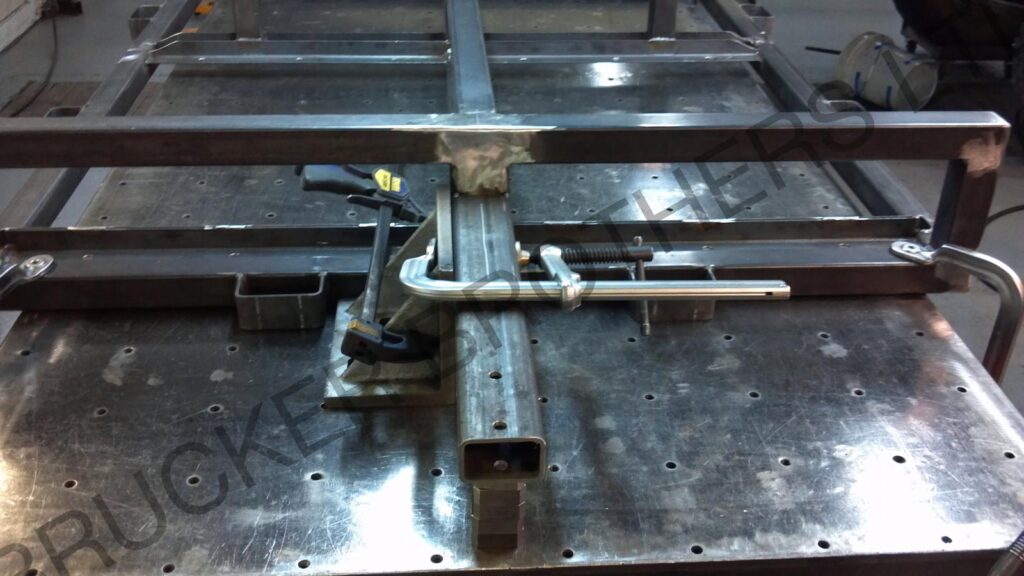
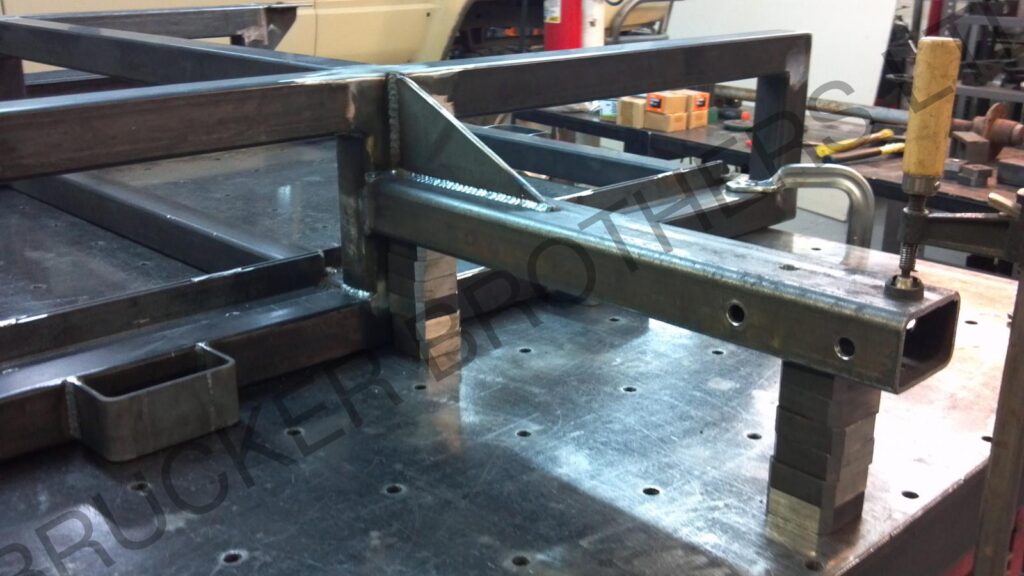
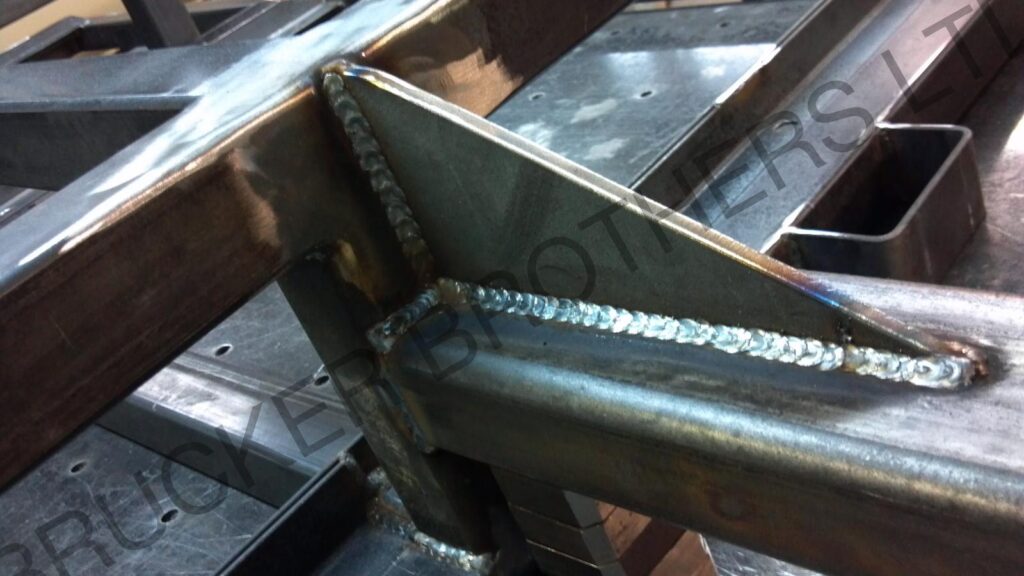
Started fabricating the lower truss. Not only will this increase the strength and capacity of the entire trailer, but will also serve as the axle mount. Since there will not be any suspension, it will add some much needed support, stability, and strength to the axle assembly itself.
Center part of the truss is welded together. This will also serve as the axle mount.
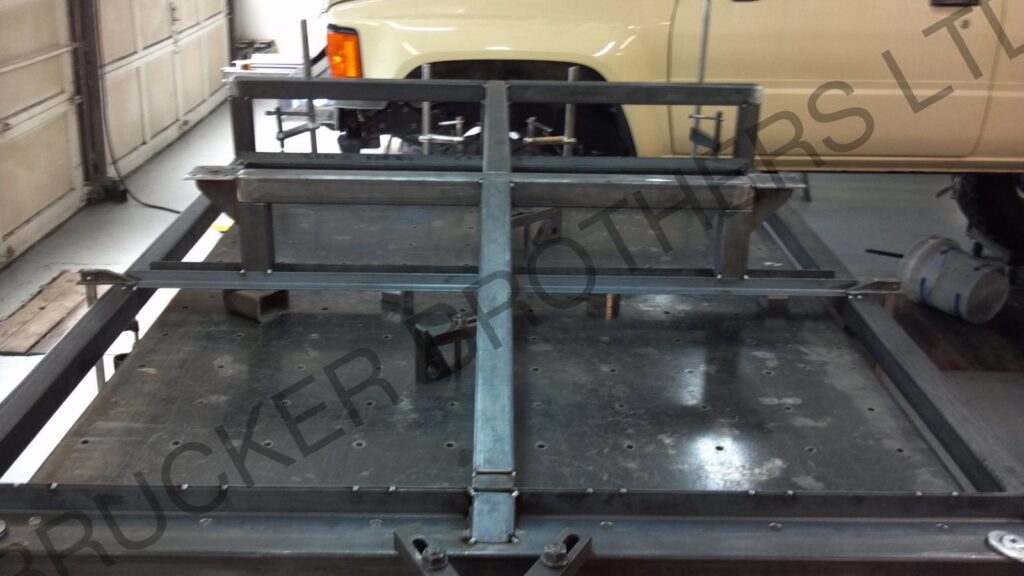
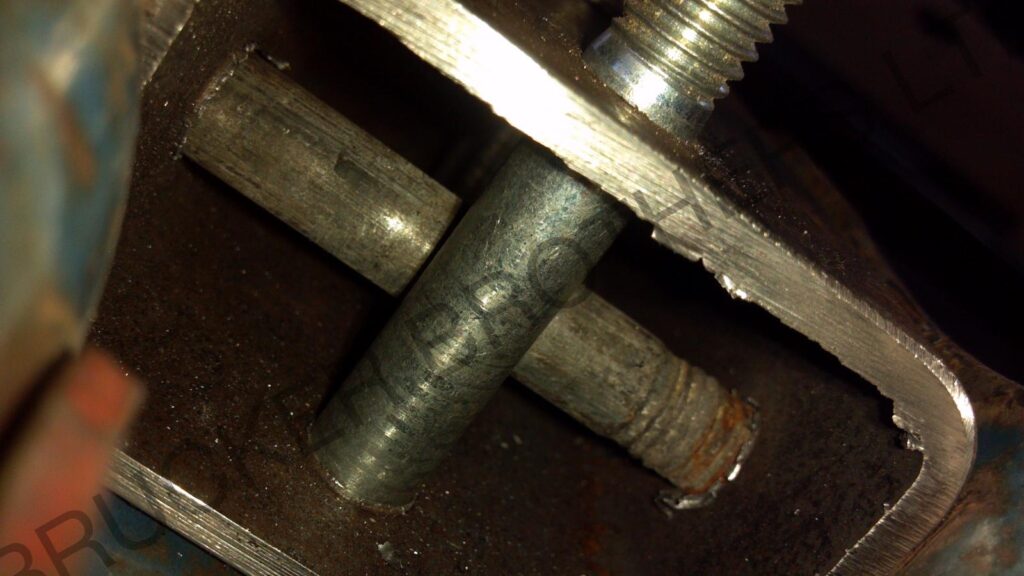
Fabricated the axle mounts and welded them into place onto the center truss section. Even included a center spring pin to help locate the axle.

Tack welded the center truss section with axle mounts on to the trailer chassis.
Finished cutting, deburring, and welding into place of the rest of the parts of the lower truss.
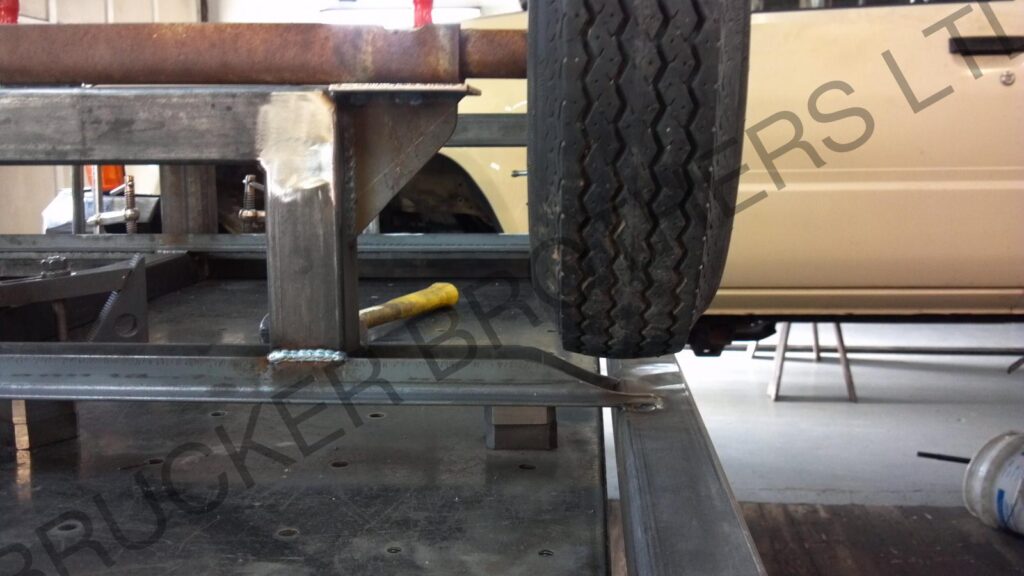
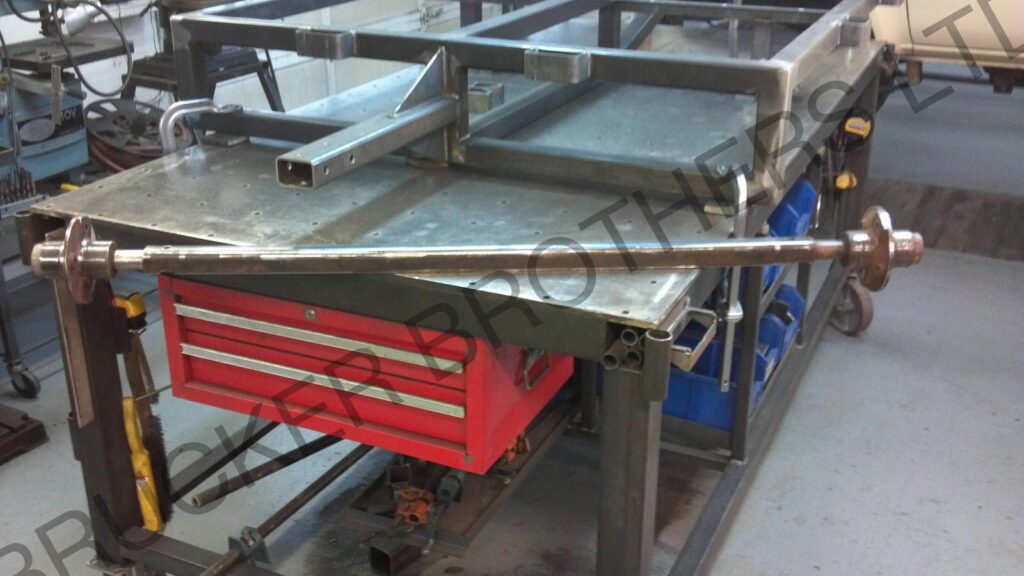
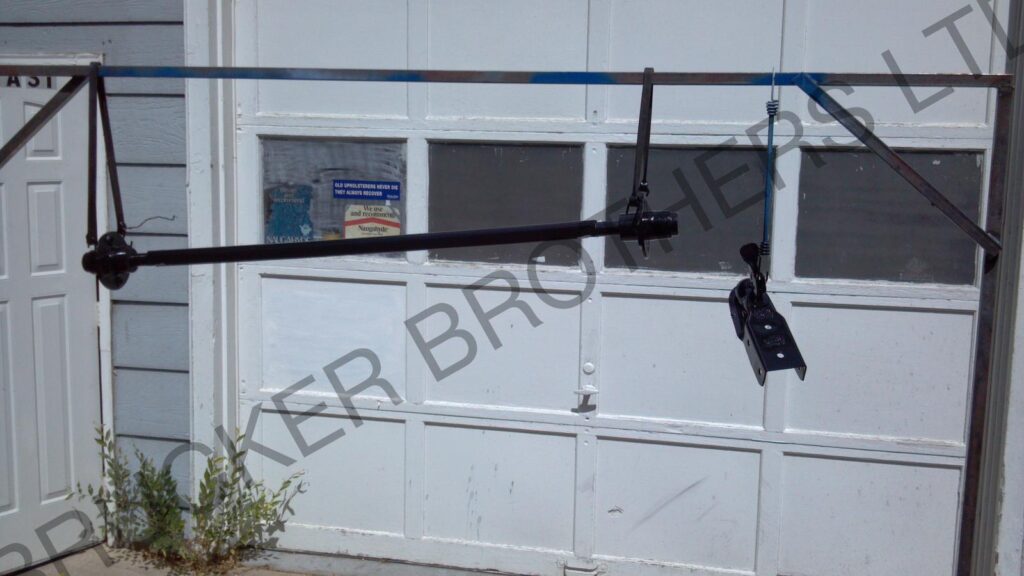
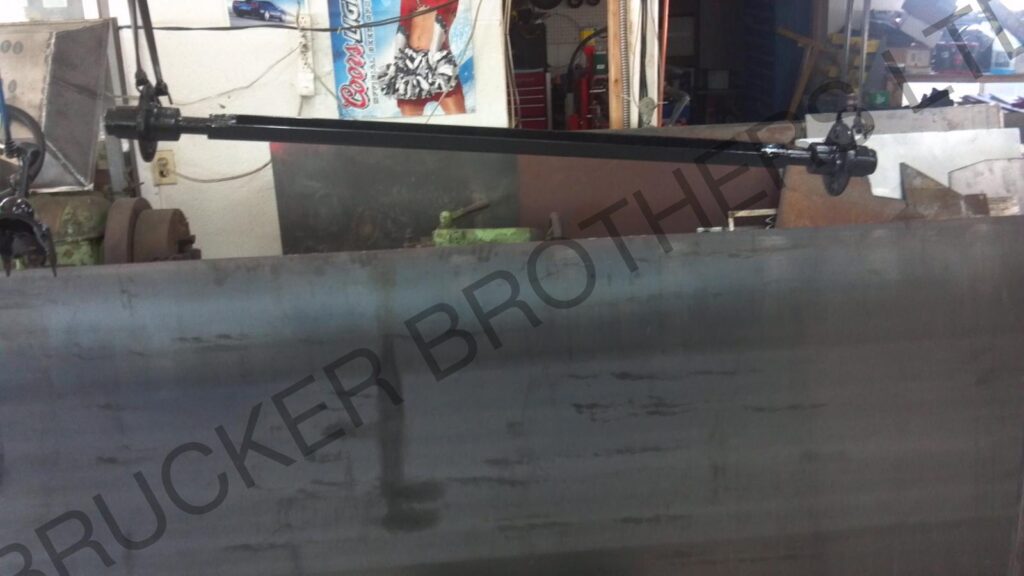
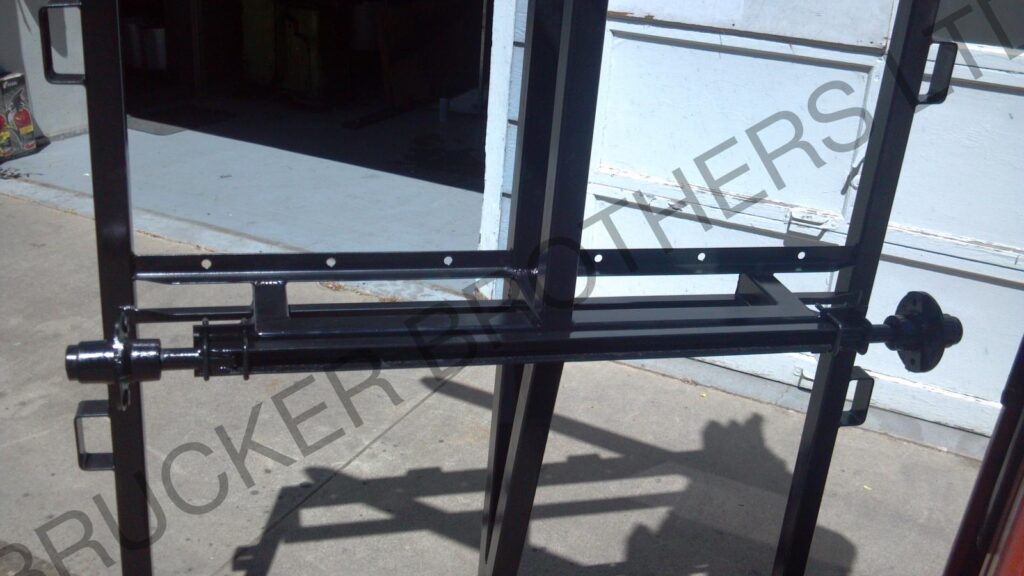
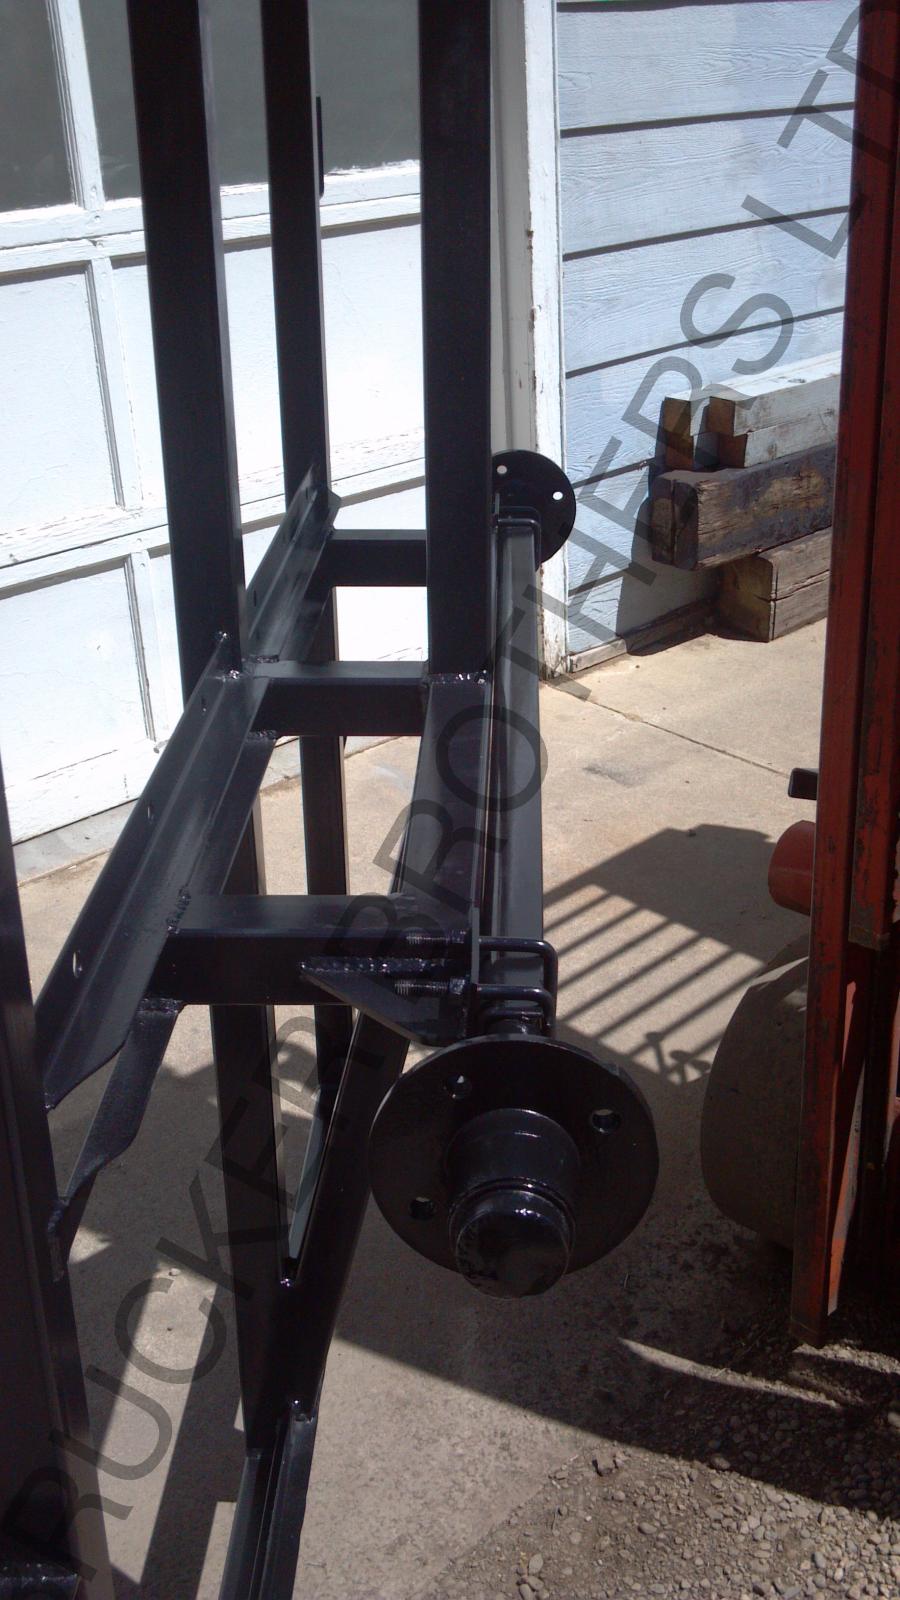
Test fitting the axle into place.
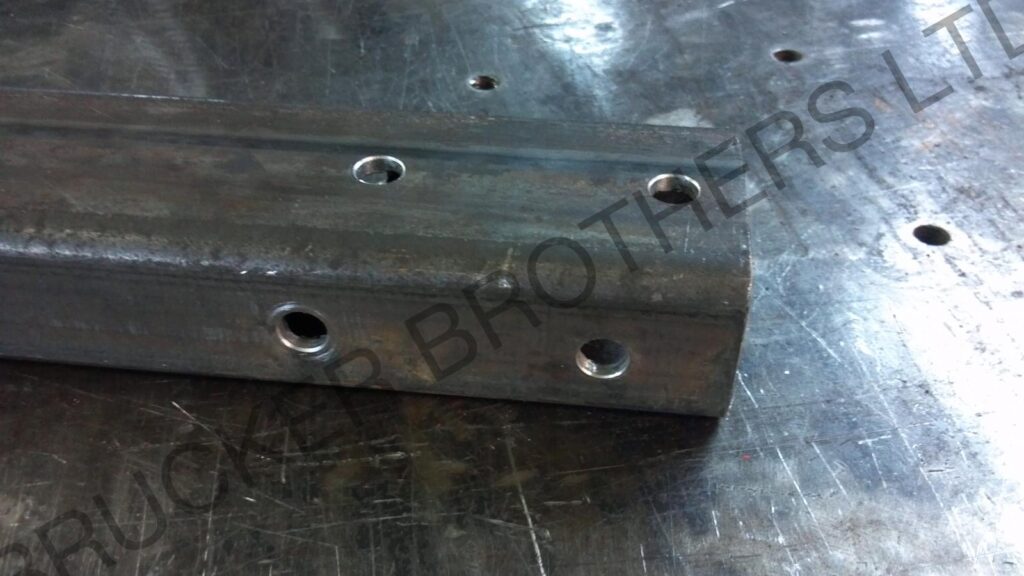
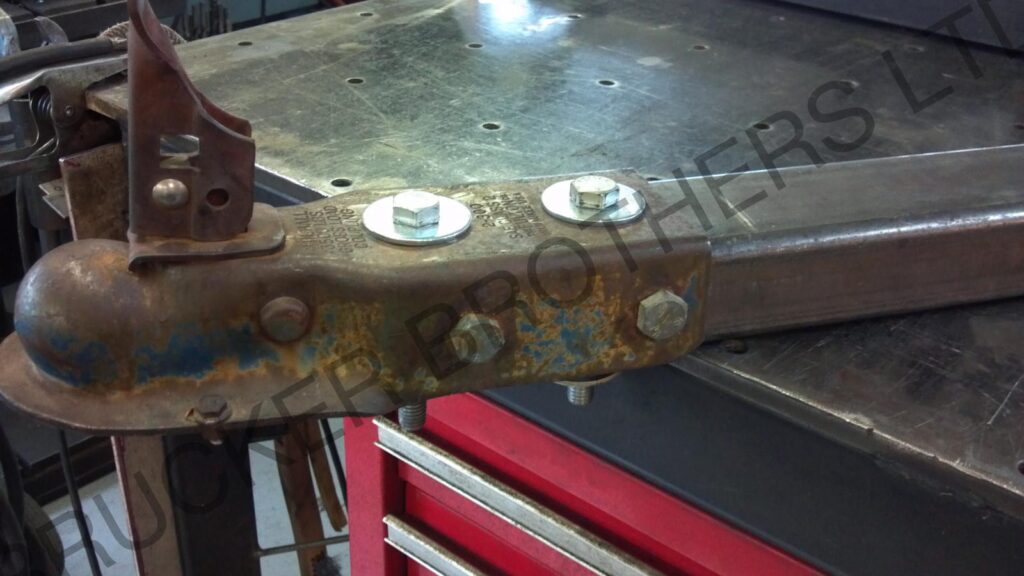
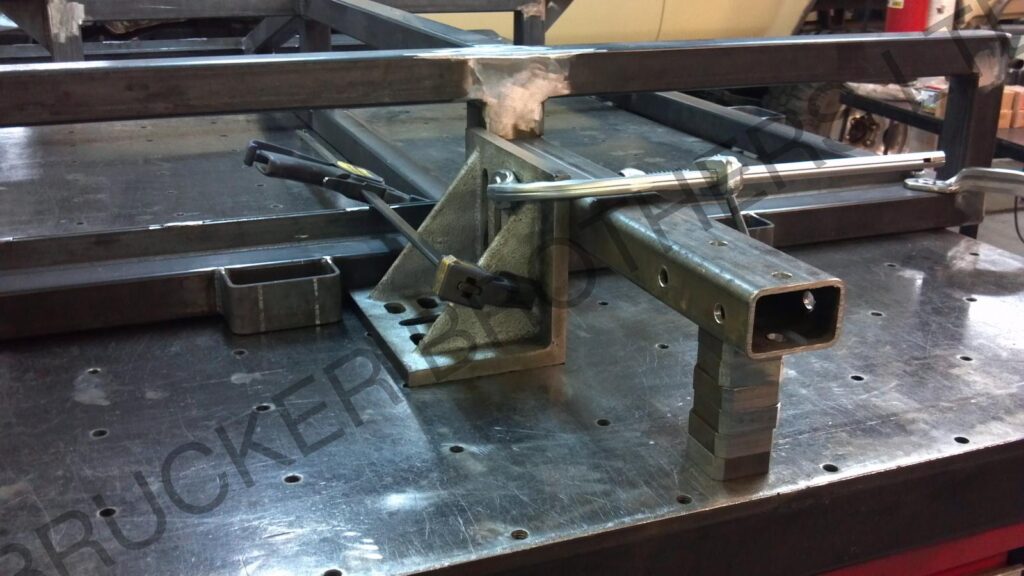
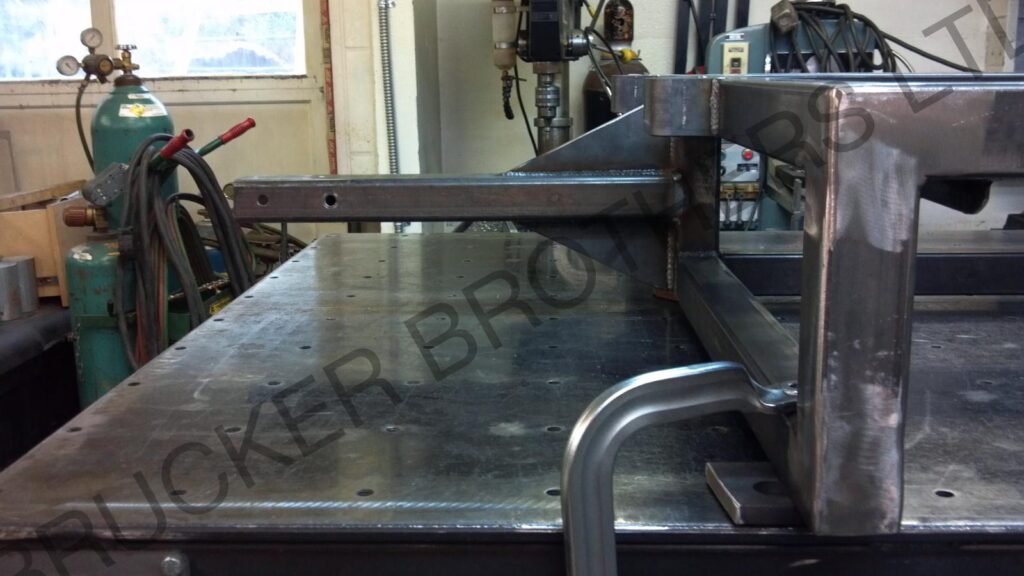
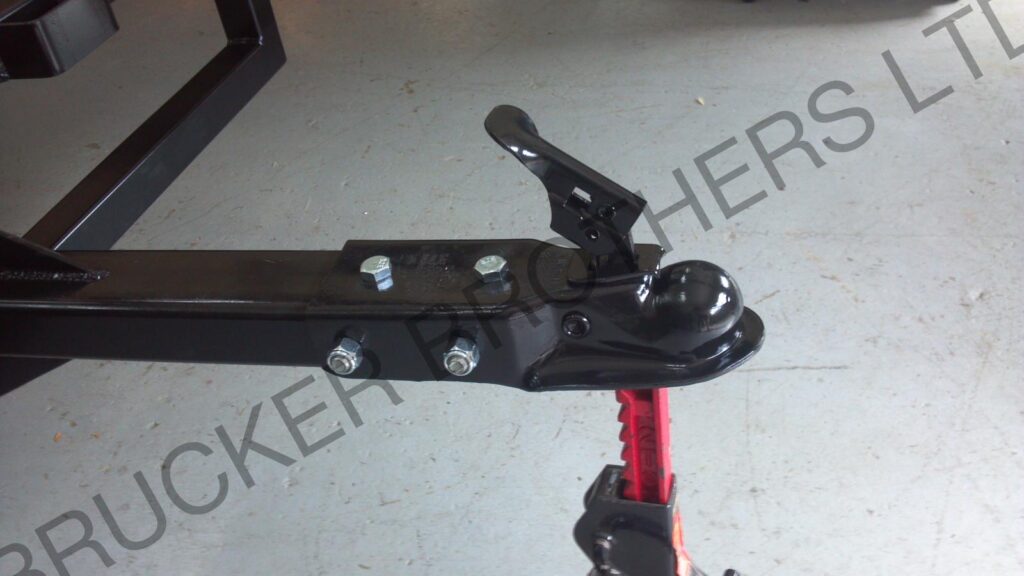
Fabricated the tongue of the trailer by drilling 4 thru holes in opposing directions for added strength without having to weld in crush sleeves. The holes will act as the mounting location for the coupler. This small assembly will then be welded onto the chassis.
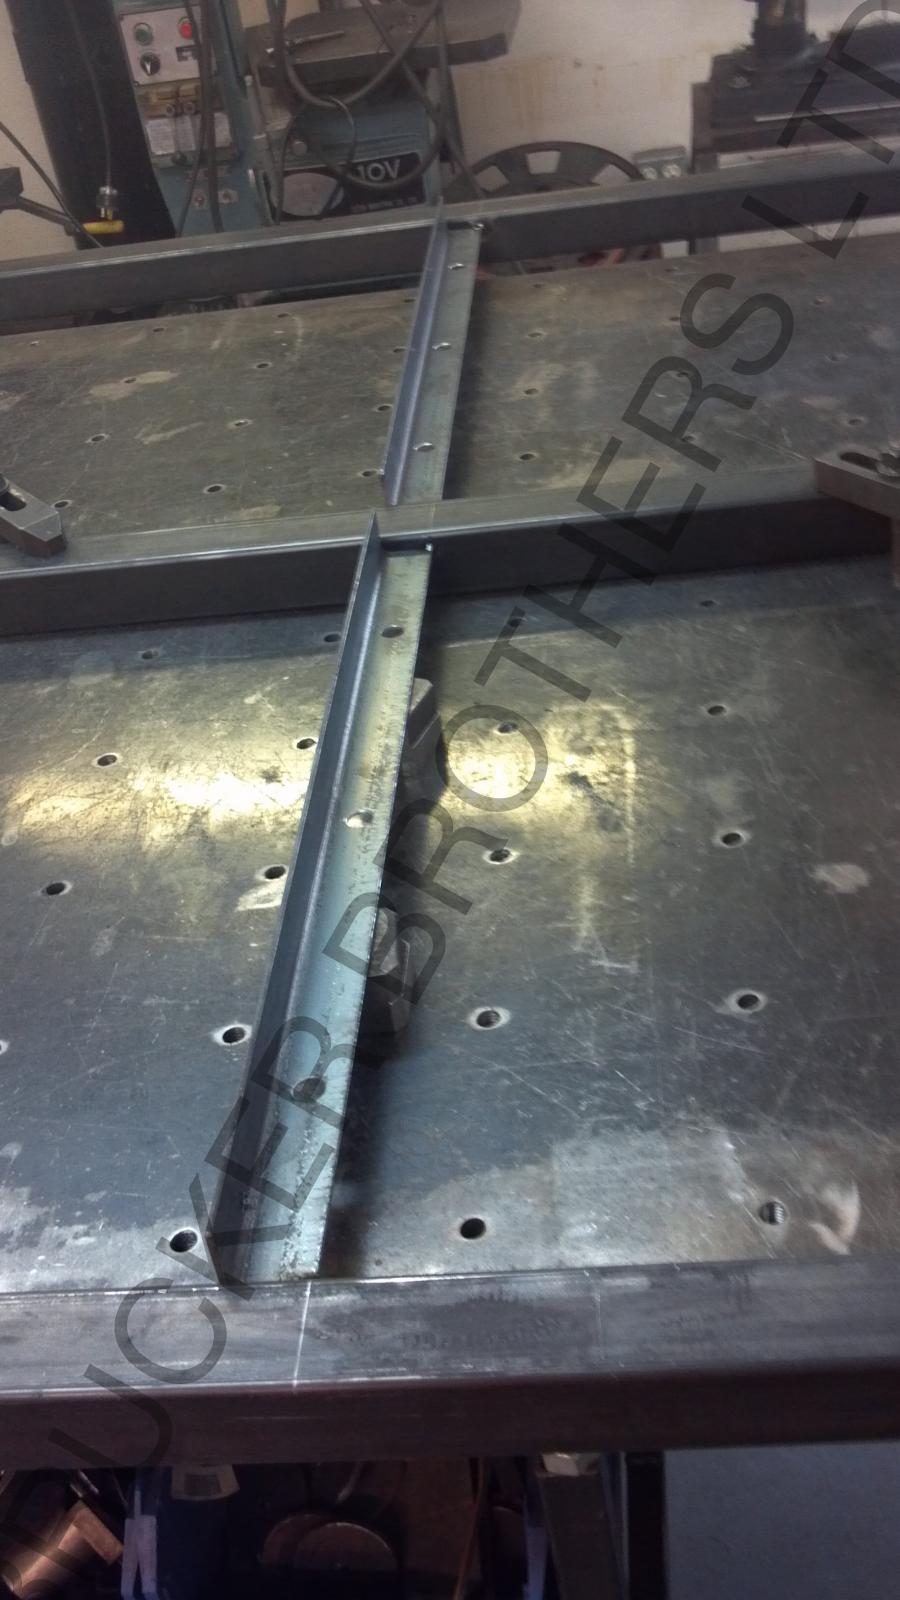
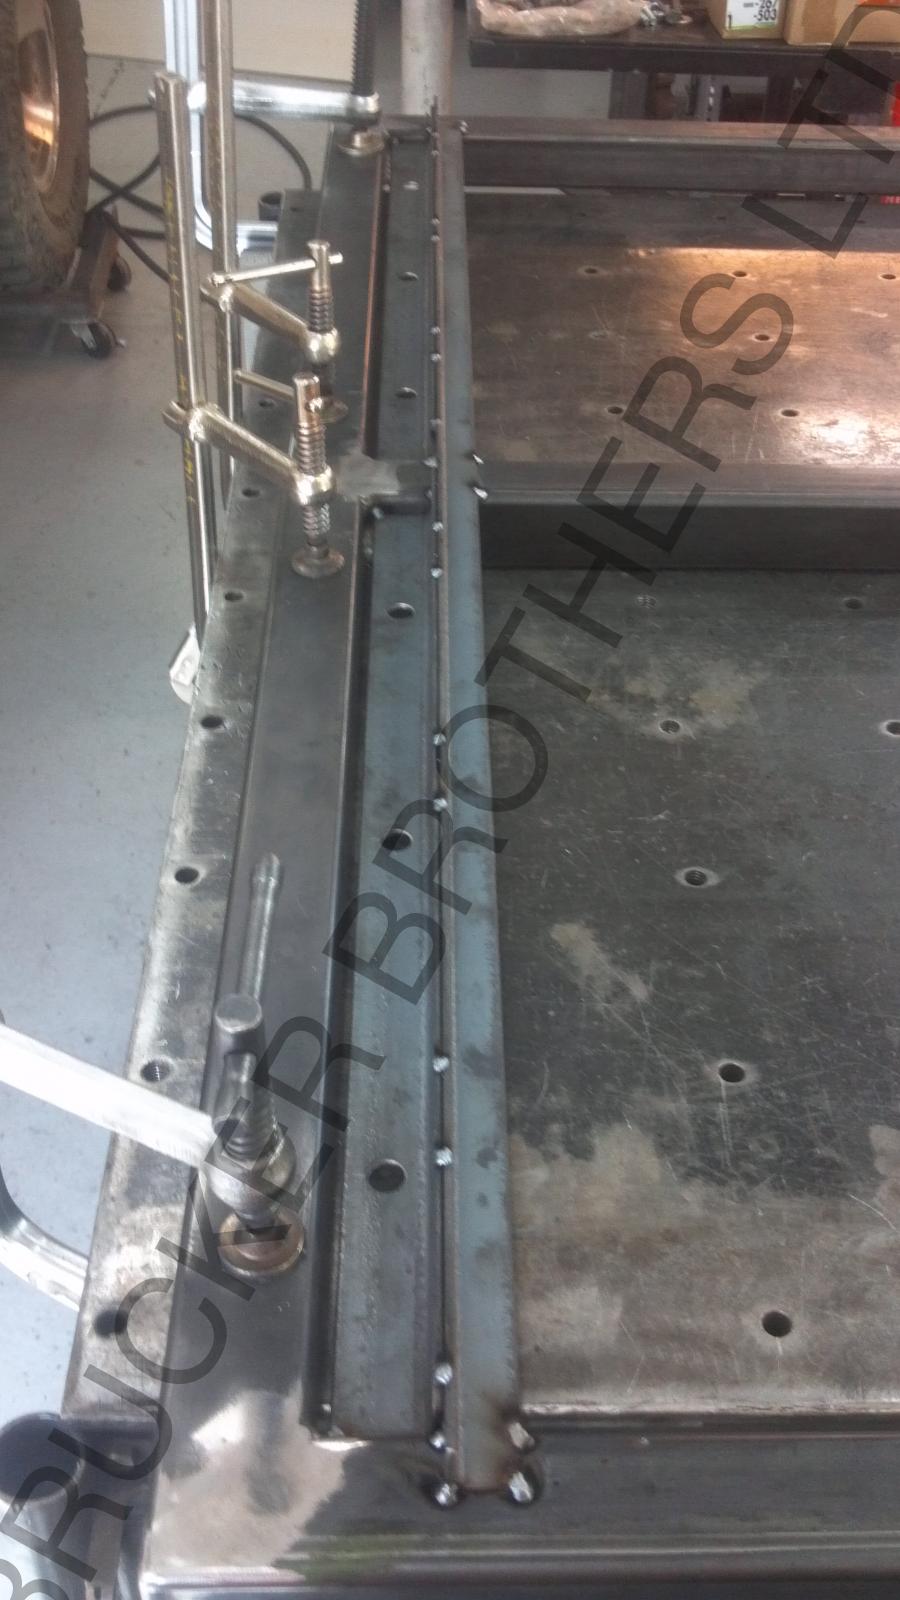
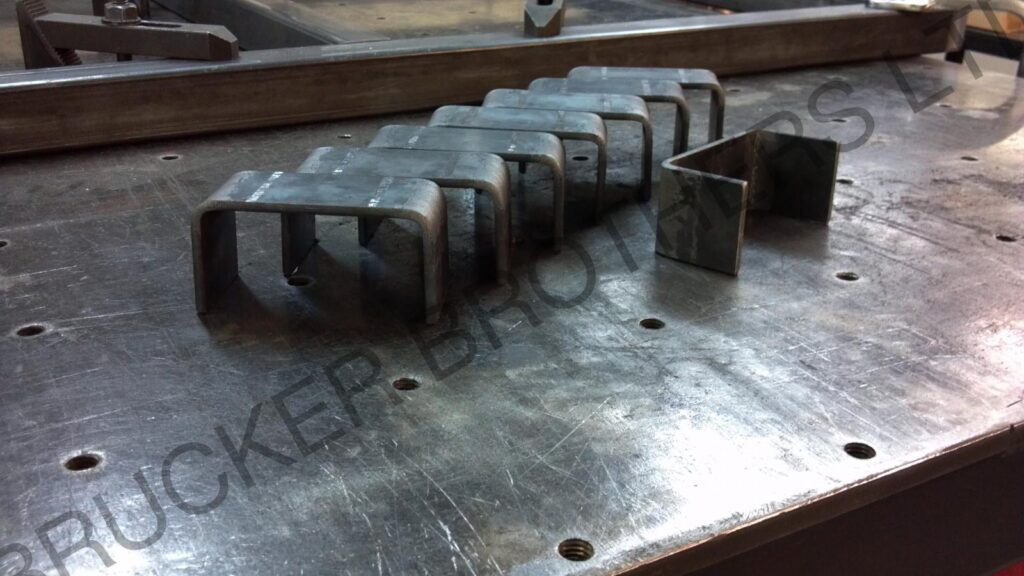
Cut, deburred and then bent up some flat stock to become the stake holders. Then welded them onto the chassis in the appropriate places.

Ground down the sharp edges and corners to make everything more user friendly and to also make more clearance for the wheels/tires.
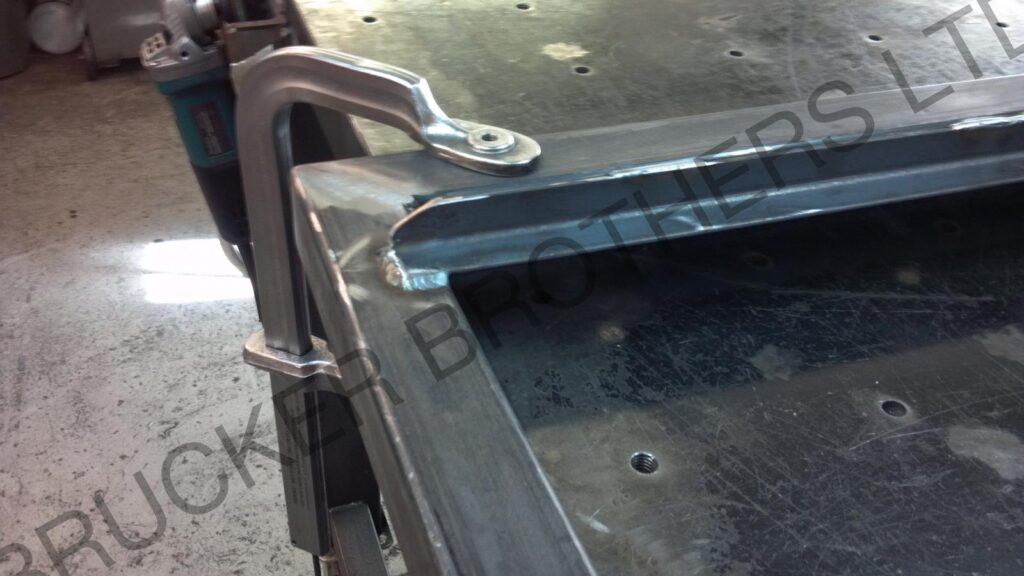
Welded the assembly as much as possible with it still clamped to the fab table. Once it was fully cooled, we took it off of the table, flipped it over, and clamped it back up onto the fab table.
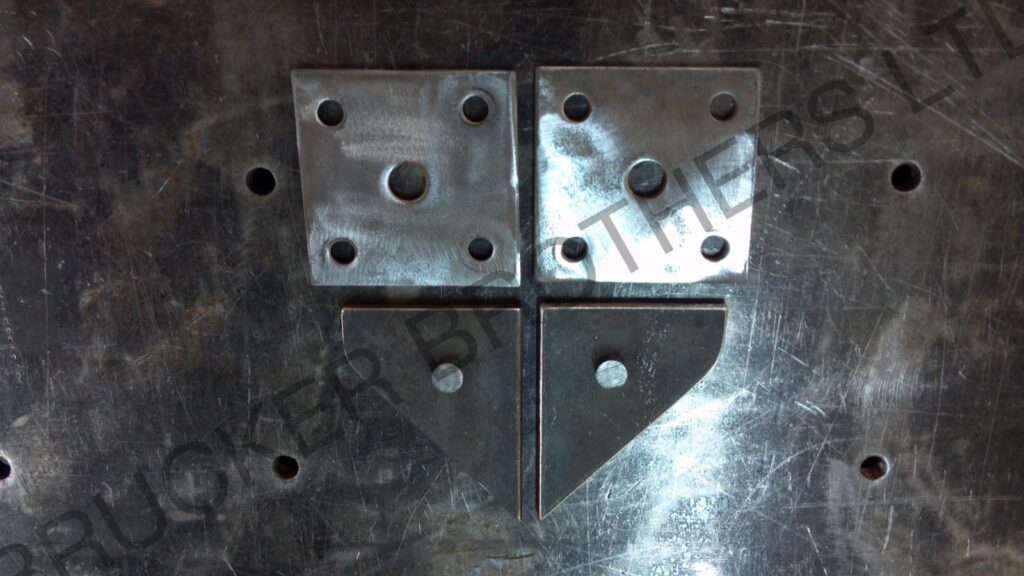
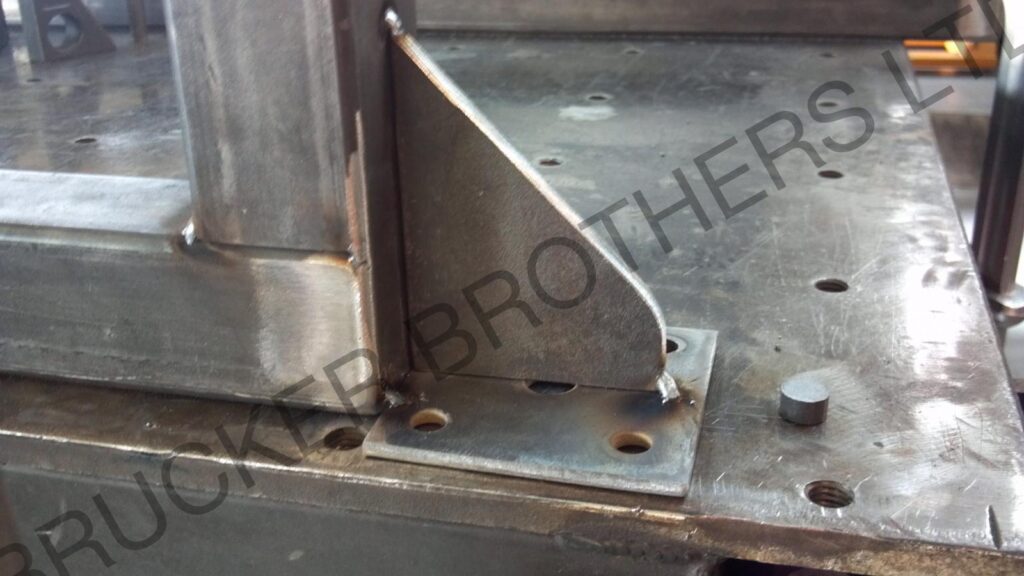
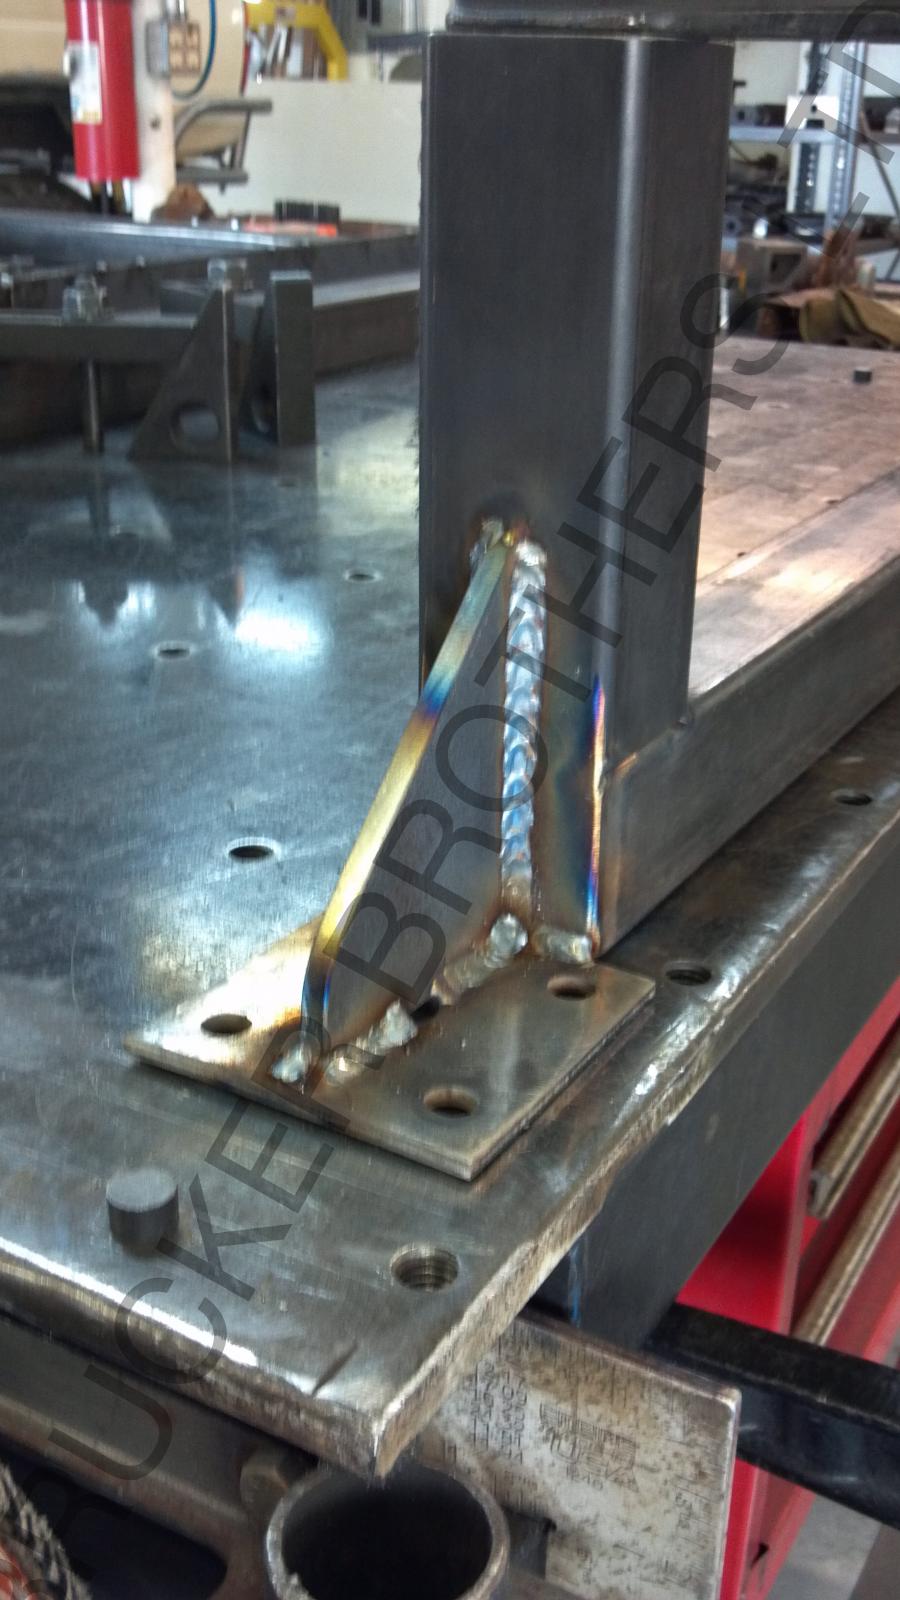
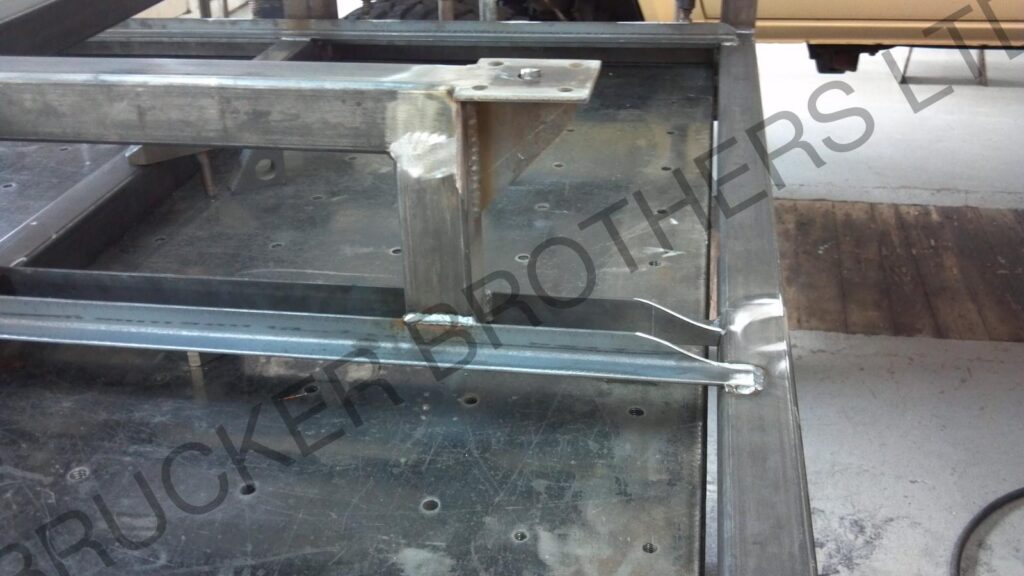
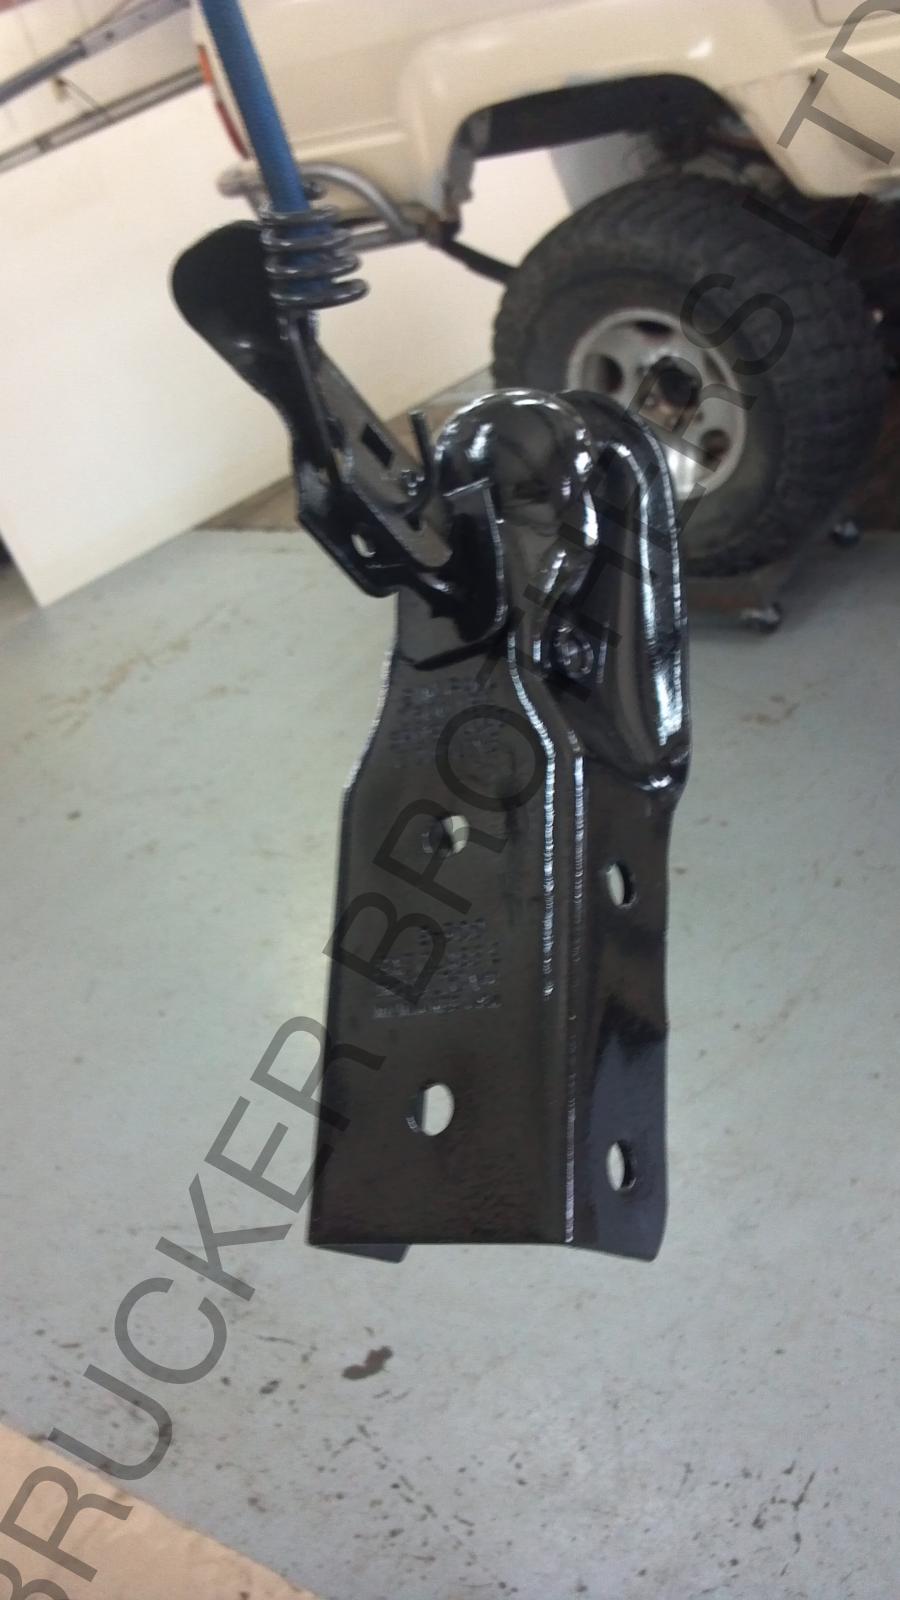
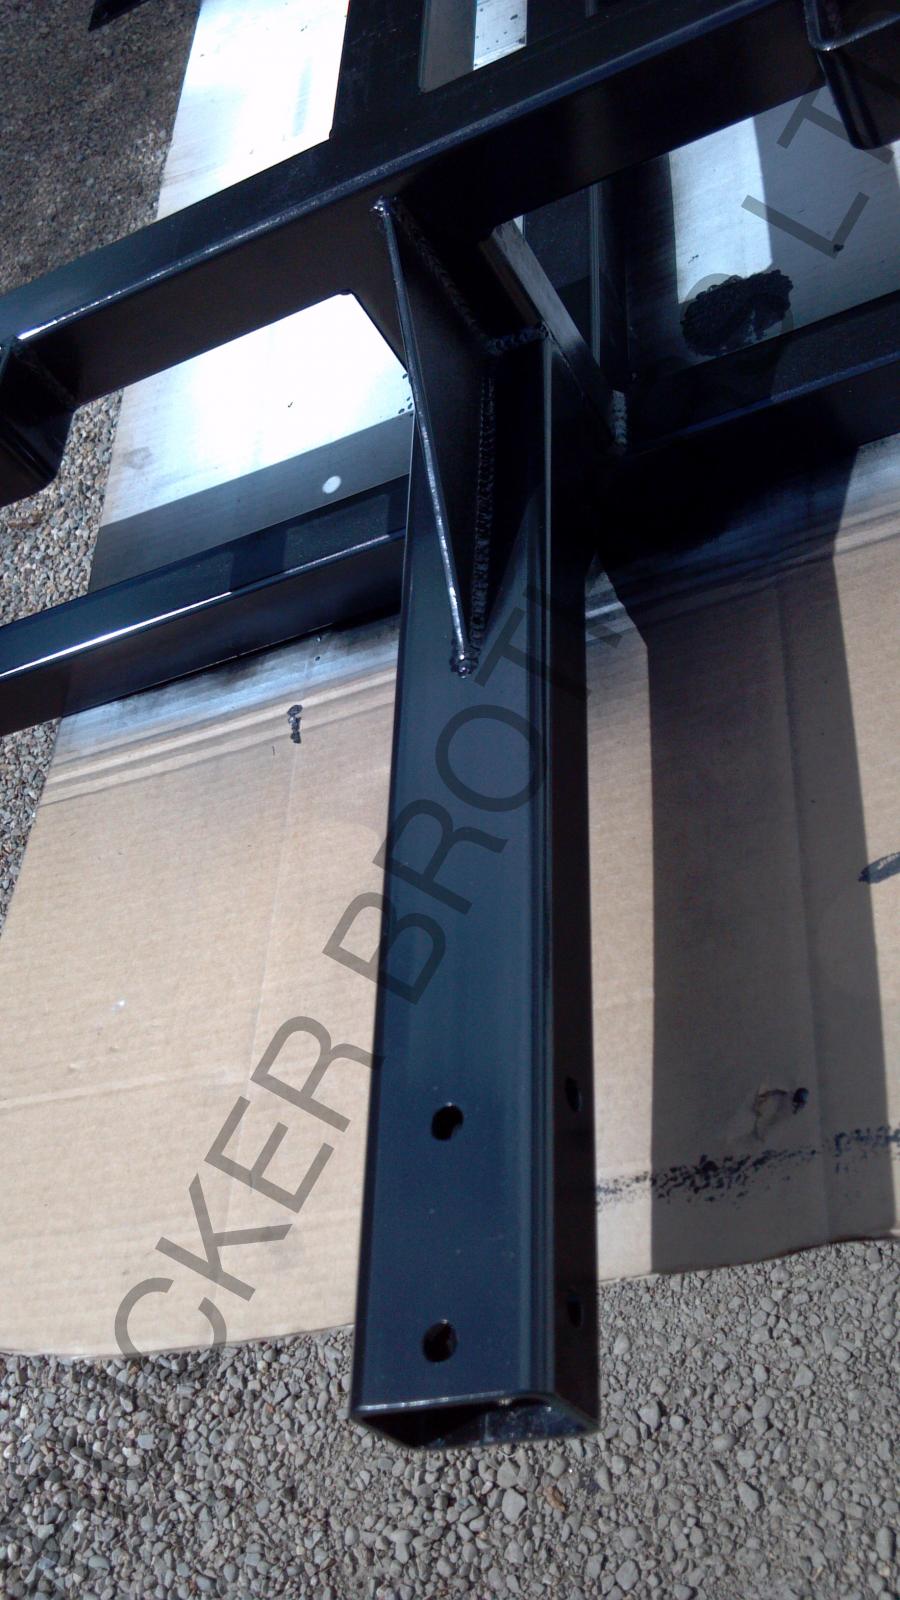
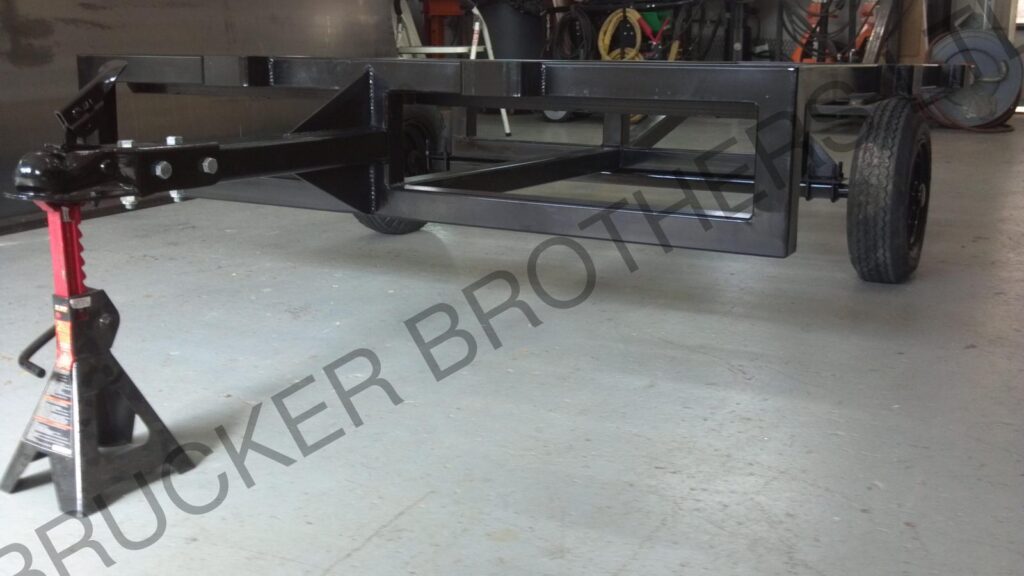
We now attach the tongue to the chassis. It’s located so the trailer will sit flat or level when connected to a receiver ball height of 14″. The top of the client’s ball is 14.5″ off the ground when static. Thus the trailer will sit level when fully loaded. Then we added plate gussets to the top and bottom of the tongue.
As you will notice, we opted to not cap the tongue. This will be the only piece on the entire chassis that is not capped and the interior of the tubing will be left exposed. This was done since water can easily penetrate the coupler’s mounting holes. Leaving this end open will allow water any any other moisture to easily evaporate and not cause early fatigue from rust.
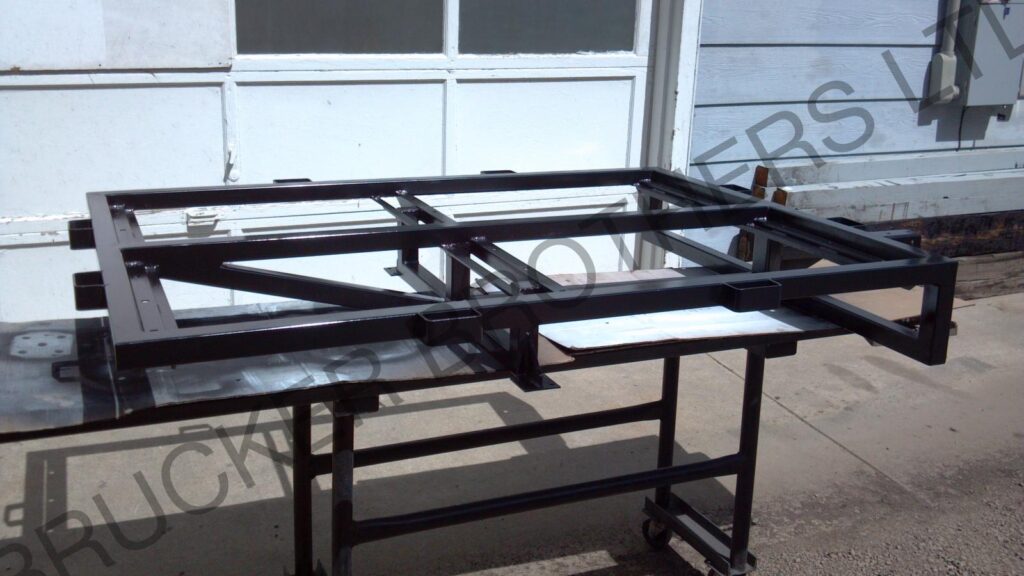
With all the welding done, our efforts turn toward the clean up and prep of the used parts and the rest of the entire chassis.
Everything got shot with black paint as per the client’s wishes. Here is a look at pieces fresh out of the paint booth.
Assembly time!
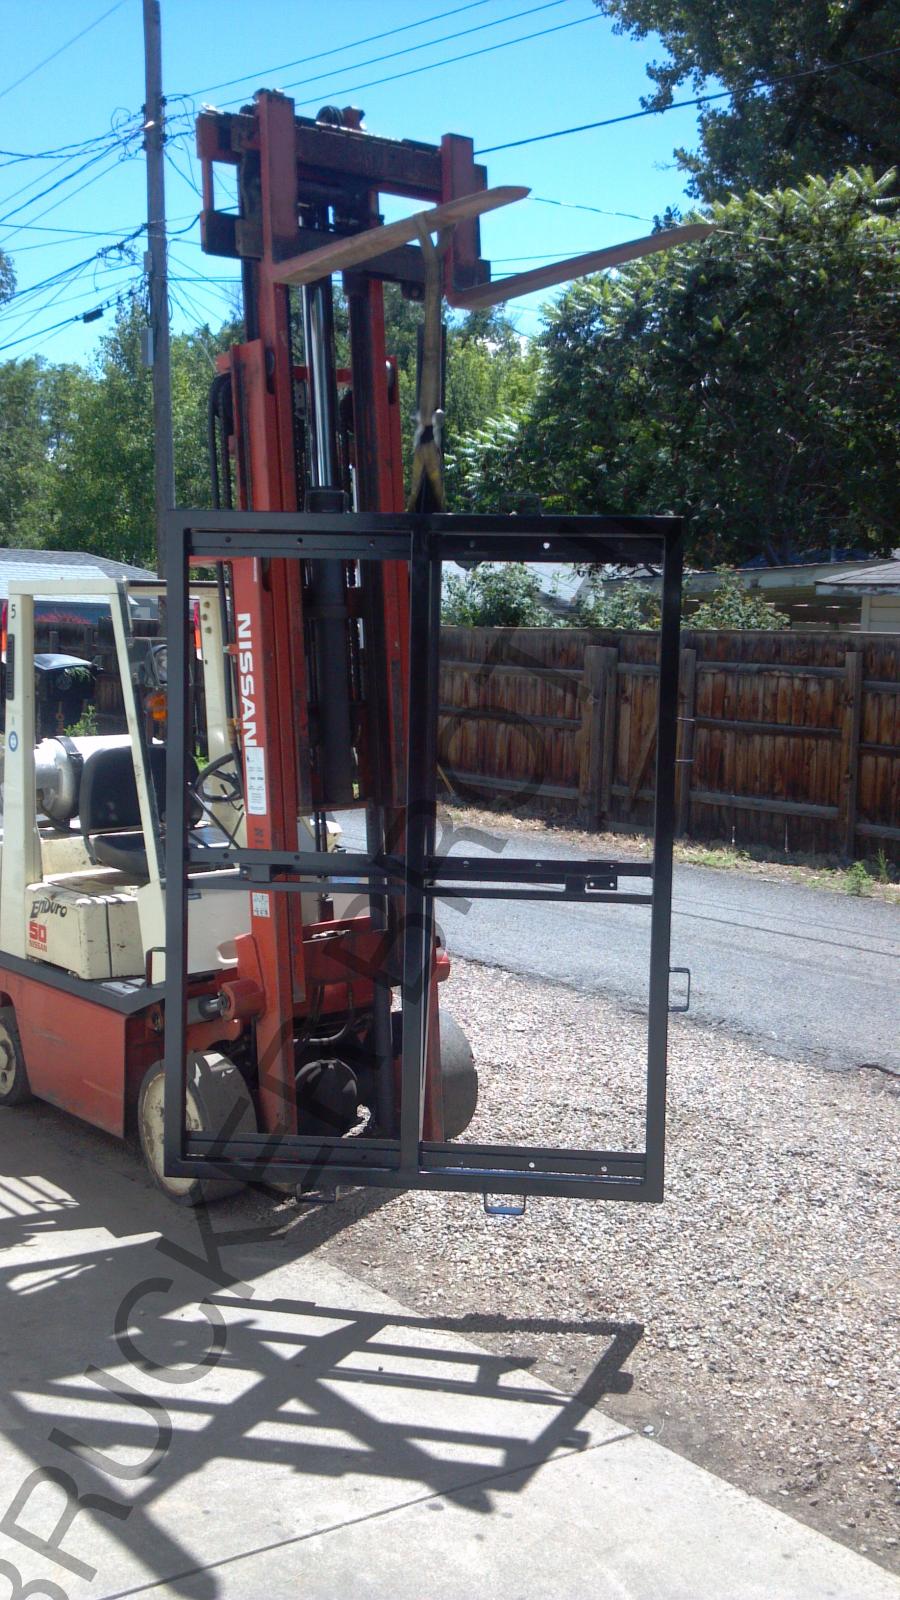
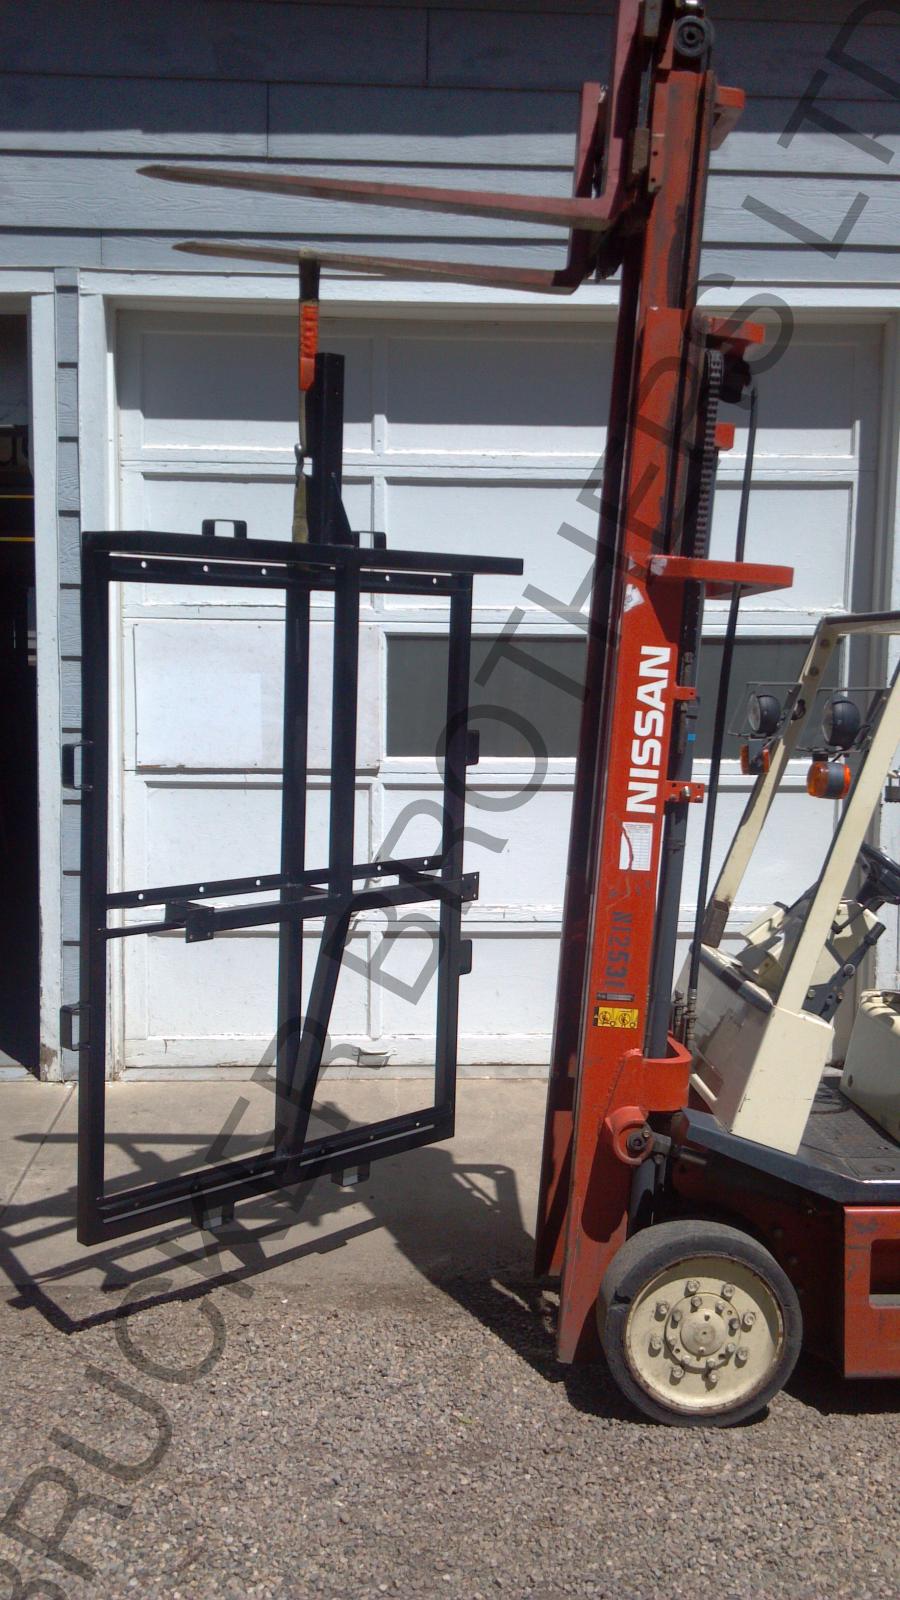
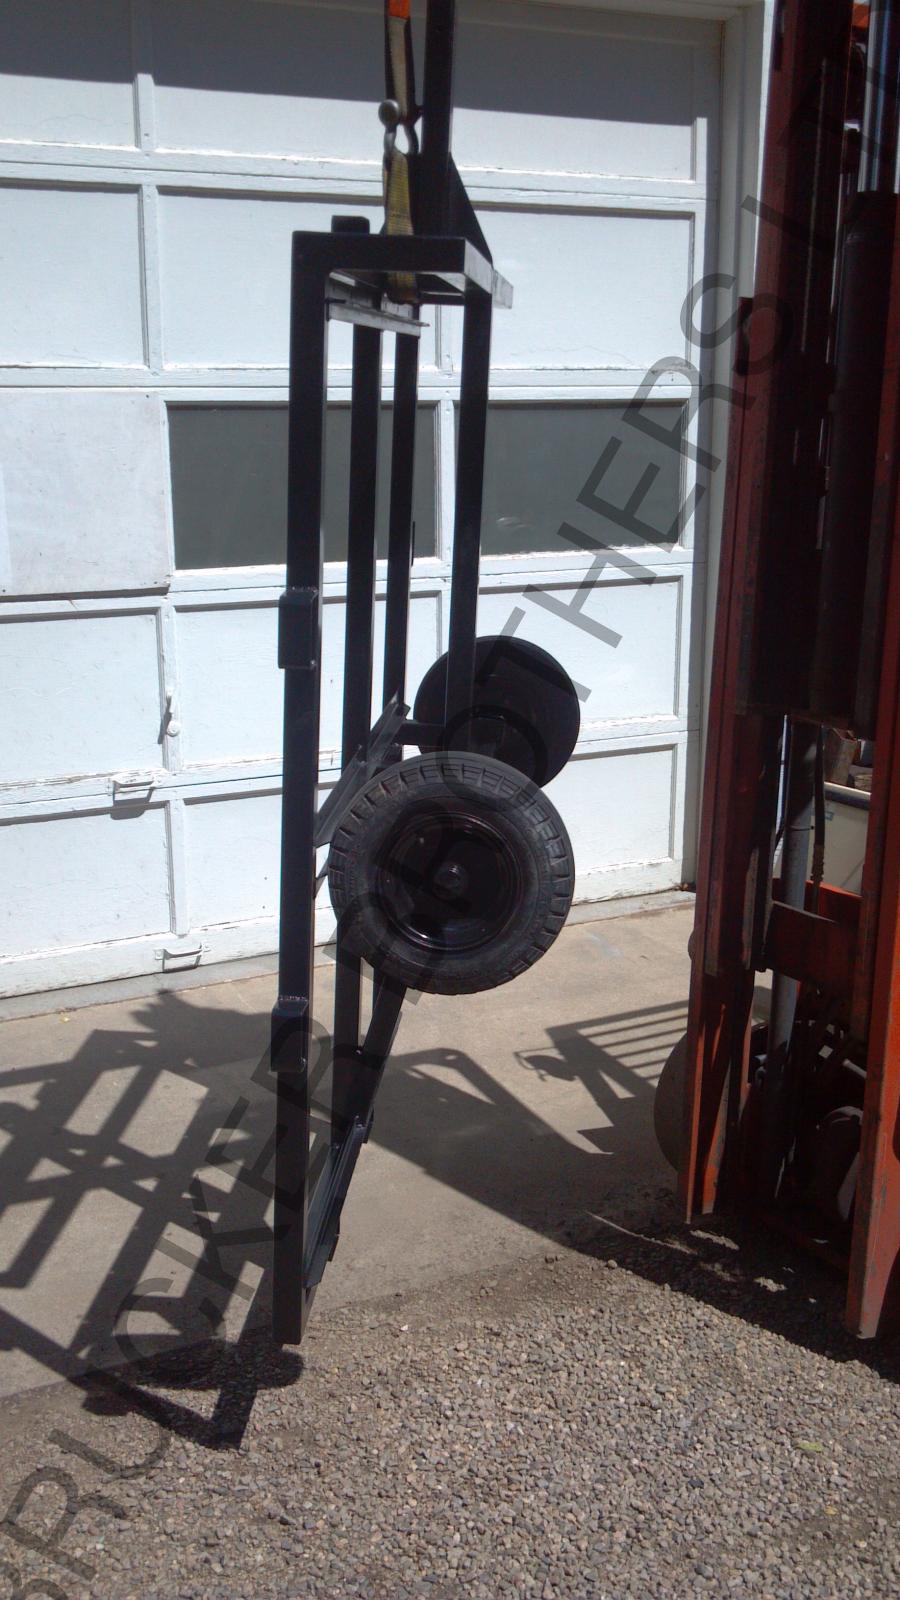
Assembly time! With the shop being as busy and crowded as always, shop space is very limited. So we did what anyone would do with access to the proper equipment and a beautiful Colorado afternoon at their disposal. We enlisted the help of our trusty fork lift when installing the axle assembly onto the freshly painted chassis.
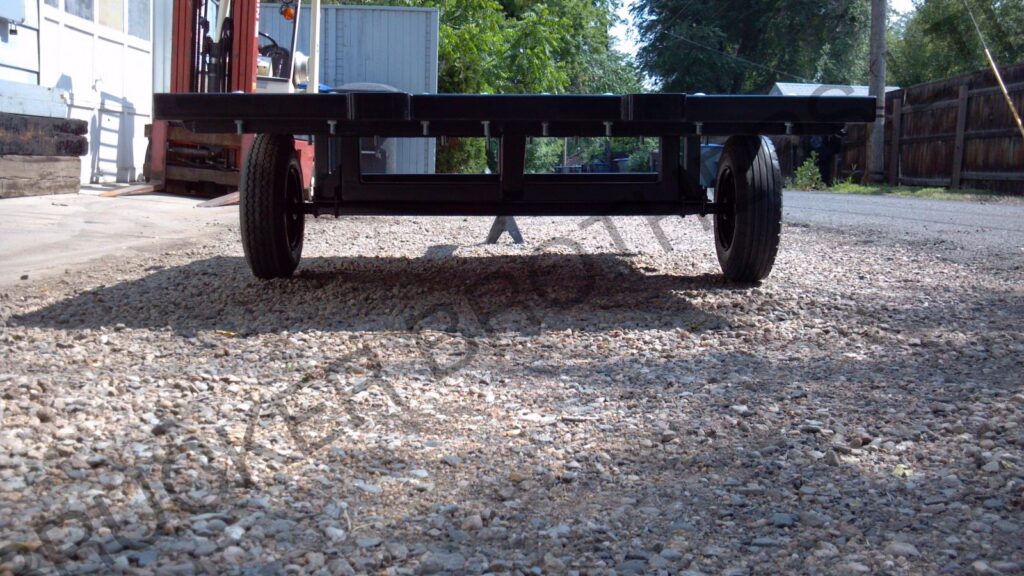
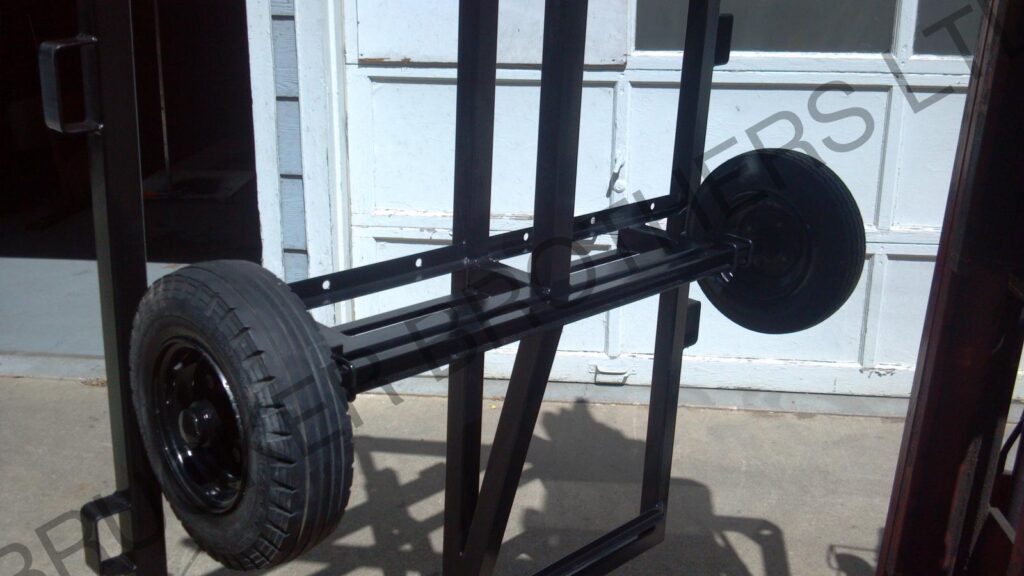
Then installed the wheels with tires.
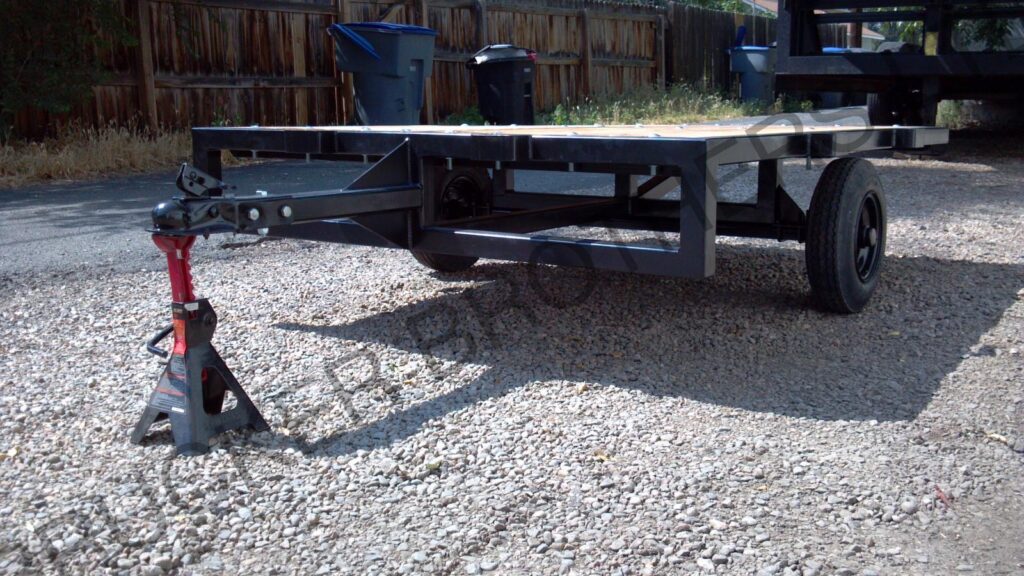
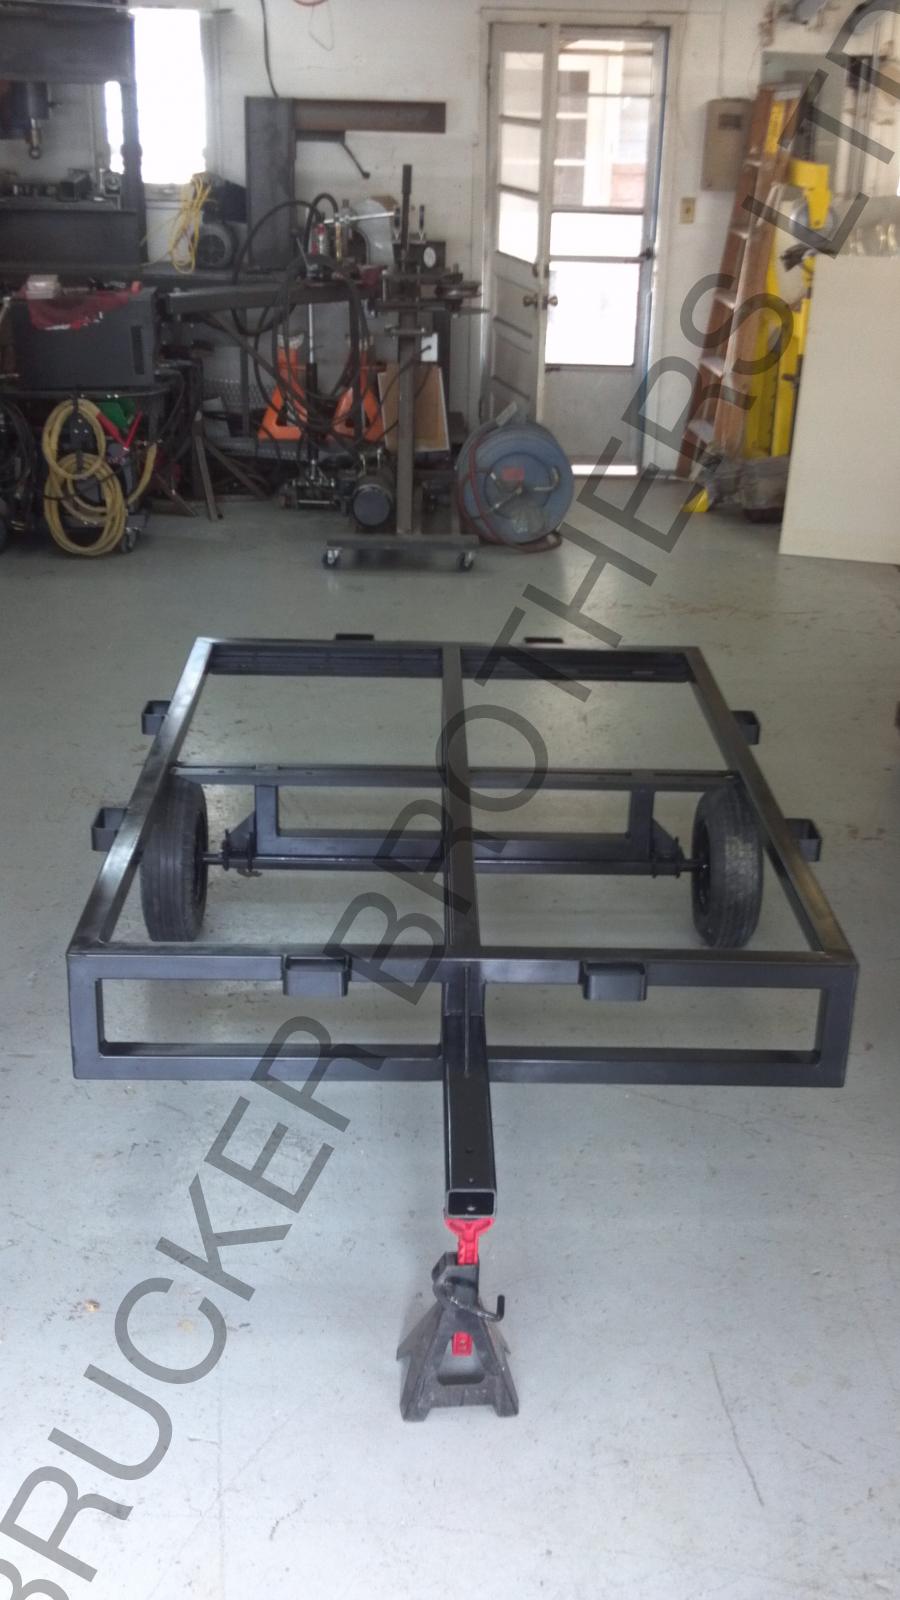
Then lowered the trailer back to the ground in order to install the coupler.
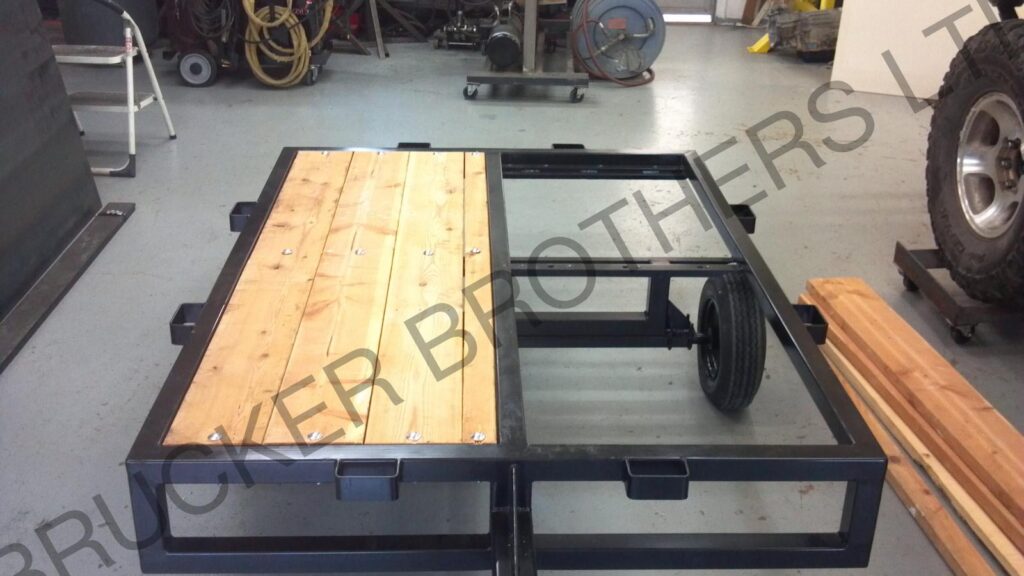
Got the wood cut for the deck and put into place.

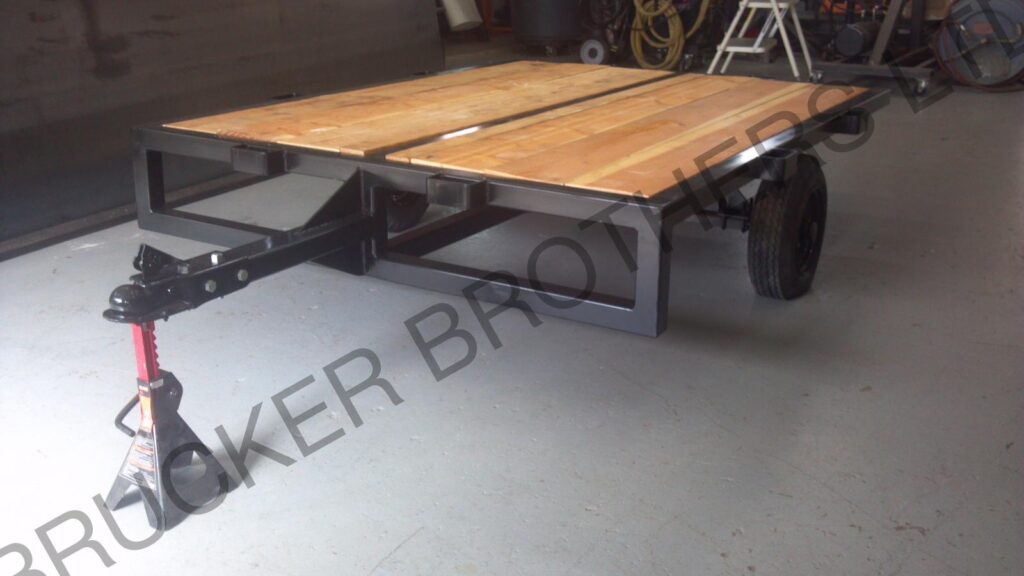
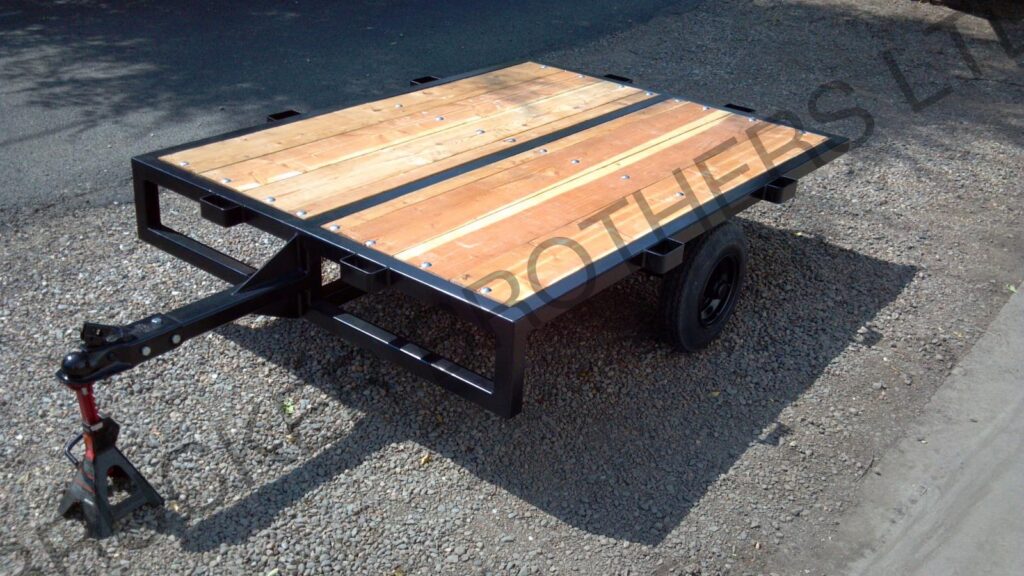
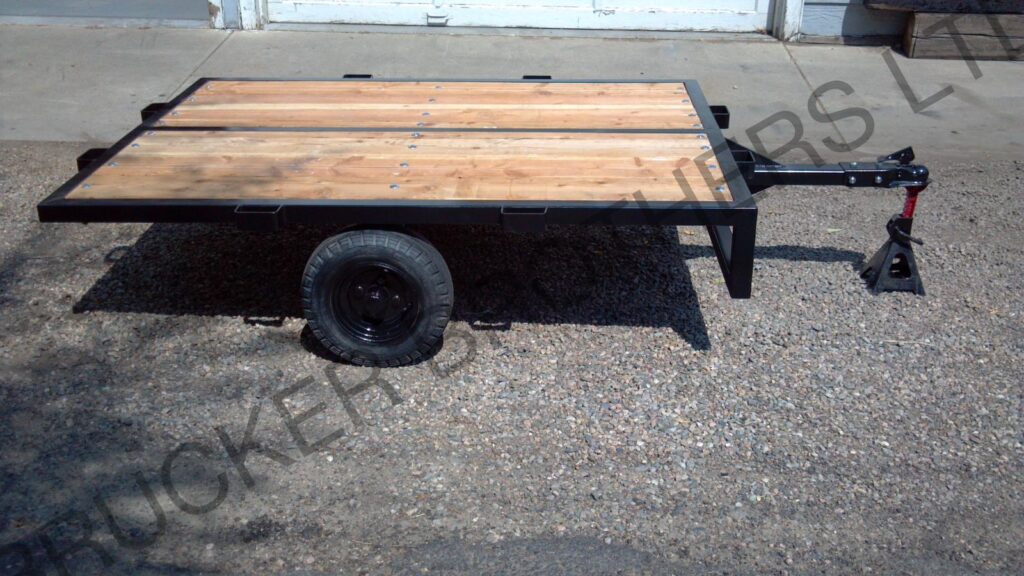
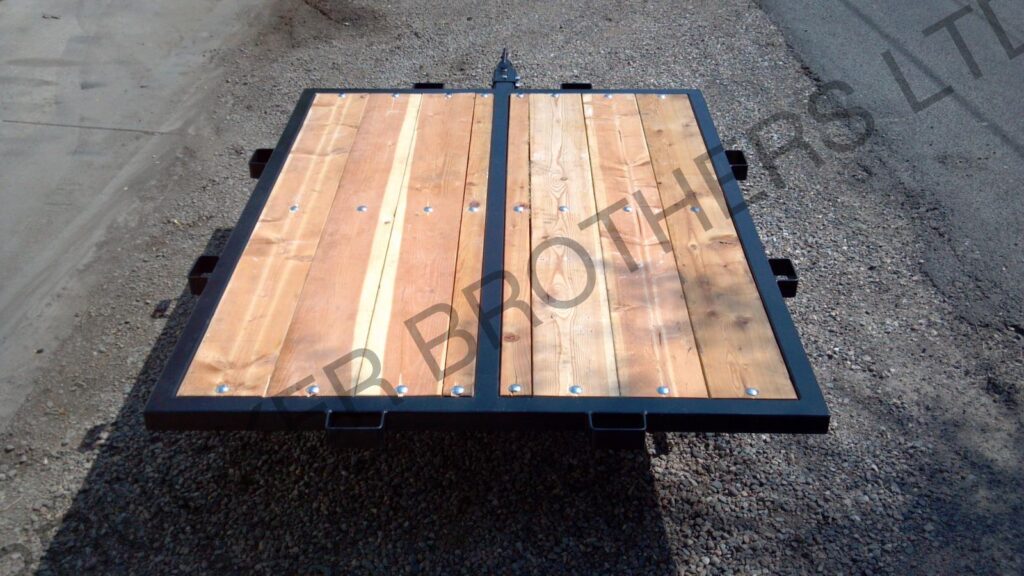
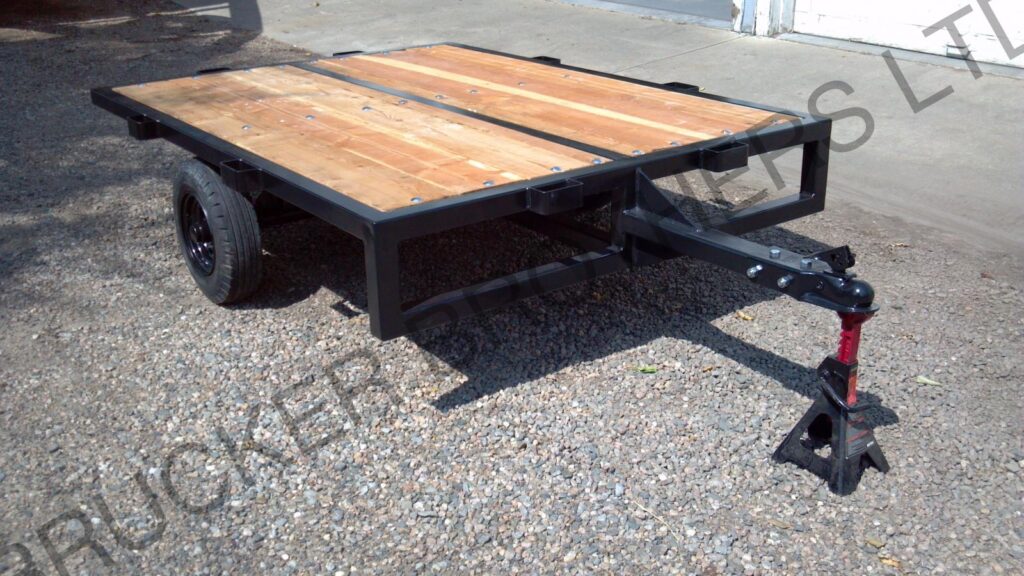
Marked then drilled wood for the carriage bolts and installed the deck.
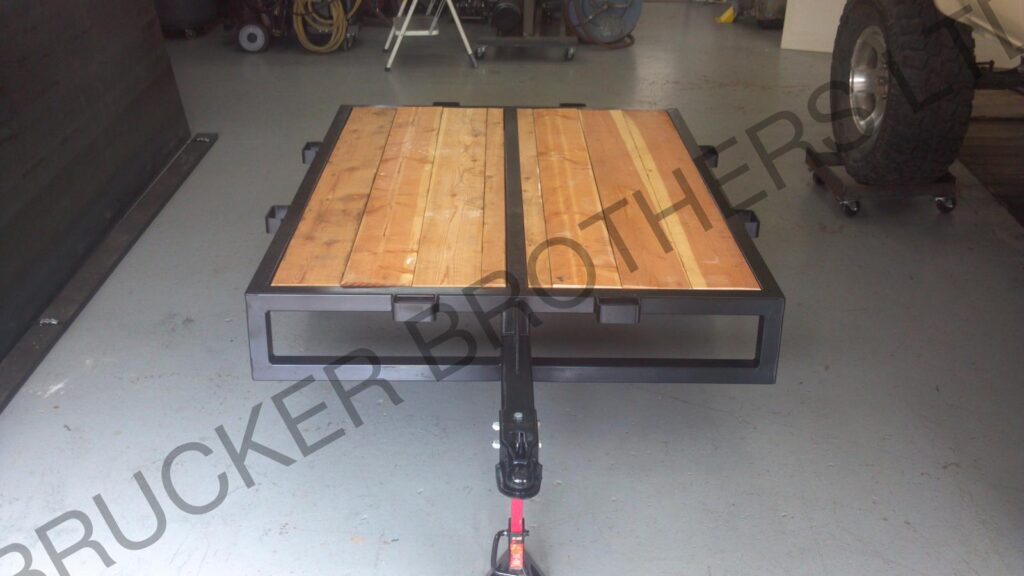
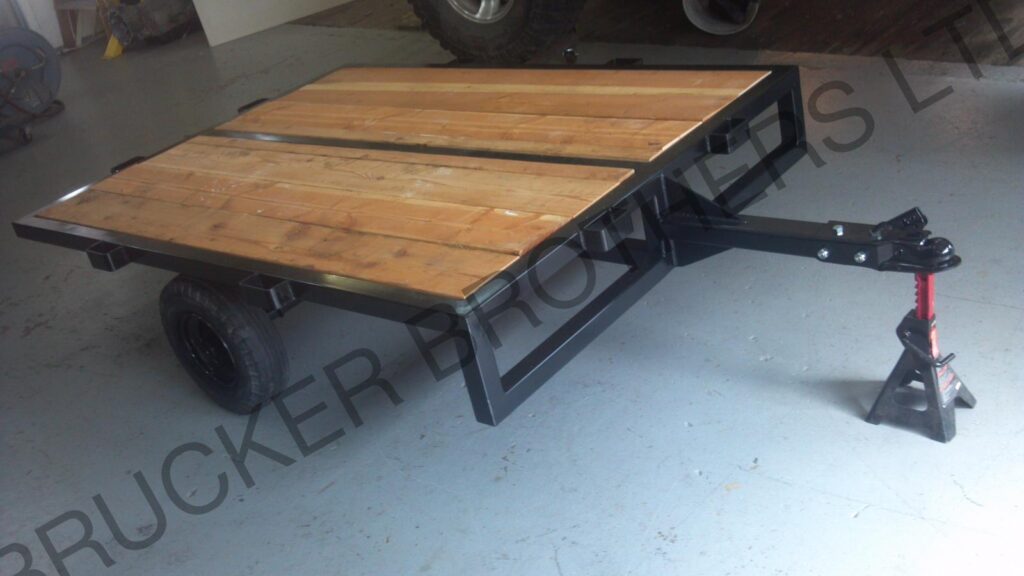
The finished trailer. Turned out very well if we say so ourselves!