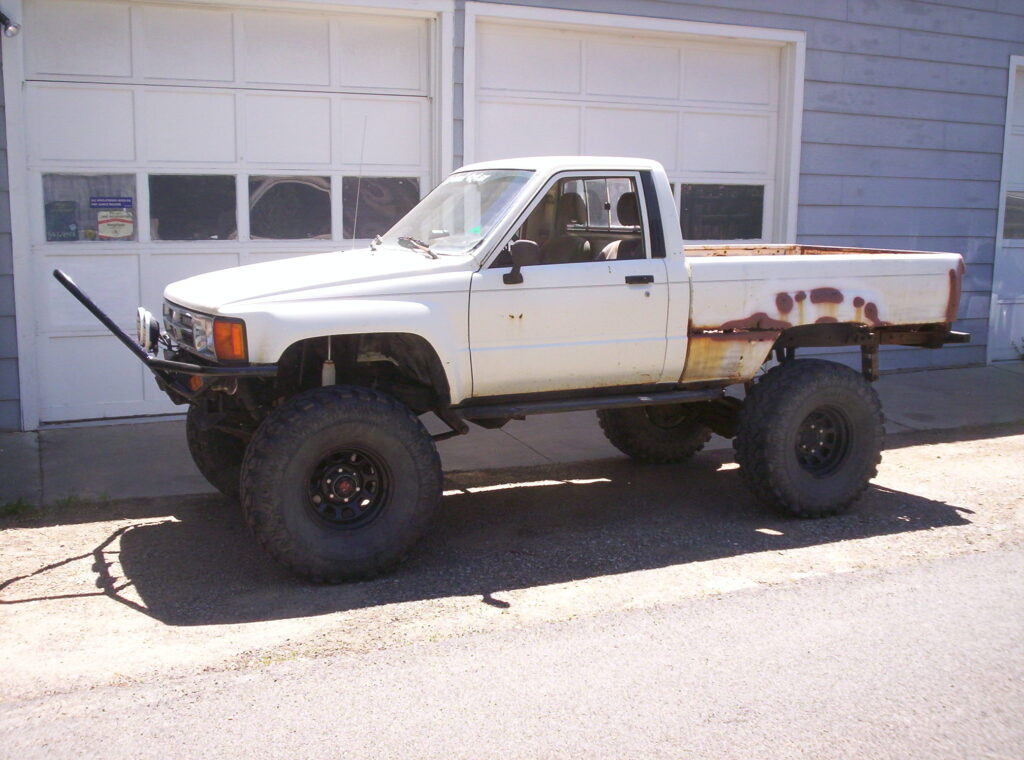
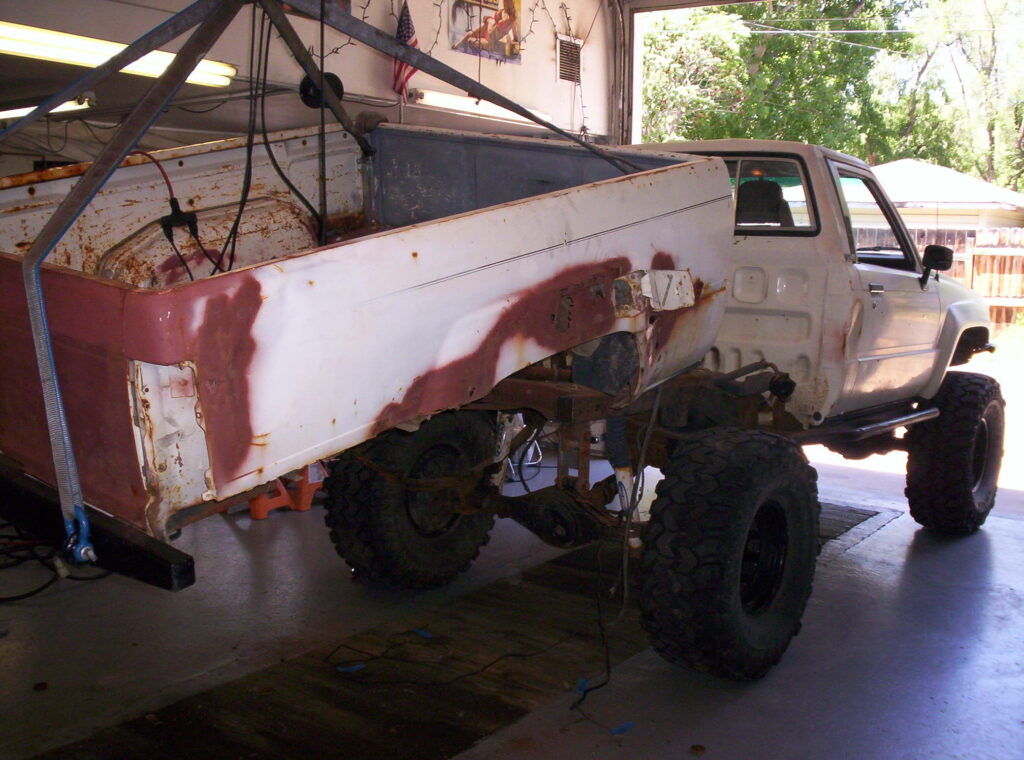
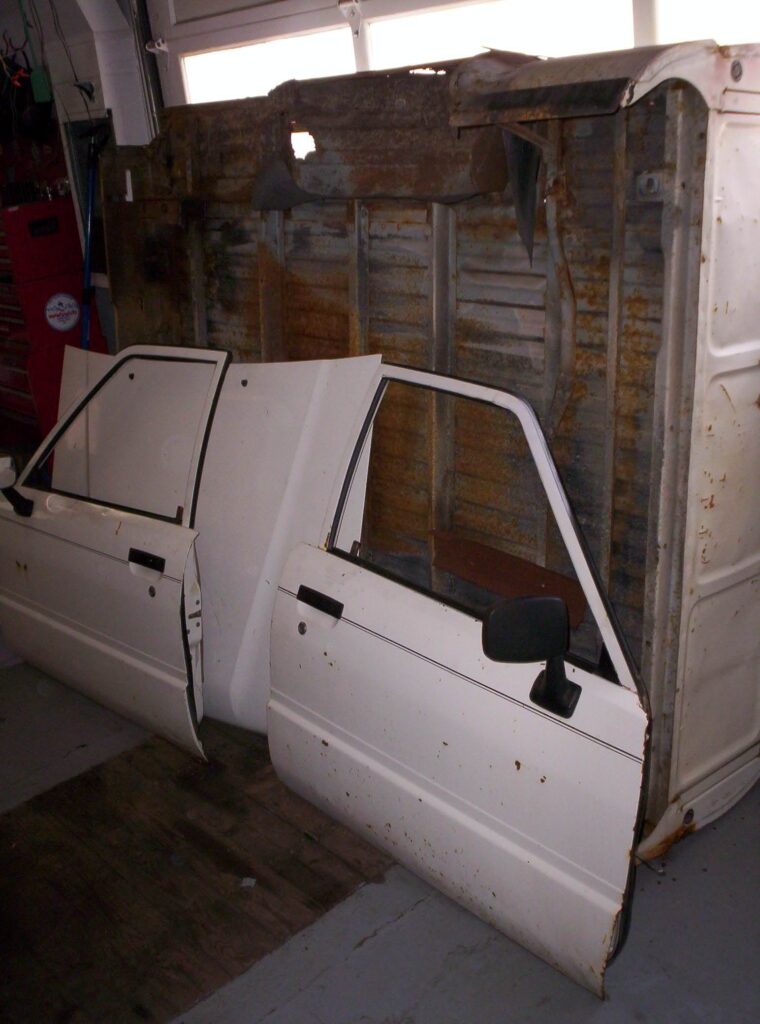
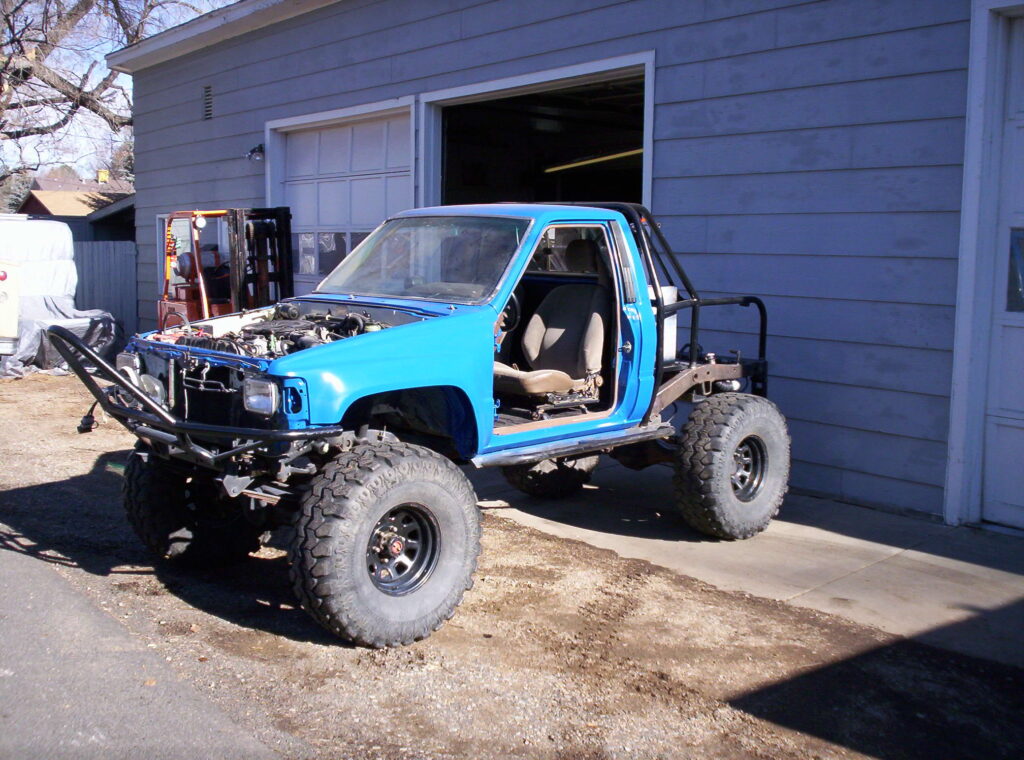
We purchased an ’85 Toyota a while back that we were planning on using for parts. The thing already had a lift, was running 35’s, sported some tube work (bumpers and sliders), was geared, and the rear even had a locker. But it was a basket case. The rust had destroyed the bed and even most of the rear shackles. It was used and abused and was begging to be parted out. But as we got to looking at it more closely and thought it would be worth bringing it back from the disrepair it was in. We sat down and mapped out a plan for the build. Wanted something on a budget, that could be used to run around town picking up parts and also keep up on the trails.
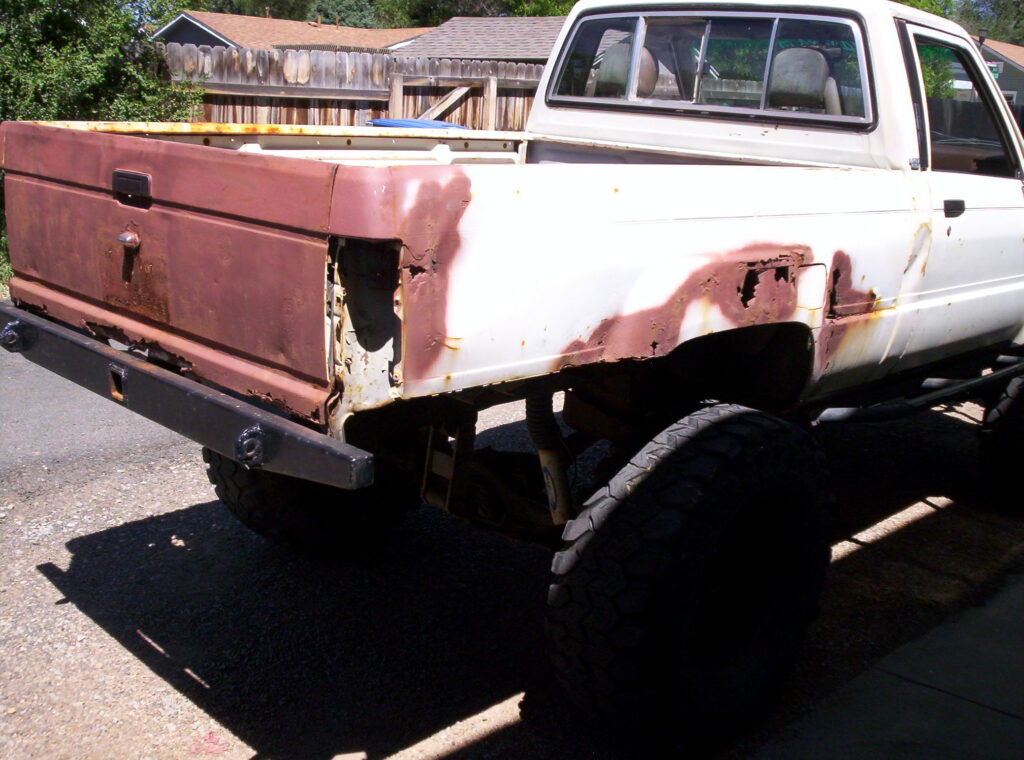
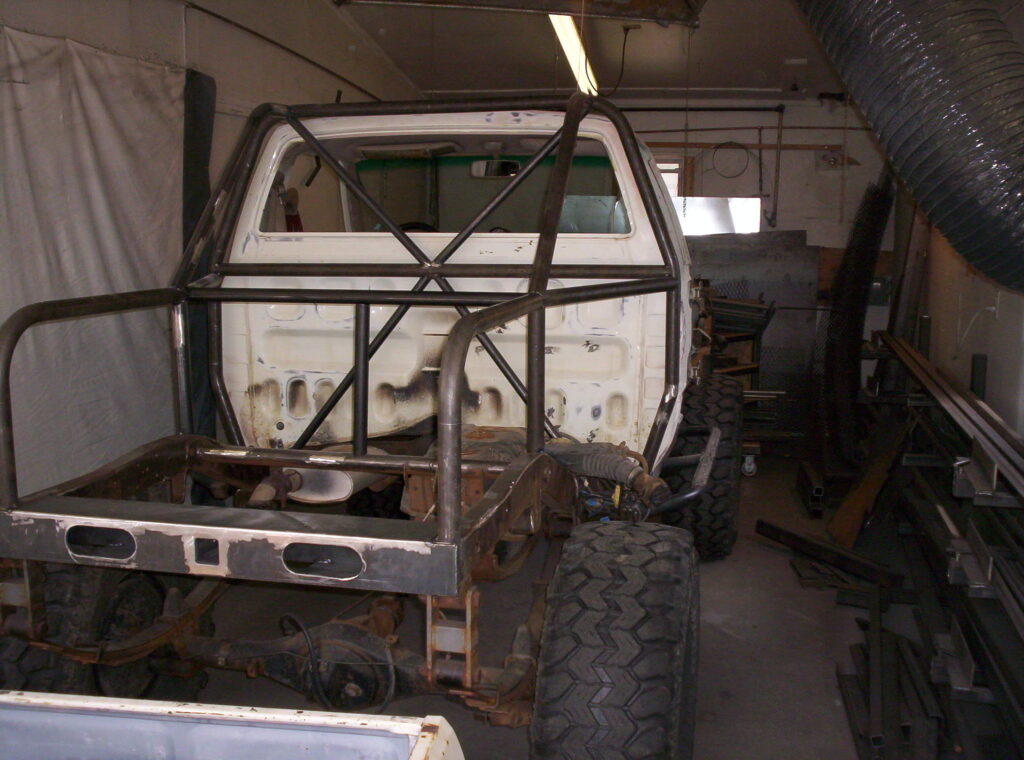
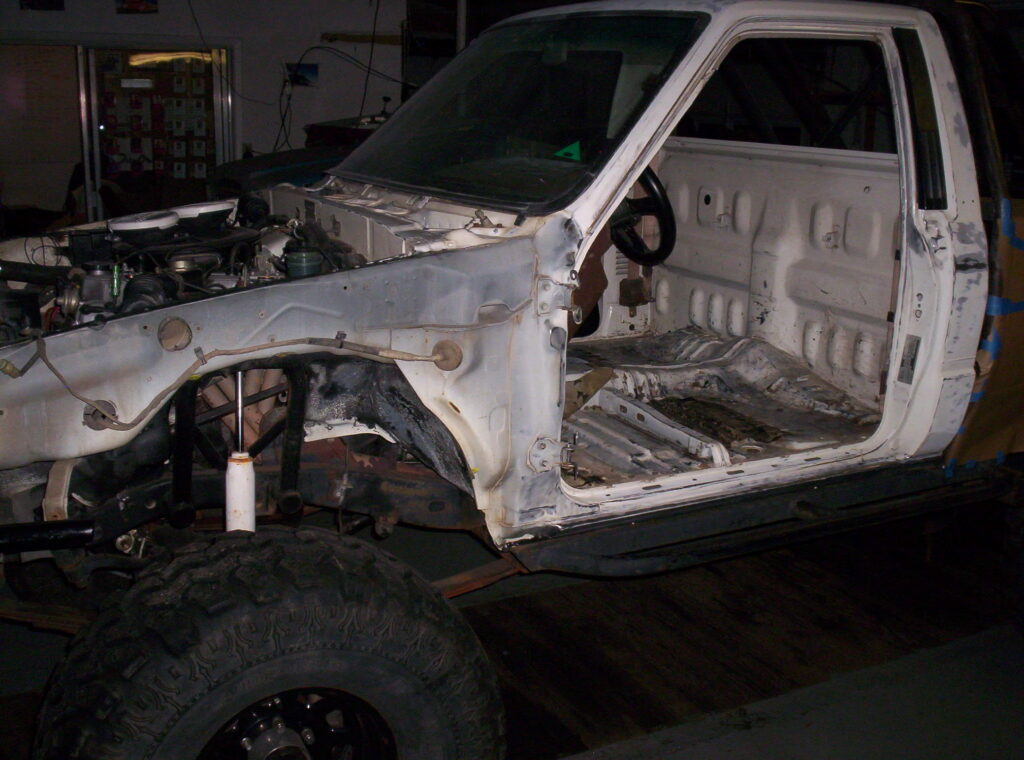
Once we thought we had a good plan of attack, we put the old girl under the knife. We needed to ditch the bed in favor of a tube one. And also wanted to cut off the rear bumper it had welded on, so we could shorten the length of the frame.
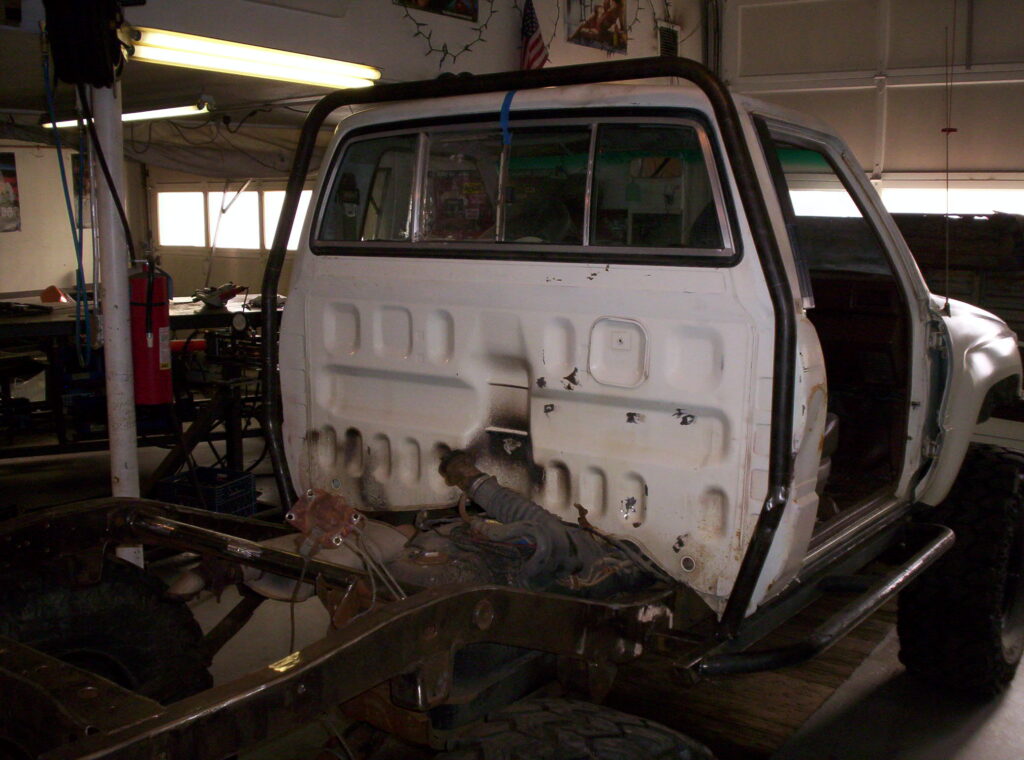
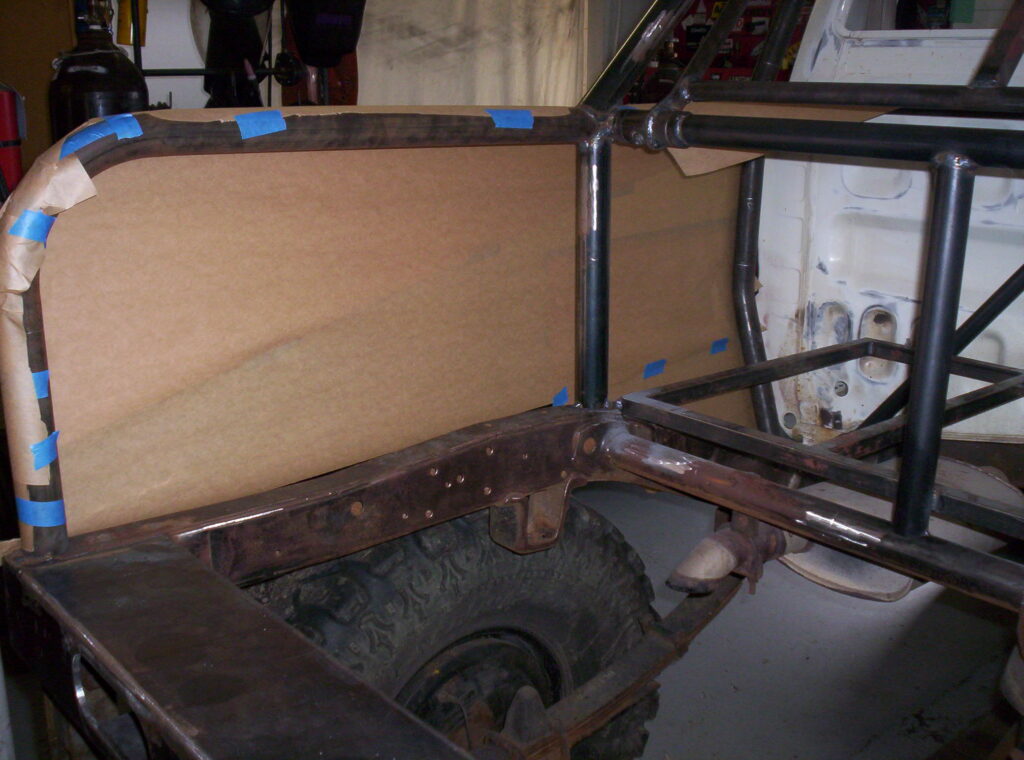
With the bed and bumper off it was time for a little clean up and more tear down. We stripped the doors, fenders, hood, grill, interior, and most of the suspensions off. With more working room, we started on the rear tube work.
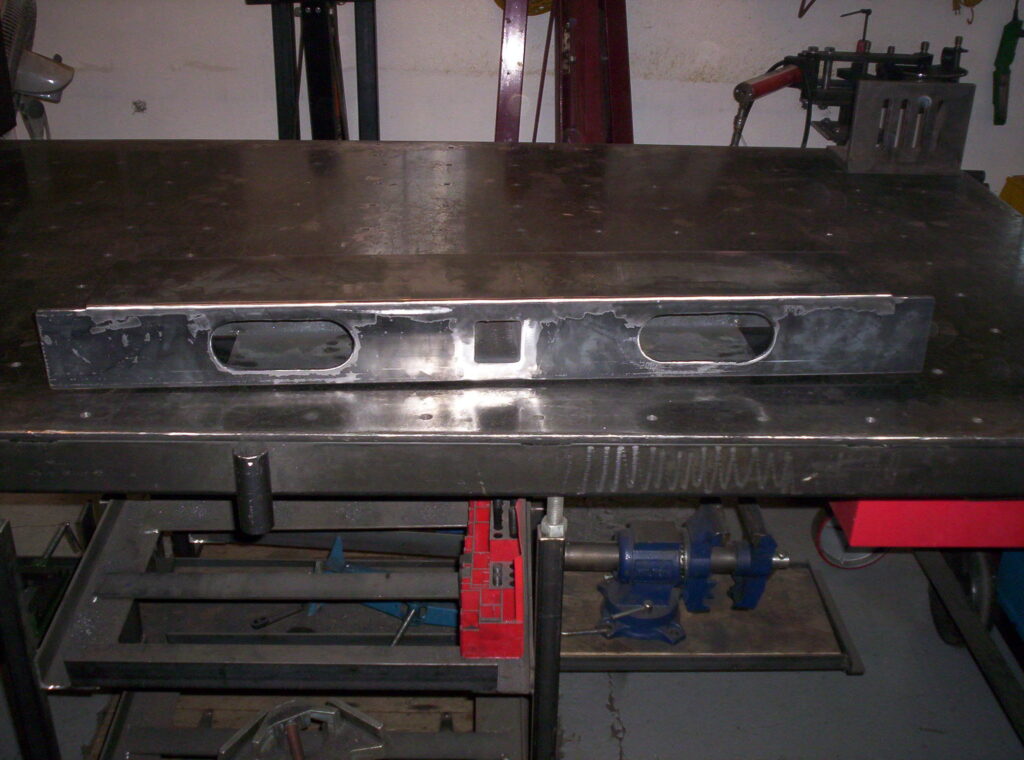
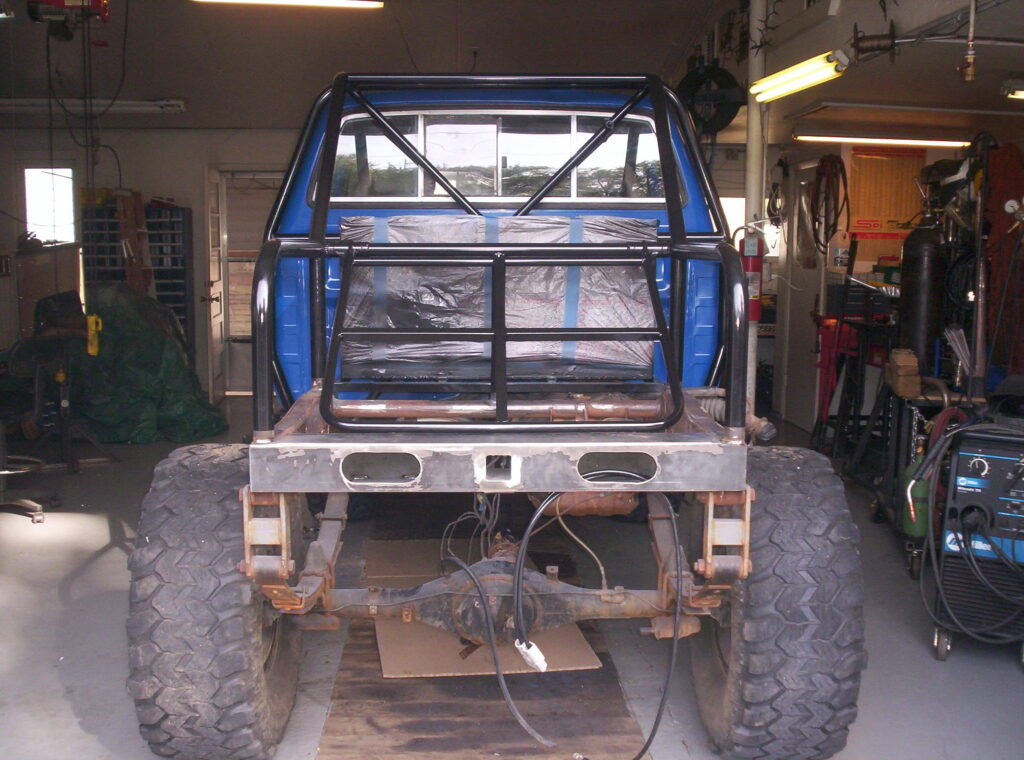
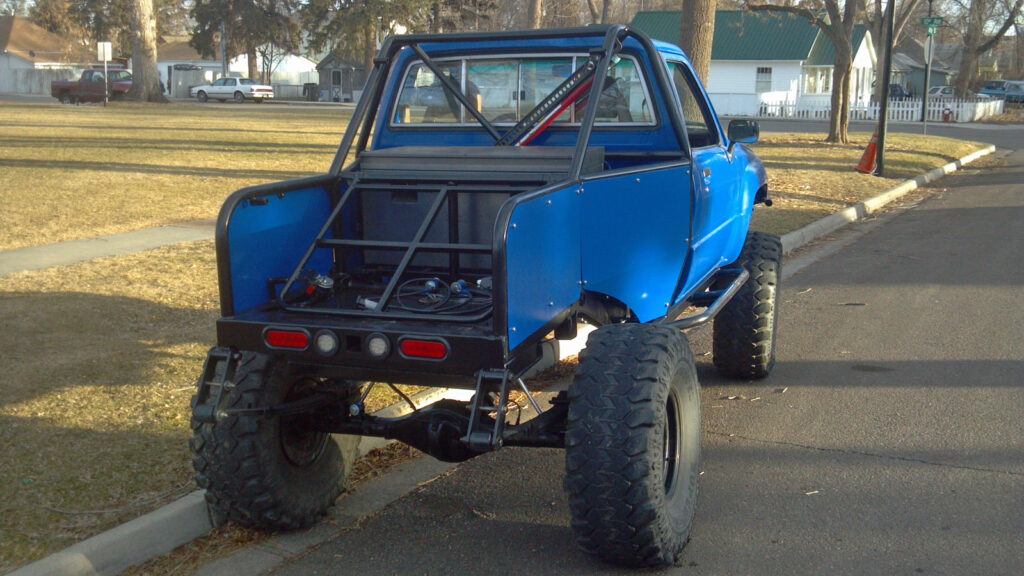
Made a new rear cross member/bumper that will hold the lights and a receiver hitch. Decided to run a hitch receiver mounted winch on this project. This way we will be able to run a winch off the front or the rear, with a little bit of wiring. Rear came out ok but still need to mill holes for the reverse lights though.
Rear welded in and a few more sections of tube added.
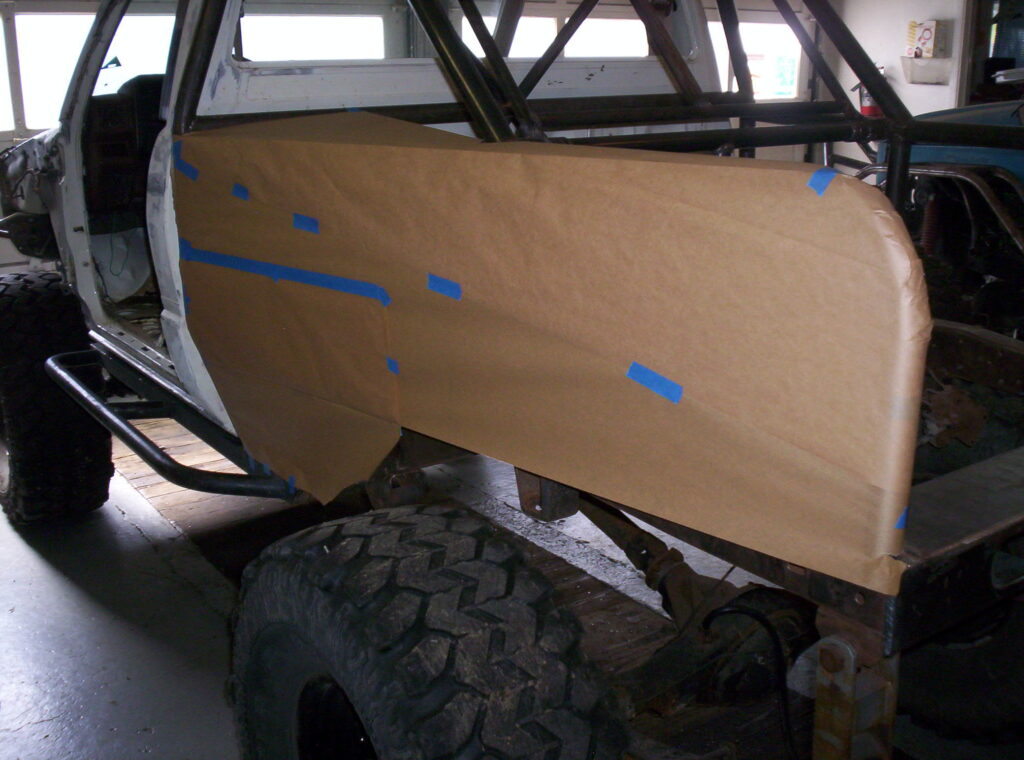
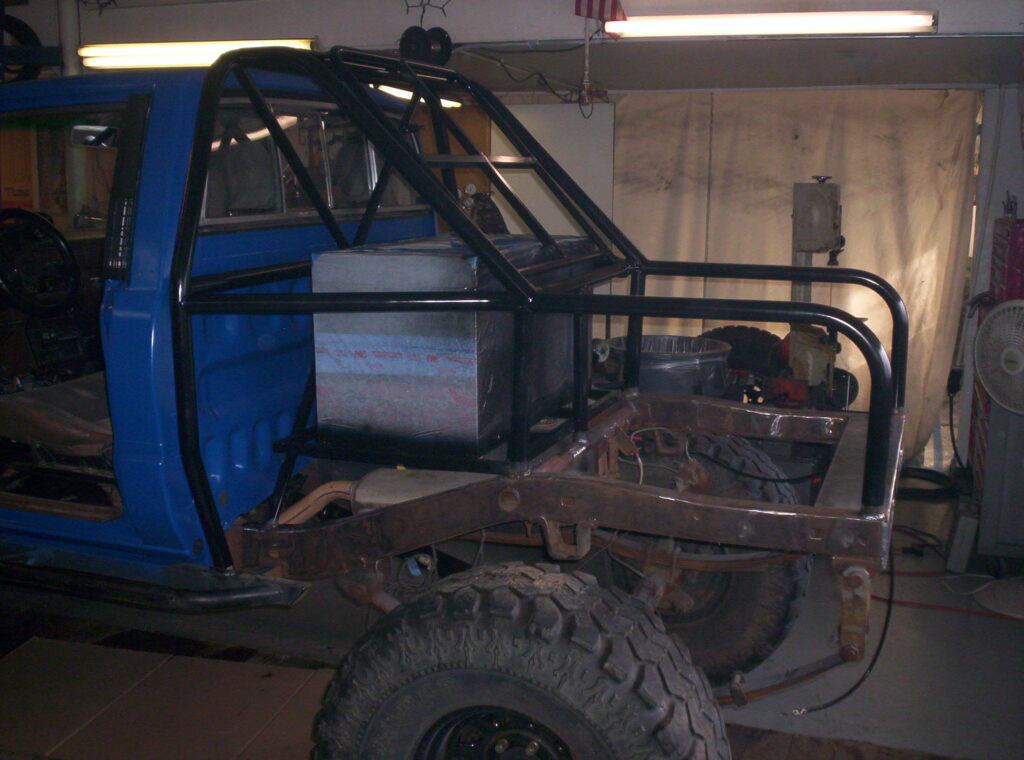
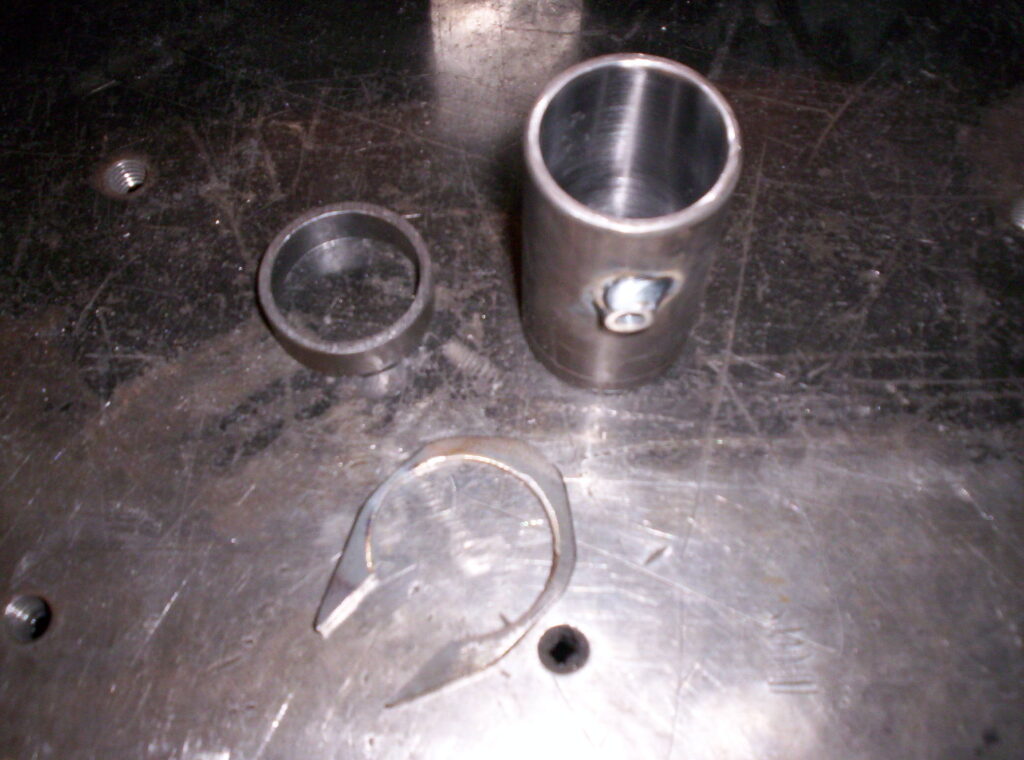
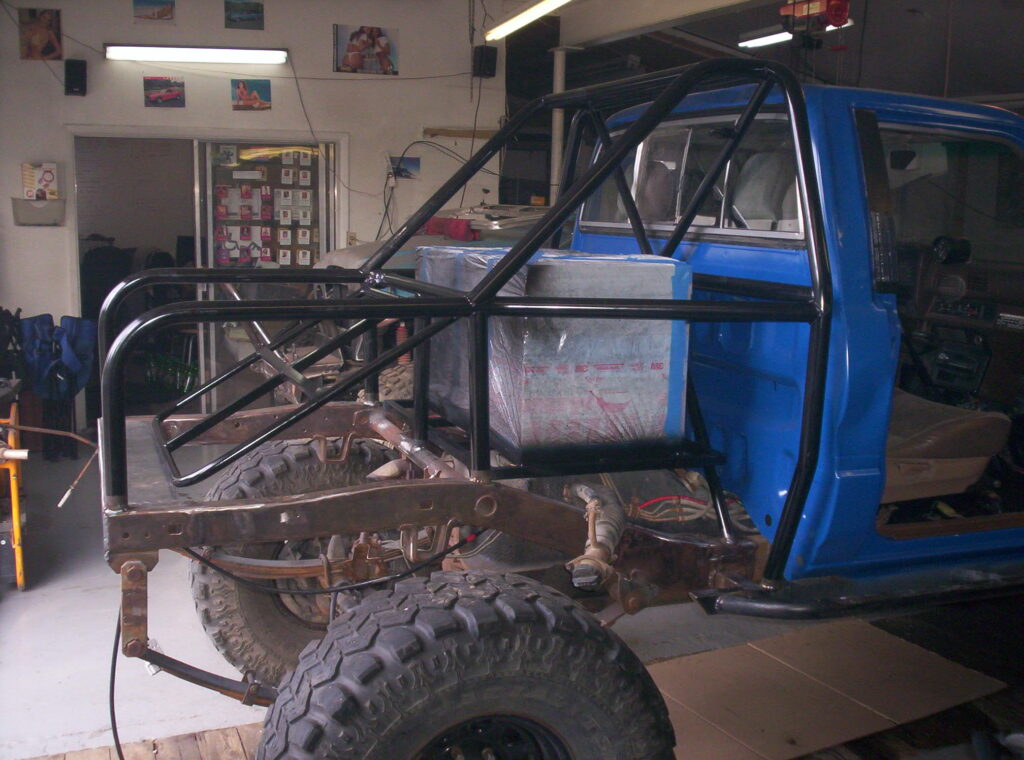
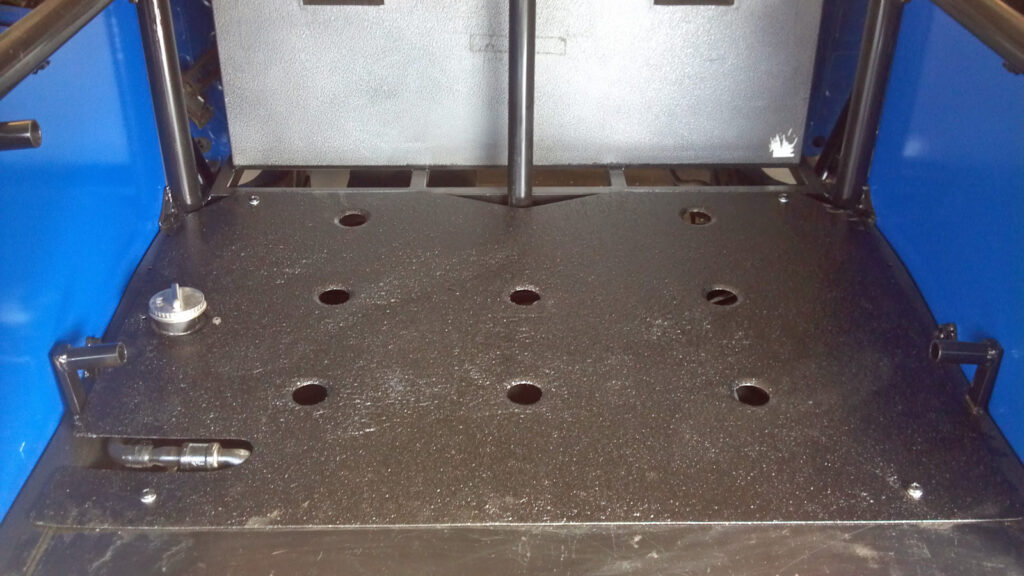
Also made a self to hold the steel tool box, and a mount for a pivoting rack to hold my spare tire. And yes we made the pivots grease-able. Also started mock up of a one piece, bolt-on rear fender.
Not sure if we dig the fender mock up. Might end up just flat paneling the side of the tube. But we do want something to help keep mud/dirt from flying all over the gear in the back.
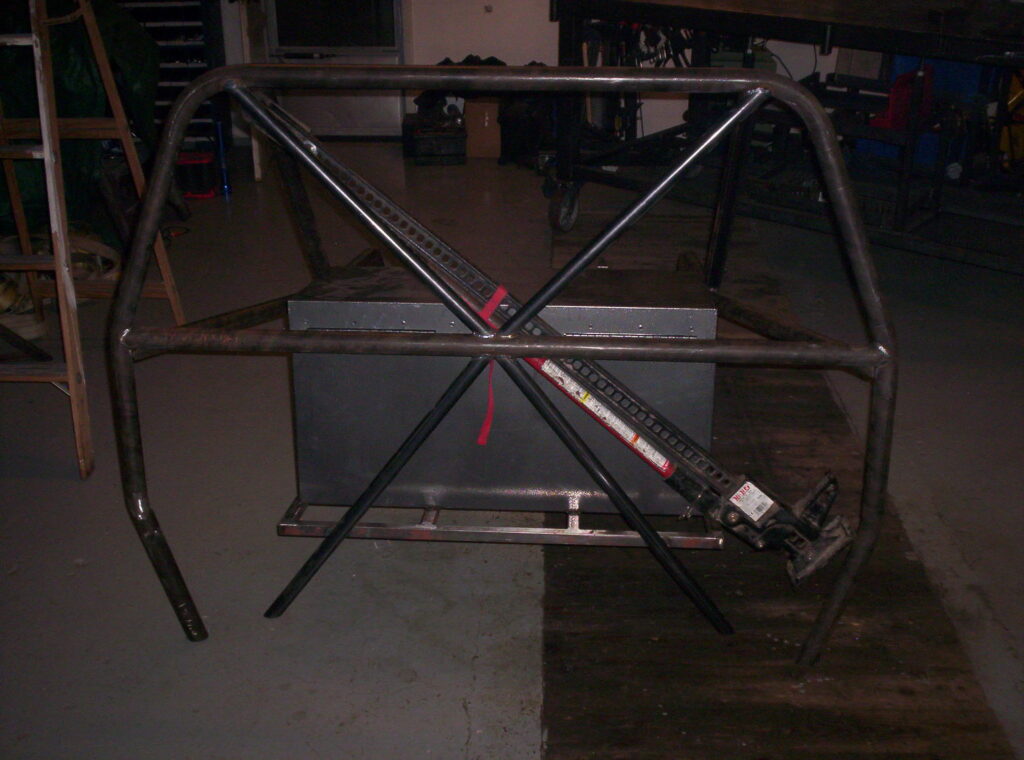
After fully welding (except to the frame) the rear tube work we removed it from the frame with our overhead electric hoist.

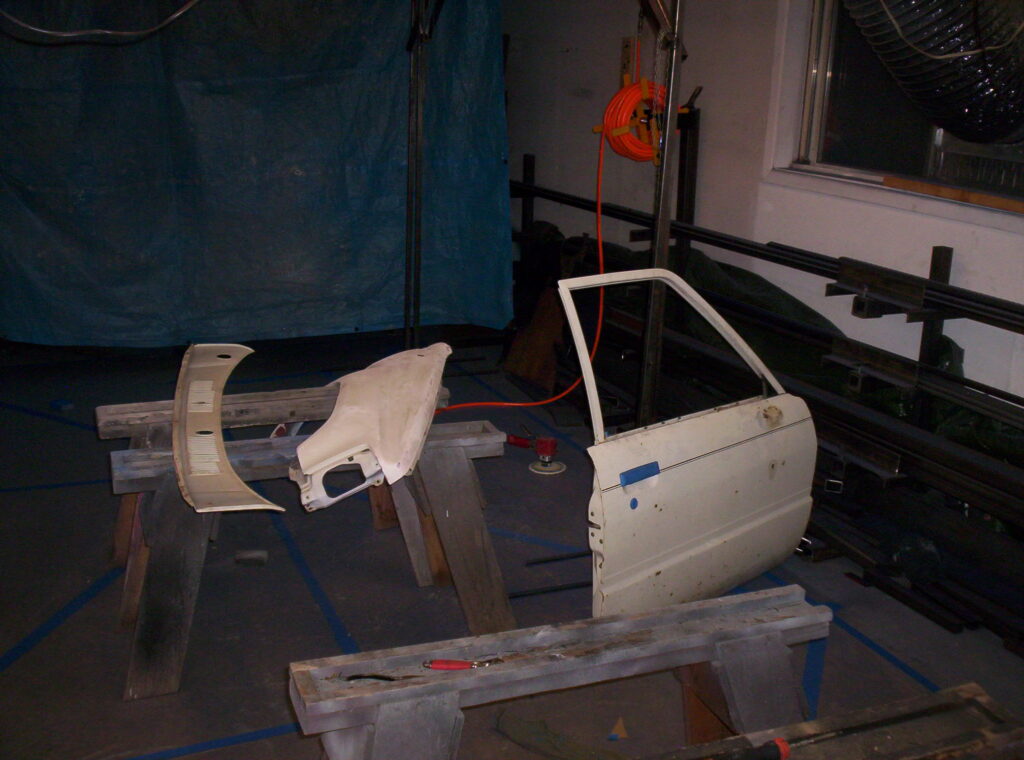
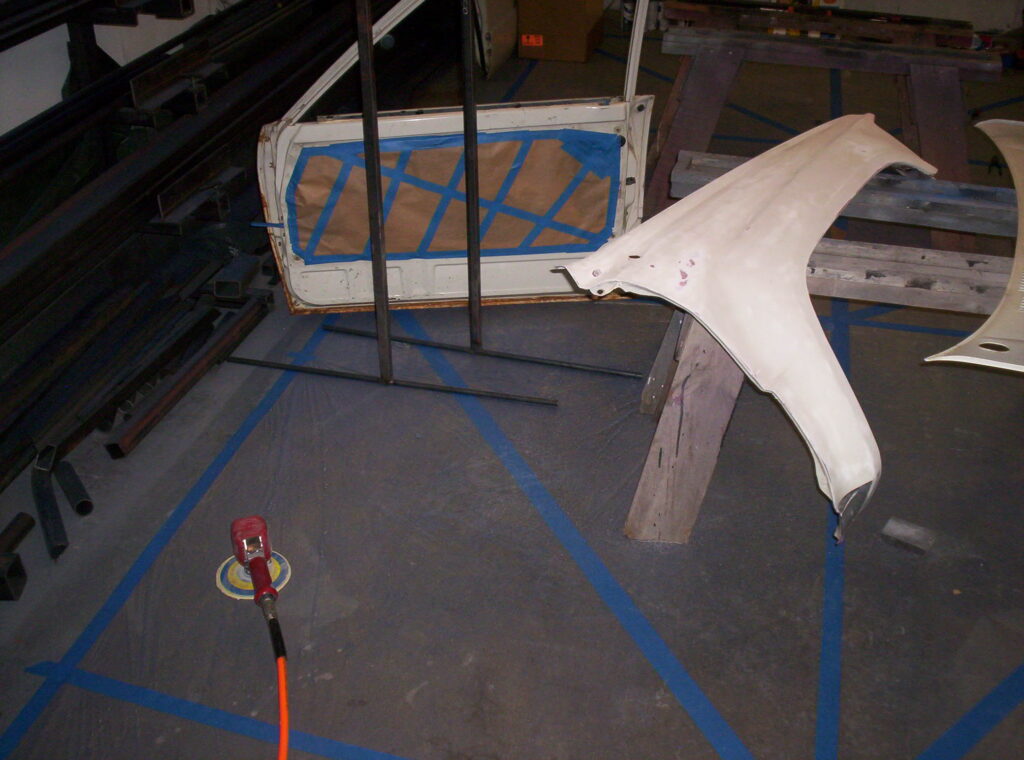
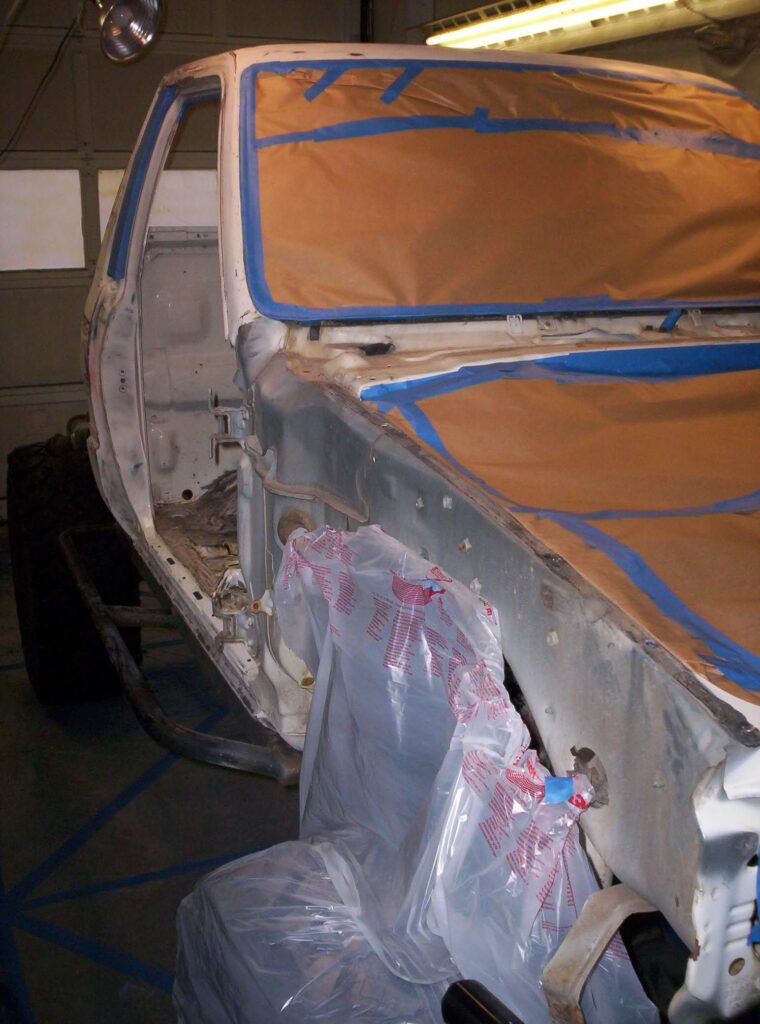
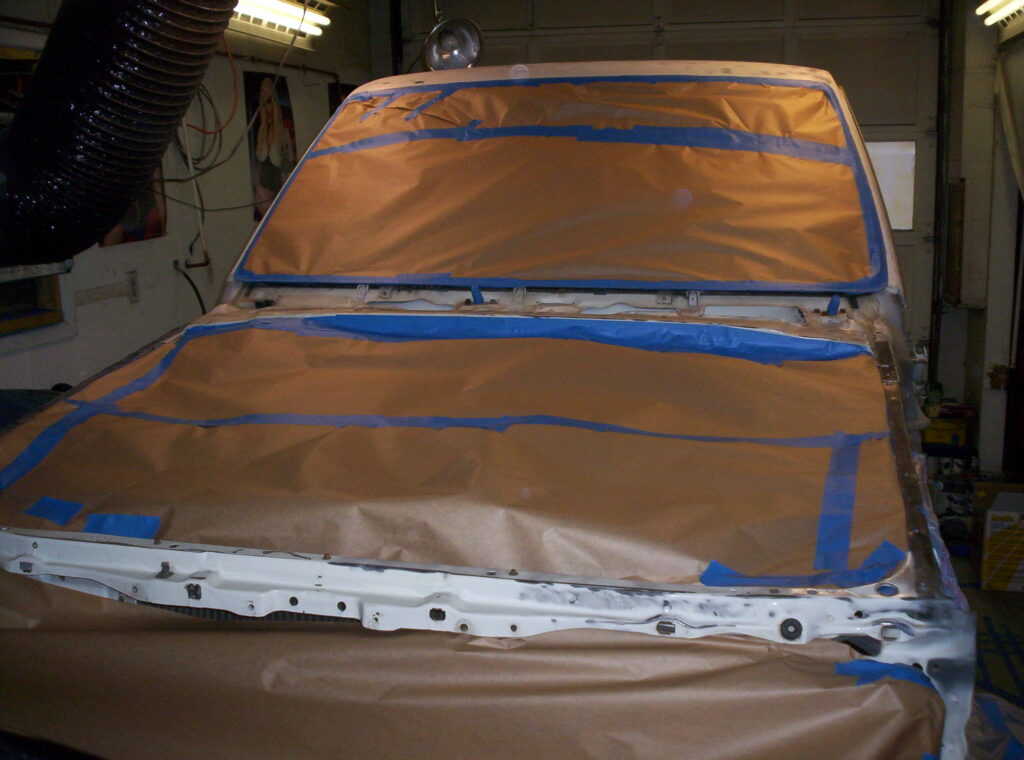
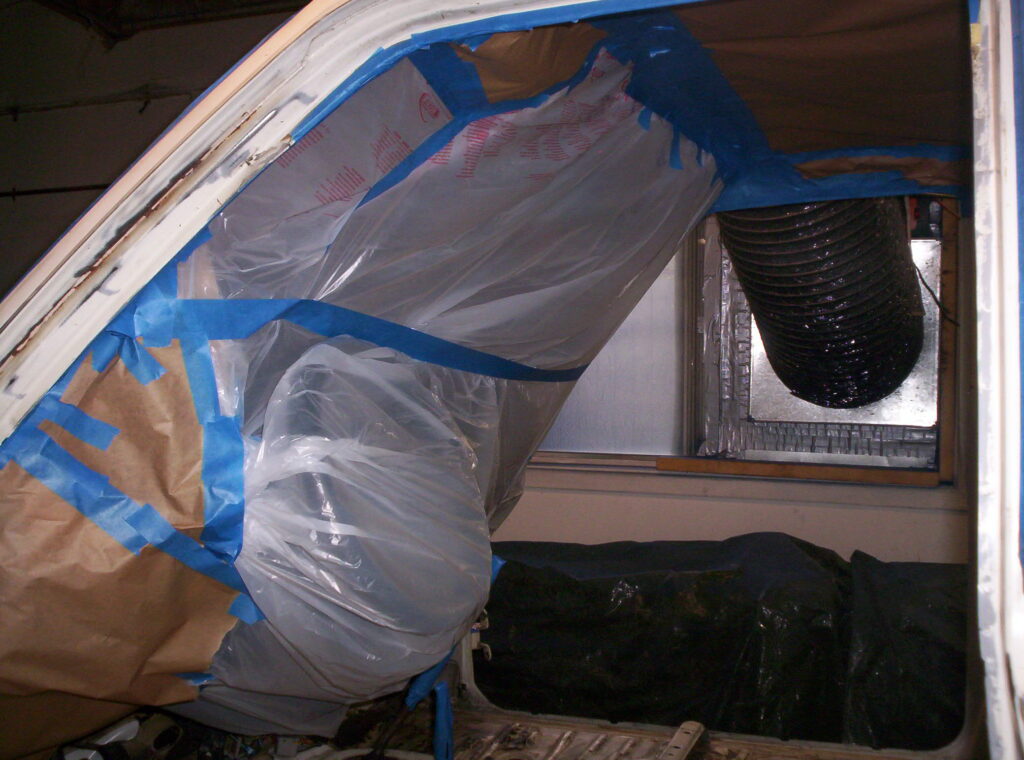
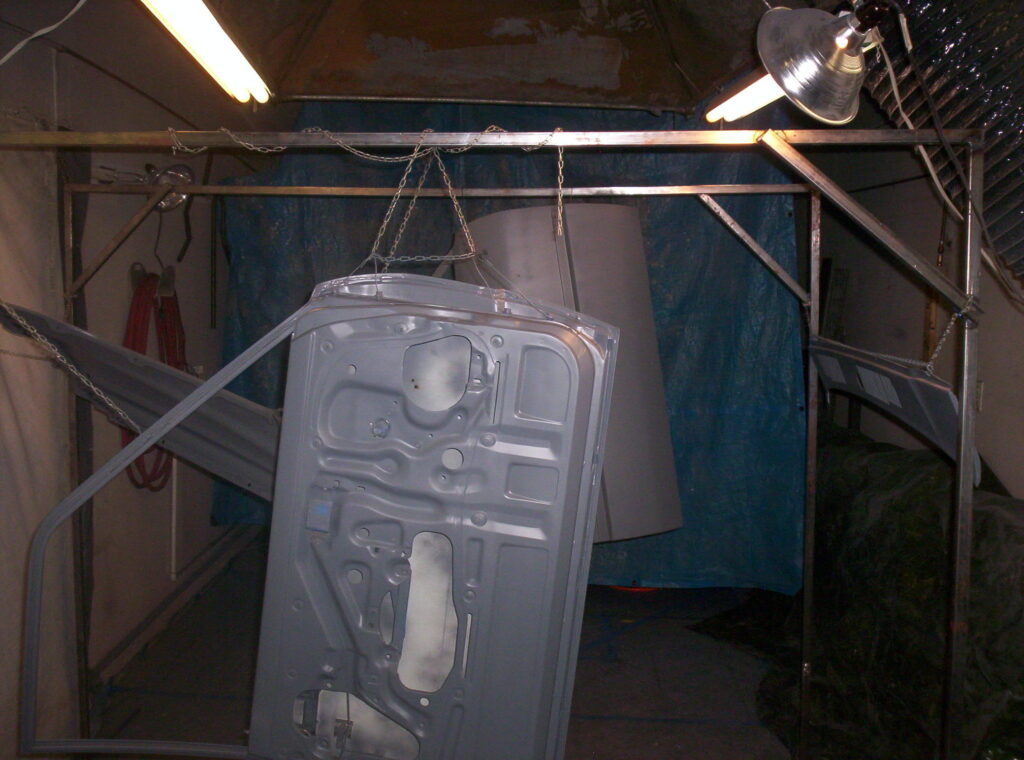
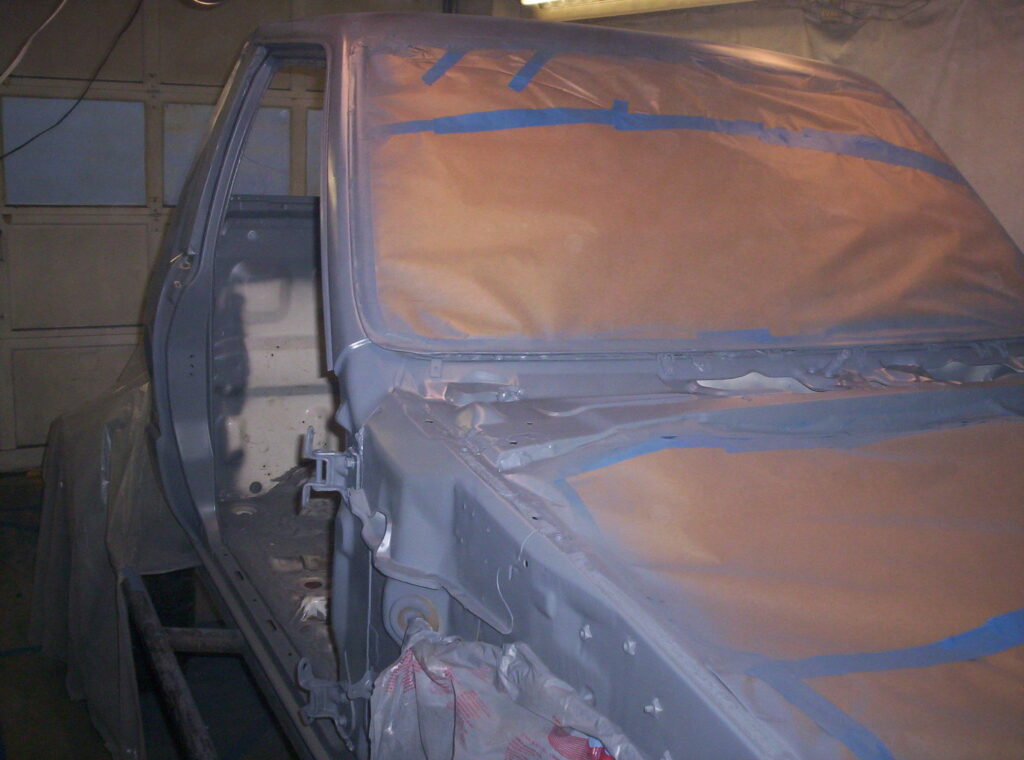
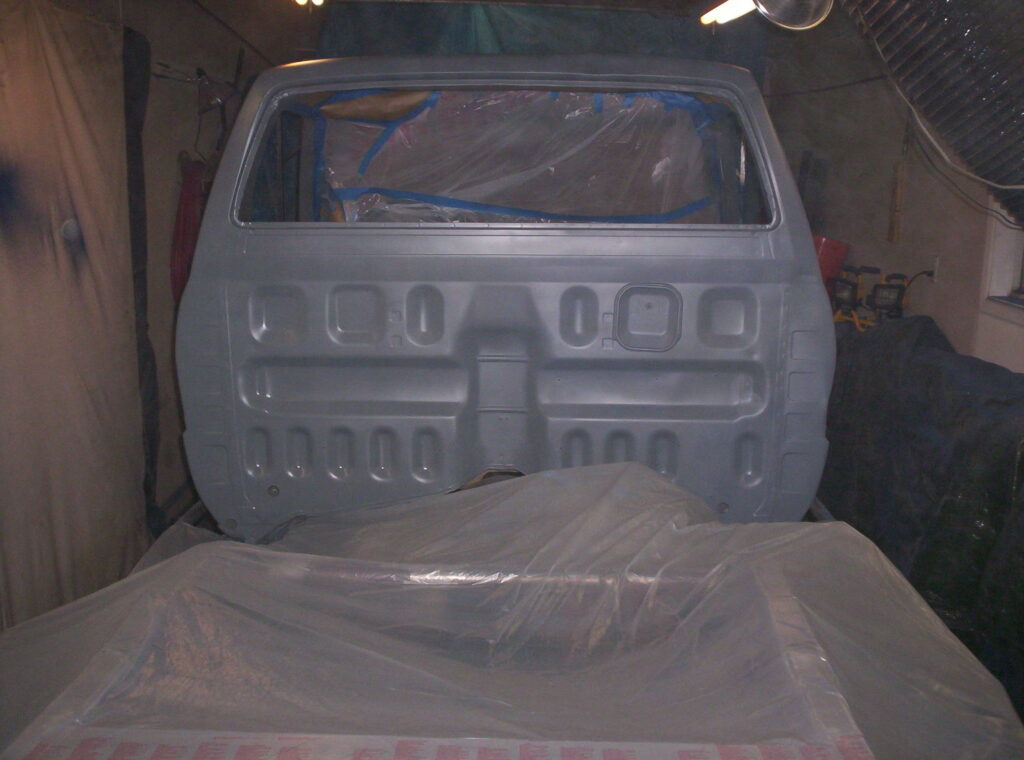
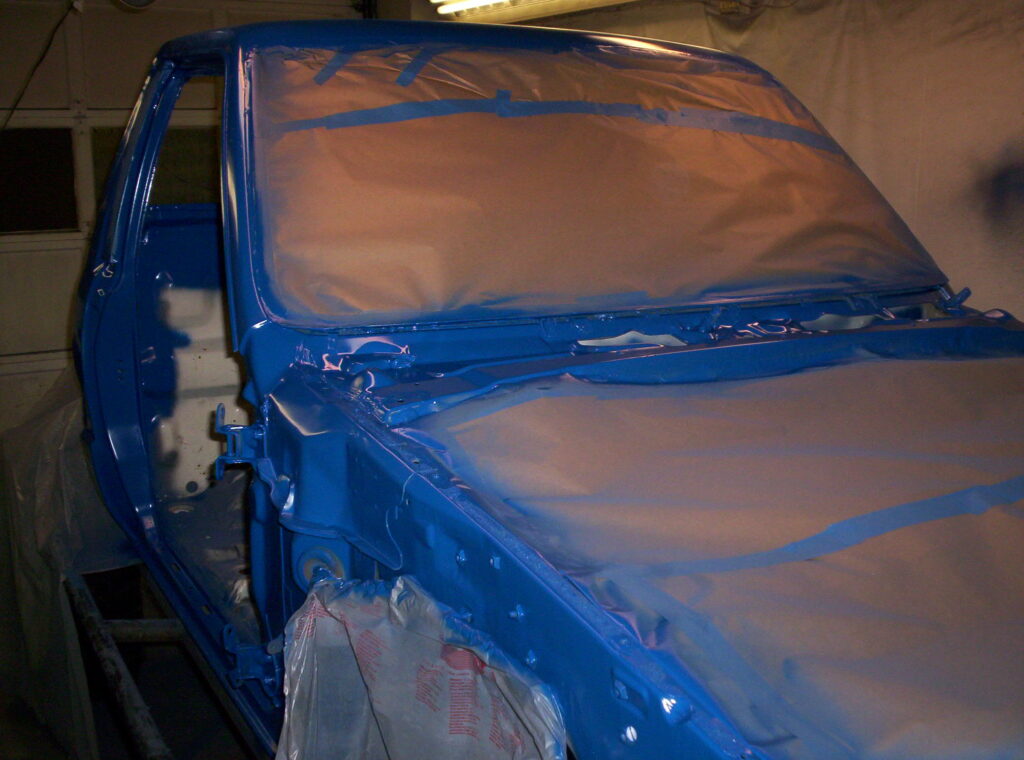
Started prepping the loose panels for paint, as well as the cab, inside and out.
Shot with primer…
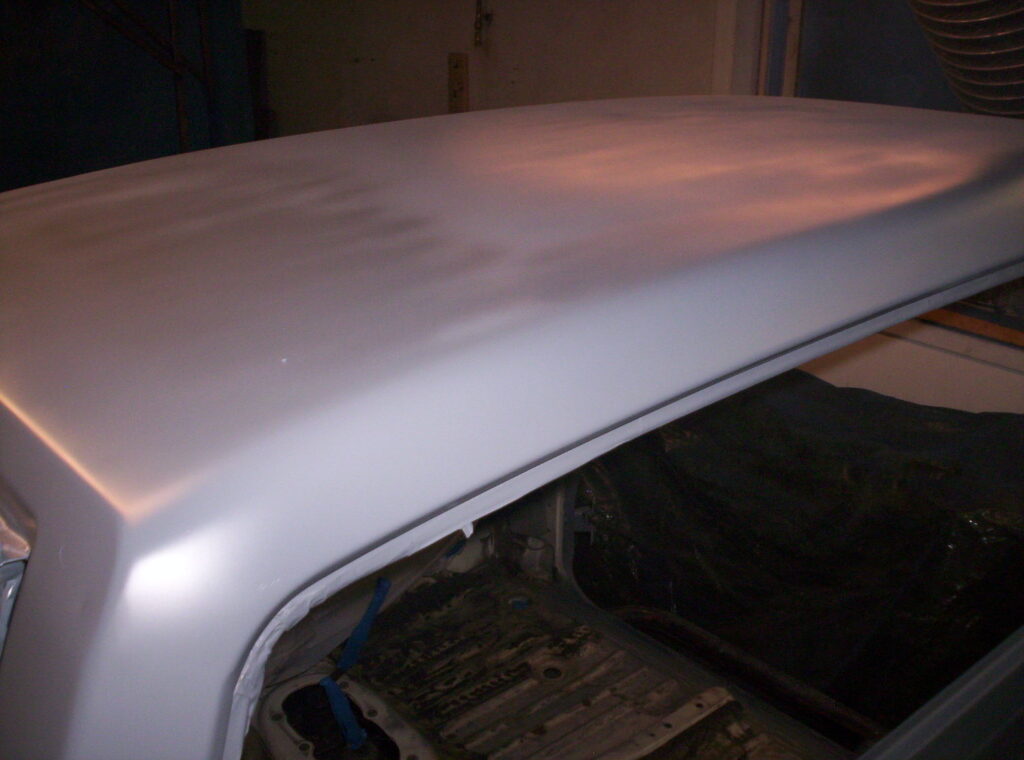
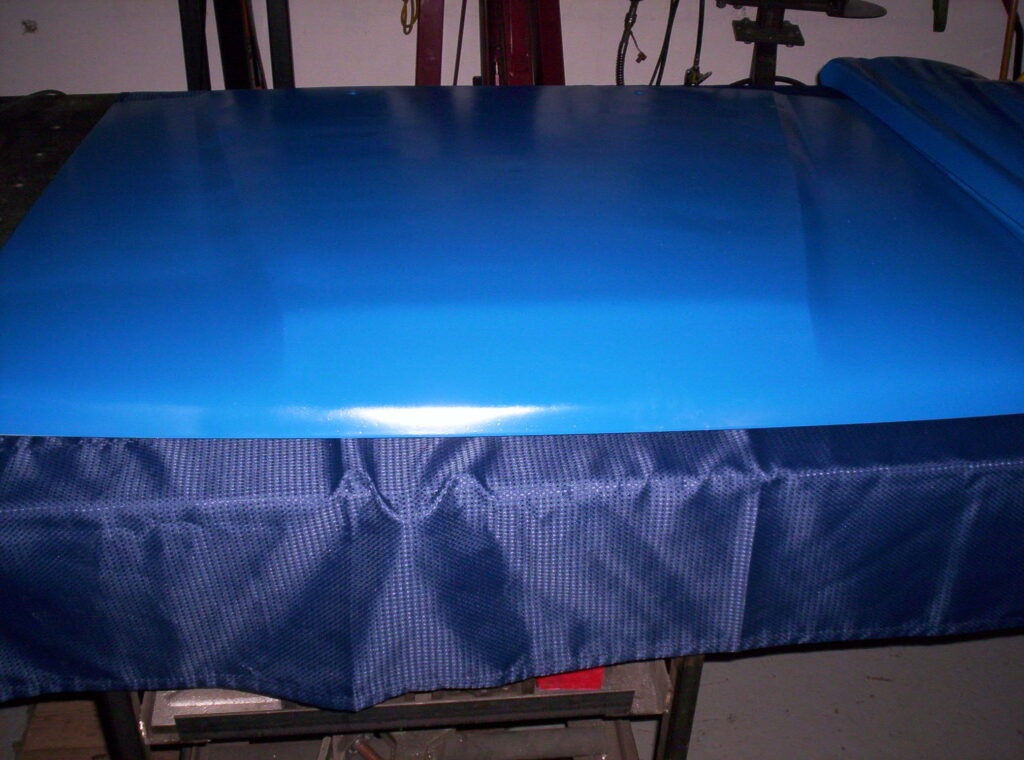
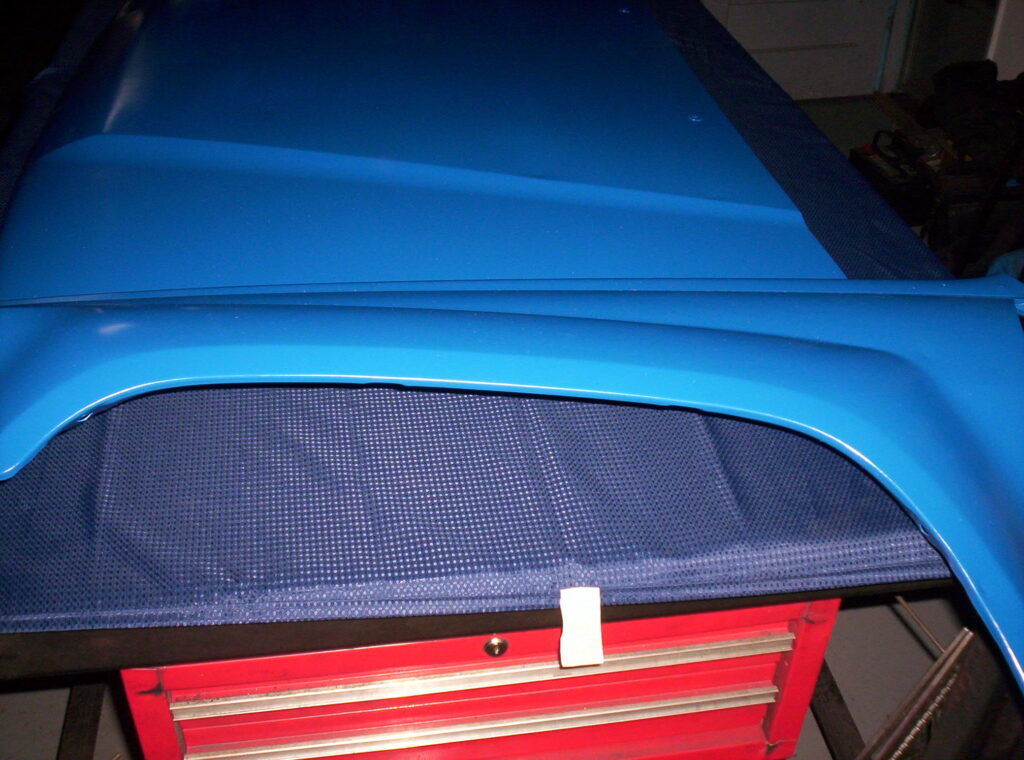
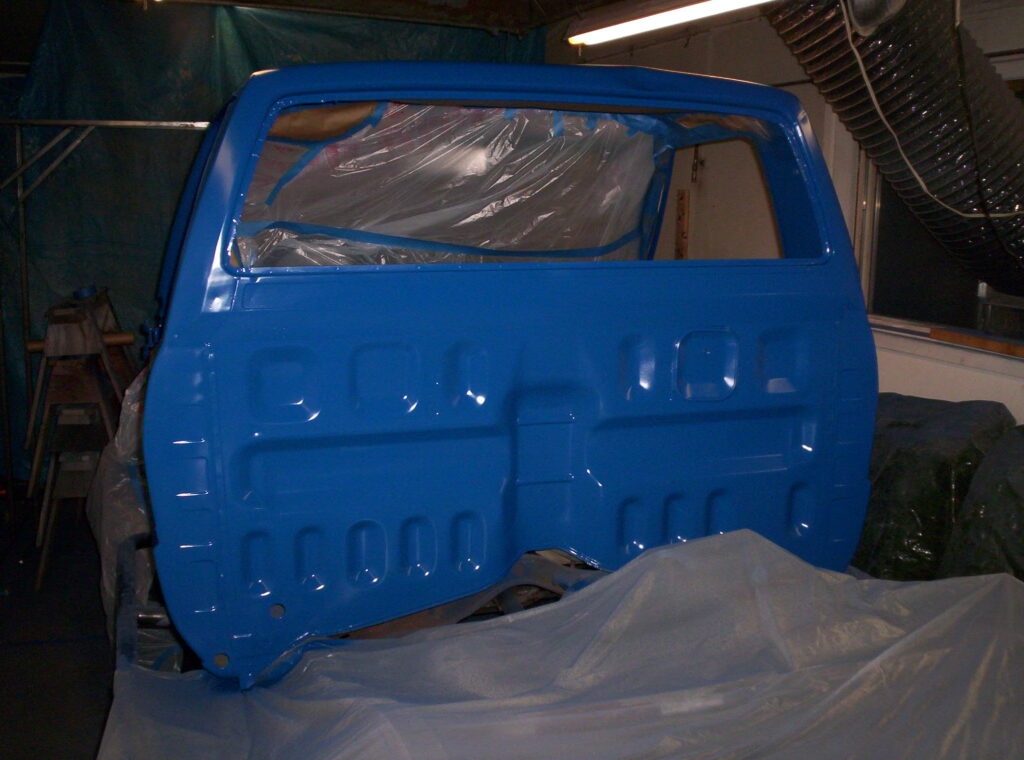
Coated in blue paint…
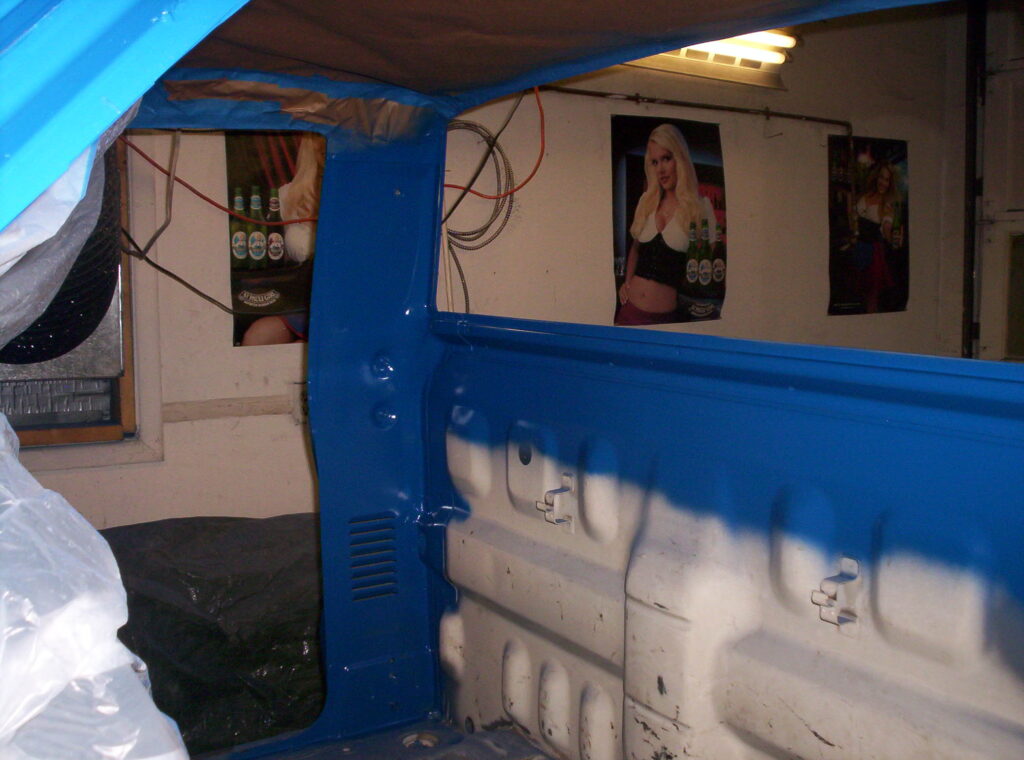
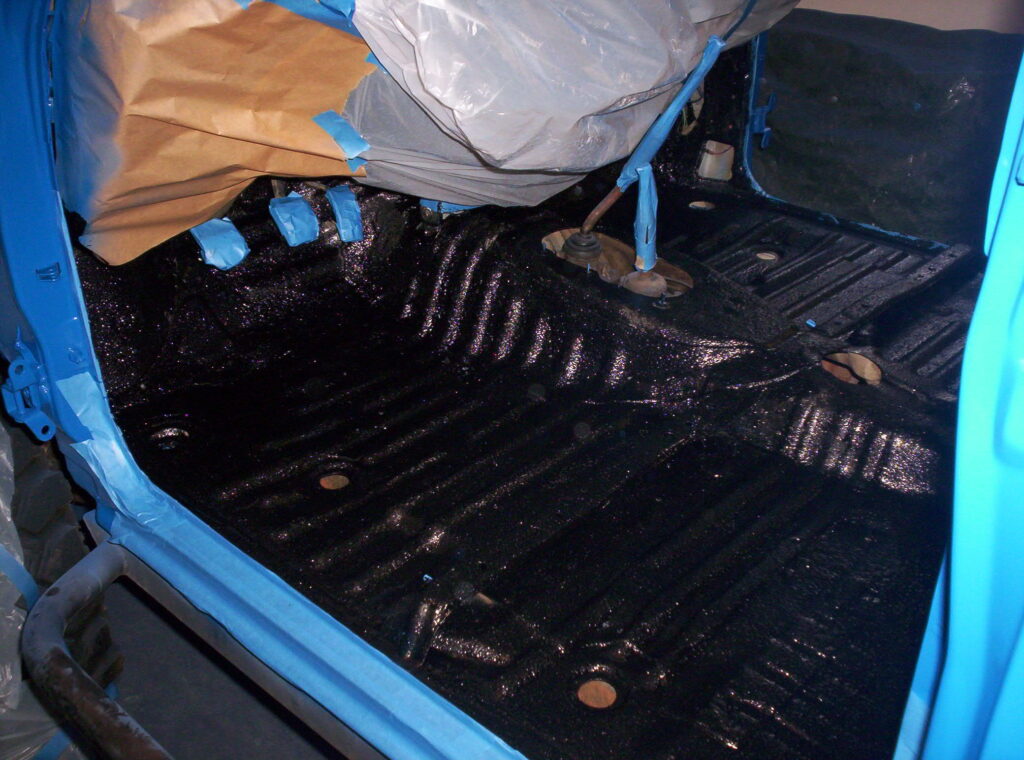
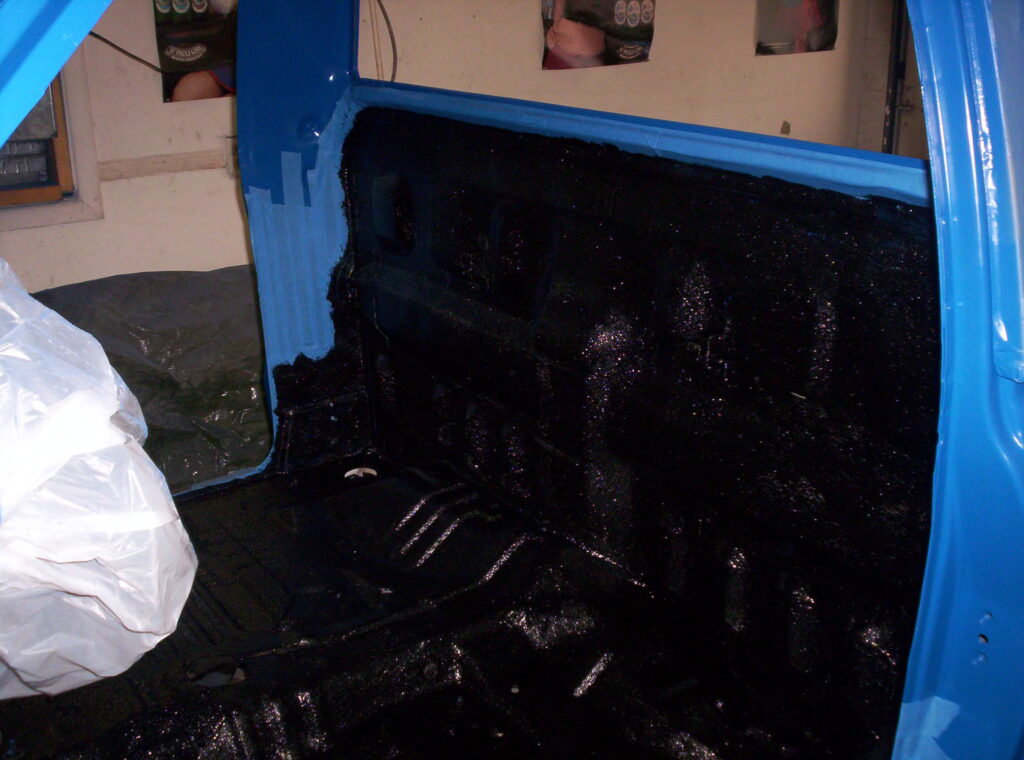
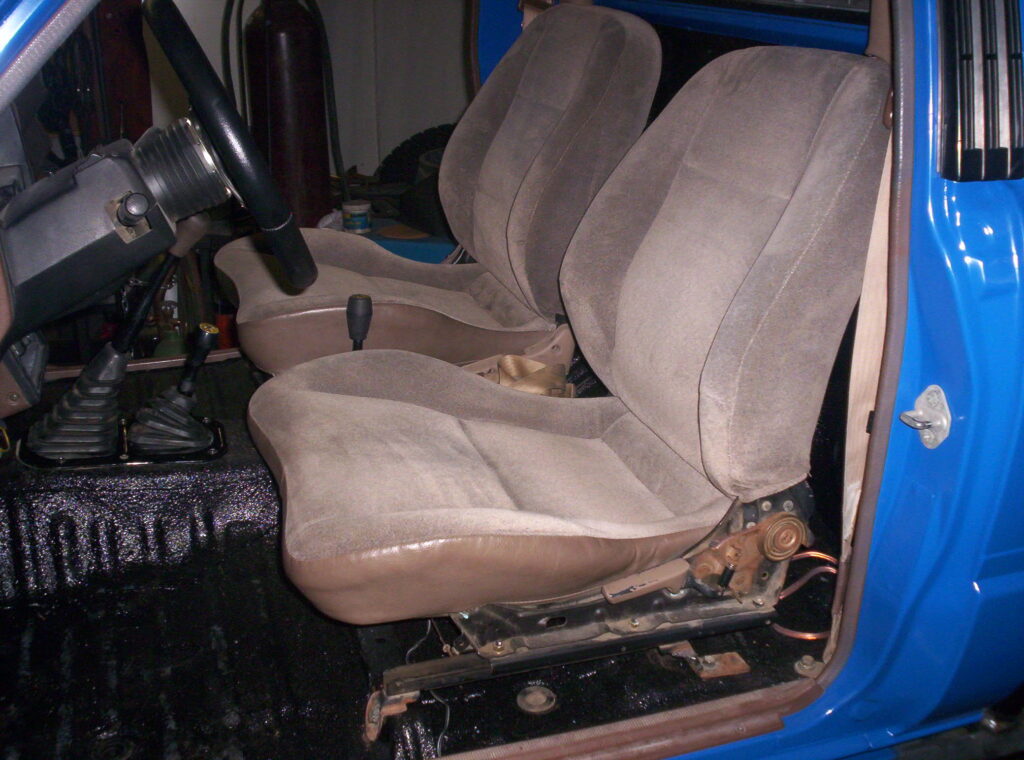
Once the paint had set up, we got to work coating the interior. We choose to use Herculiner. Having used it extensively in the past and really liked the performance received out of it in interior applications. We were happy with the outcome once again. You will notice that we also cut a hole in the floor for the second transfer case shifter.
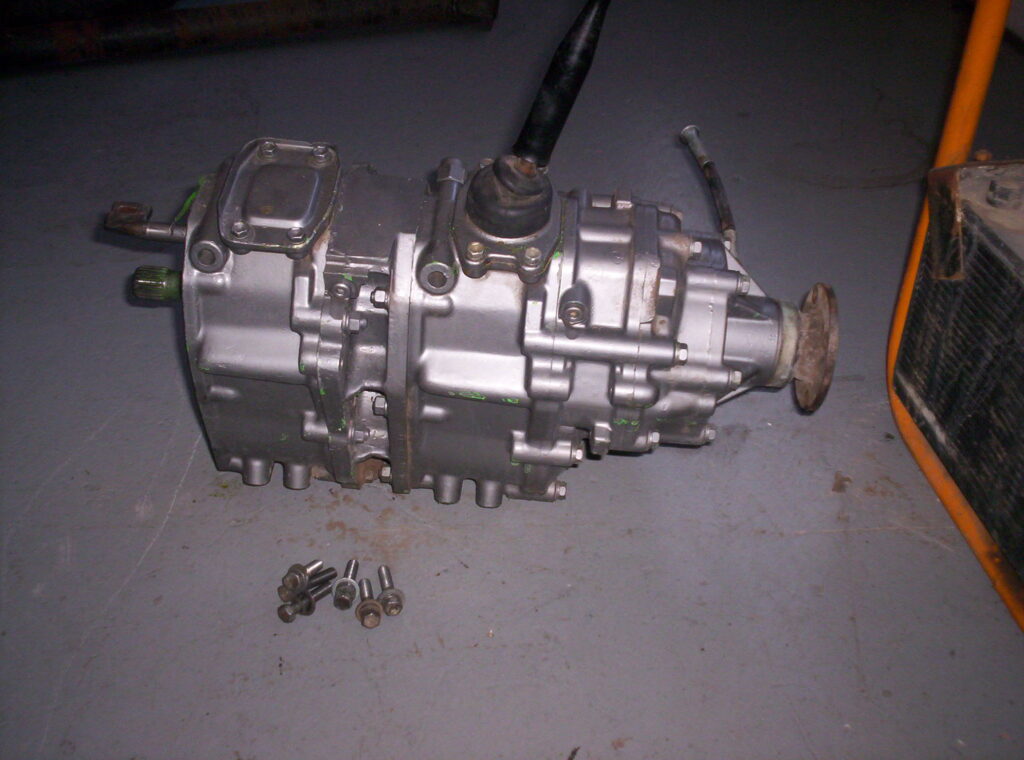
Assembled the dual cases using Marlin Crawer adapters and coated them in silver paint.
Then installed a transfer case e-brake.

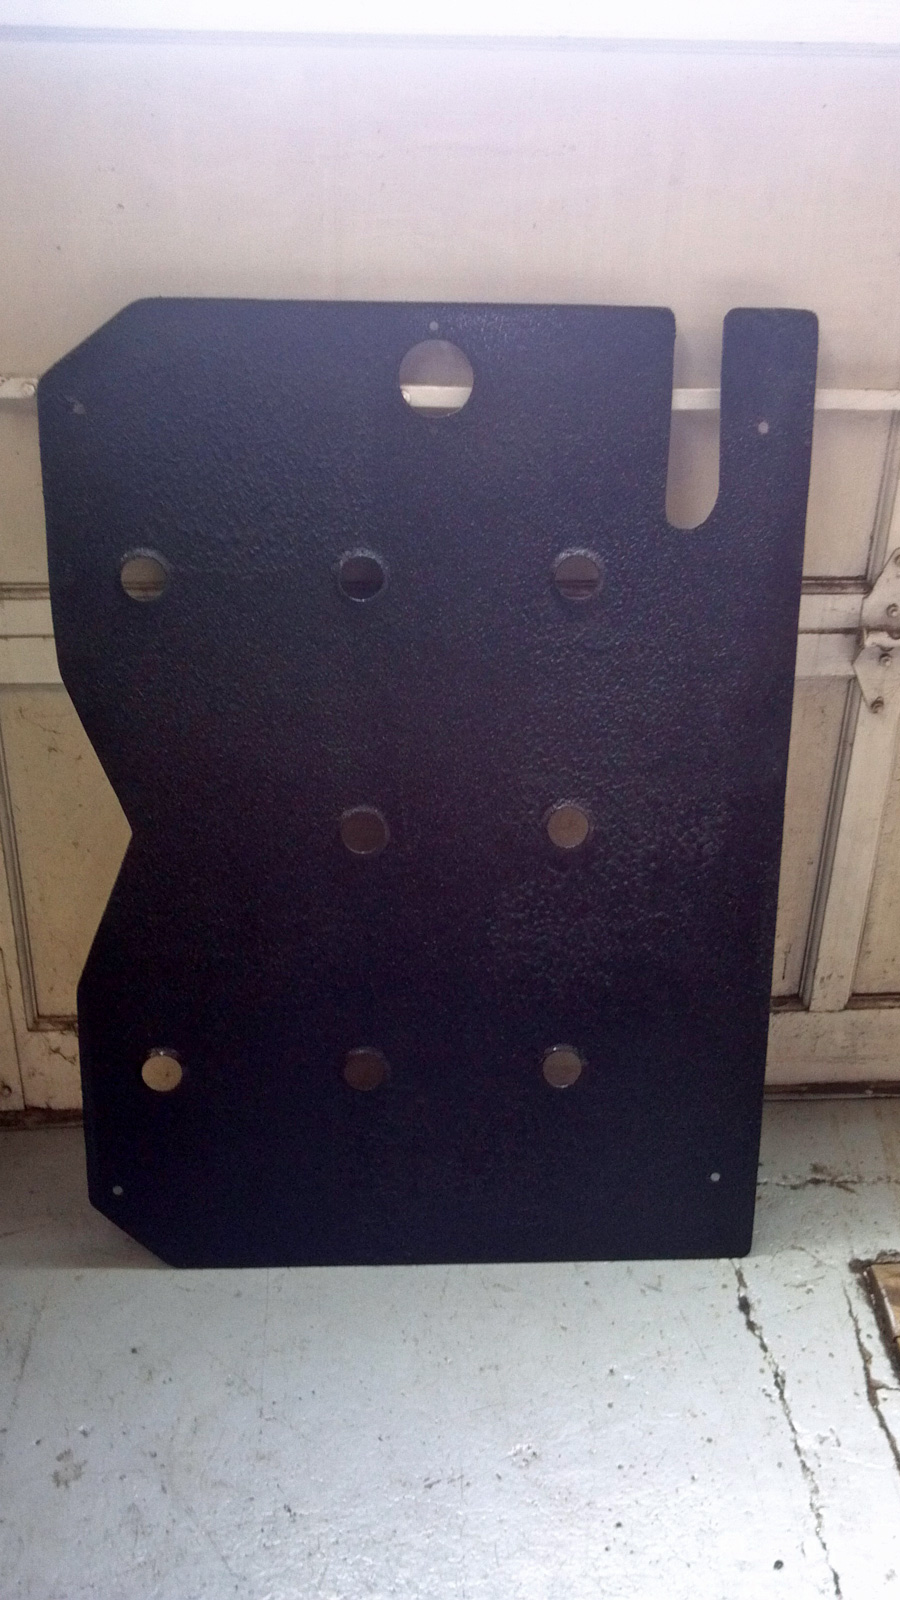
With the hole in the floor for the new shifter already cut before we coated everything we used a mount/skid plate from Trail Gear and got everything bolted back together. Also connected the factory e-brake cable to the linkage of the transfer case brake.

Reassembled the entire interior including the seats that came with it, which are out of a Honda.
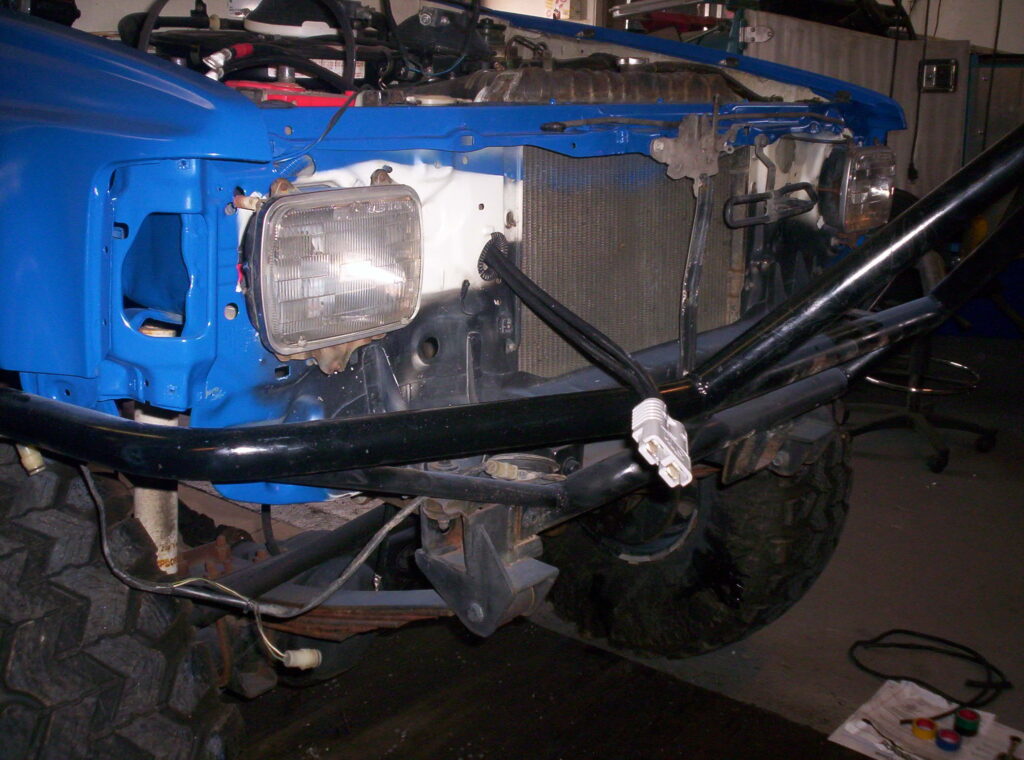
Wired the truck front and rear with quick 12V power connects for a receiver mounted winch. This being the cheapest, fastest solution since the existing bumpers both have a receiver hitch.
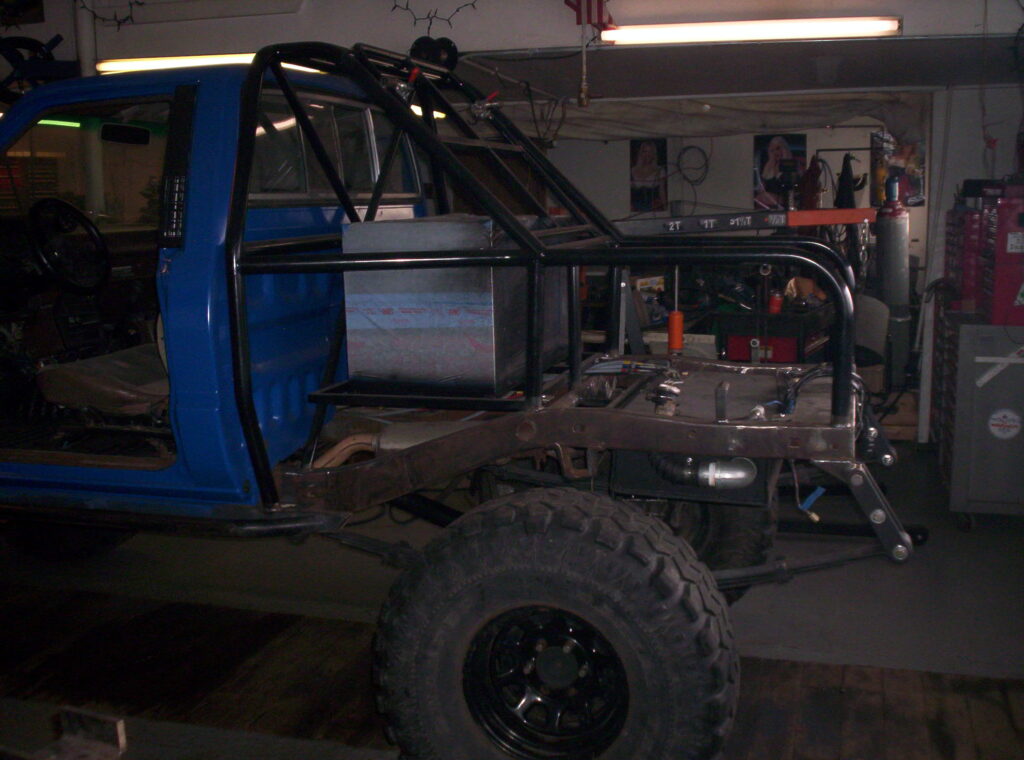
Welded on the lockable steel tool box, and made a mount for a 60″ Hi Lift jack on the rear tube work.

Then prepped, primed, and painted the assembly before welding it into place on the truck.
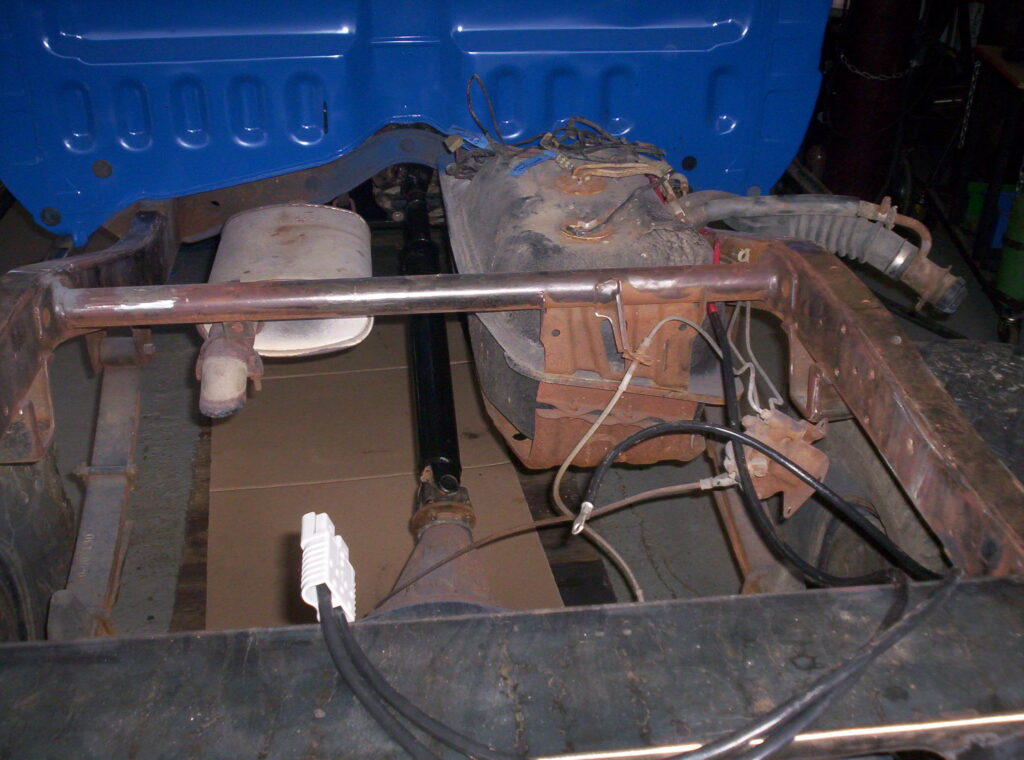
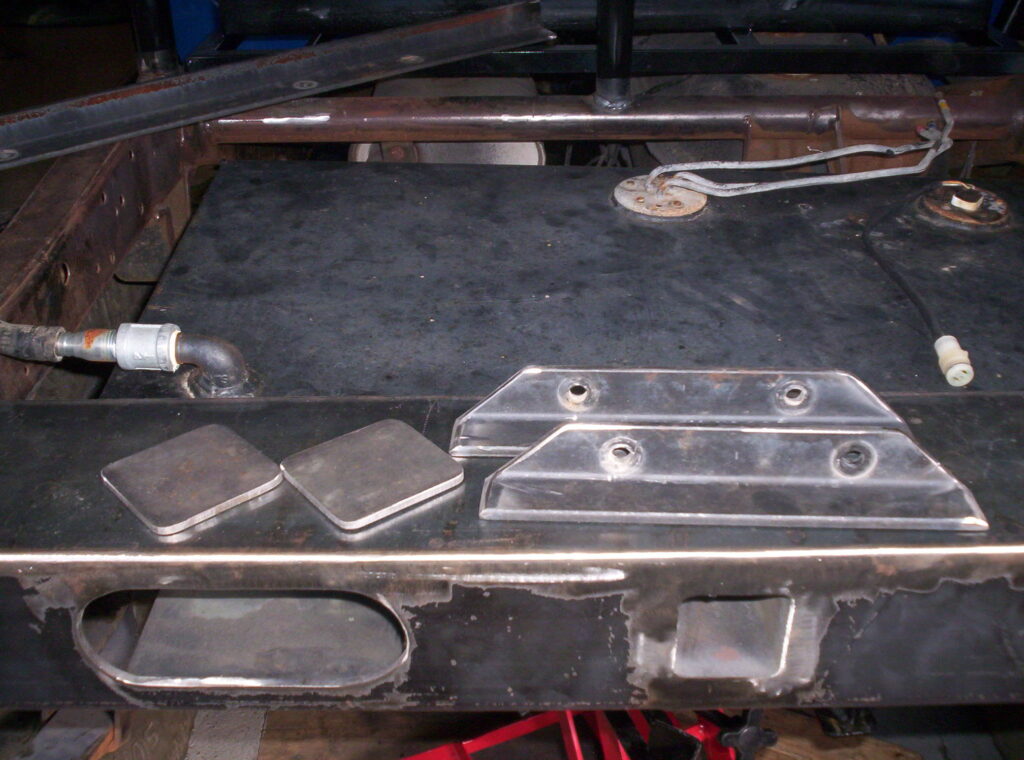
Not liking the stock location of the gas tank, as well as not really appreciating the strength of it and the stock skid, we made the decision to build a custom cell. We’d locate the new fuel cell behind the rear axle and in front of the rear bumper/cross member, up high and tight between the frame rails. This will allow for better overall clearances and leave more room in the bed for gear, supplies, and spares.
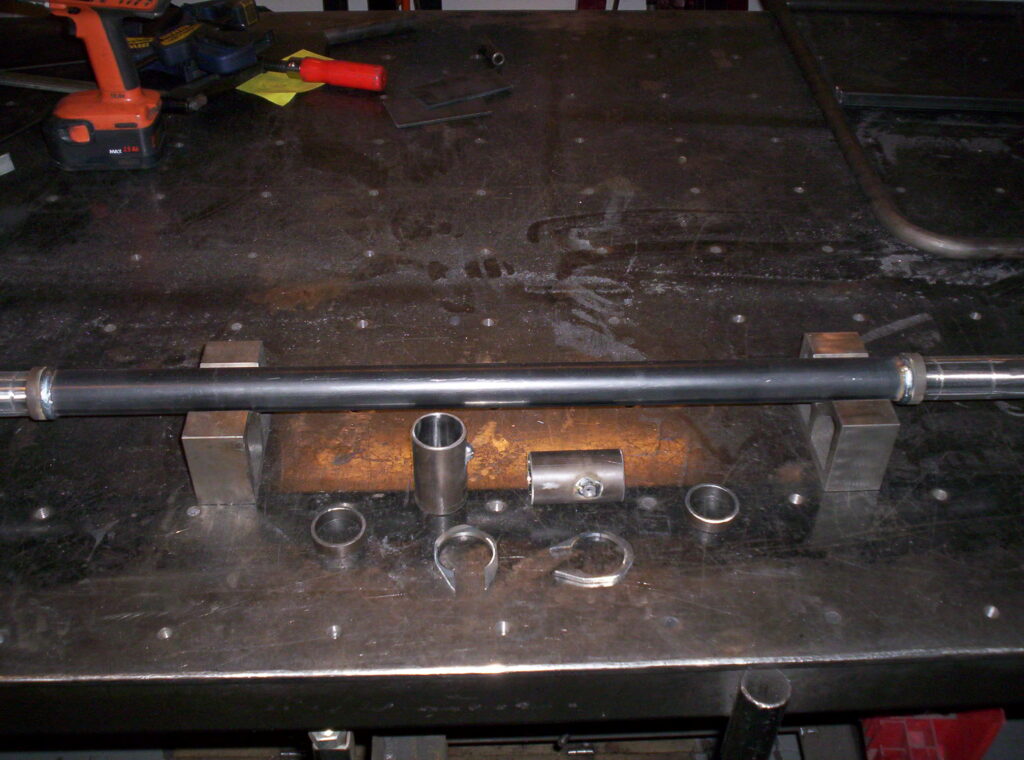
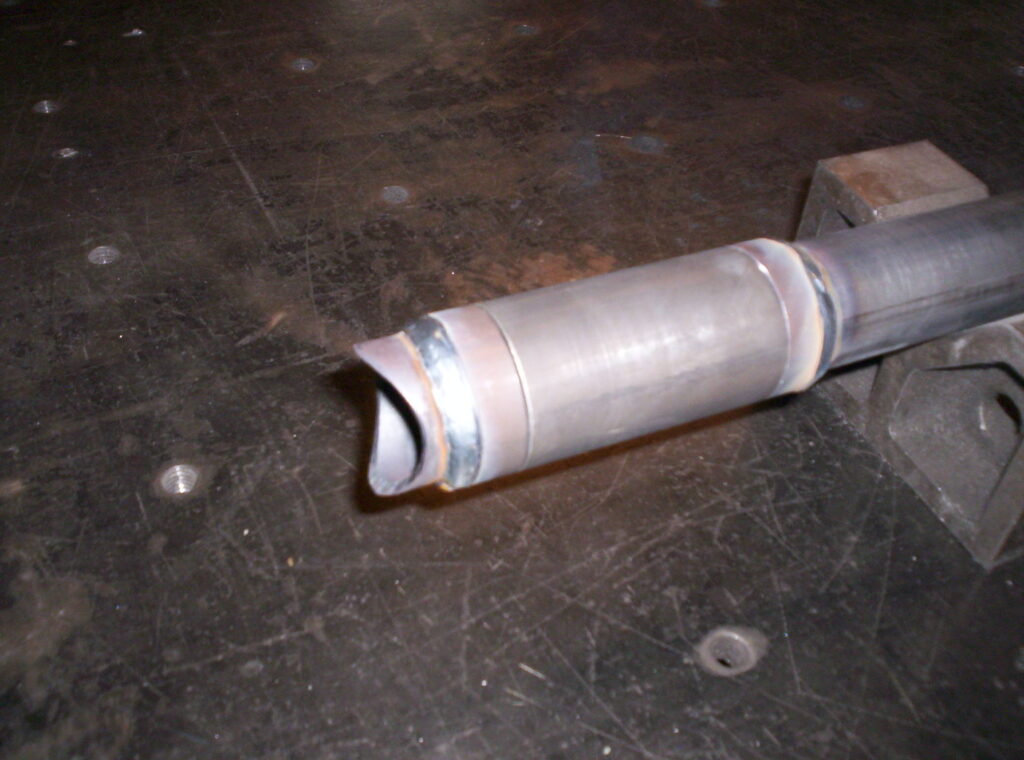
Fabricated the baffled fuel cell out of stainless, while using a 1/4″ thick plate on the bottom side of it to act as a built in skid. It uses the stock float and sending unit so the dash gauge should still function. Positioned the new fuel cell in it’s approximate new location with a floor transmission jack so we could design and fab up some mounting brackets. Then did so and welded them into place. We will use poly sway bar bushing between the cell mounting points and the frame mounting points to help isolate it.
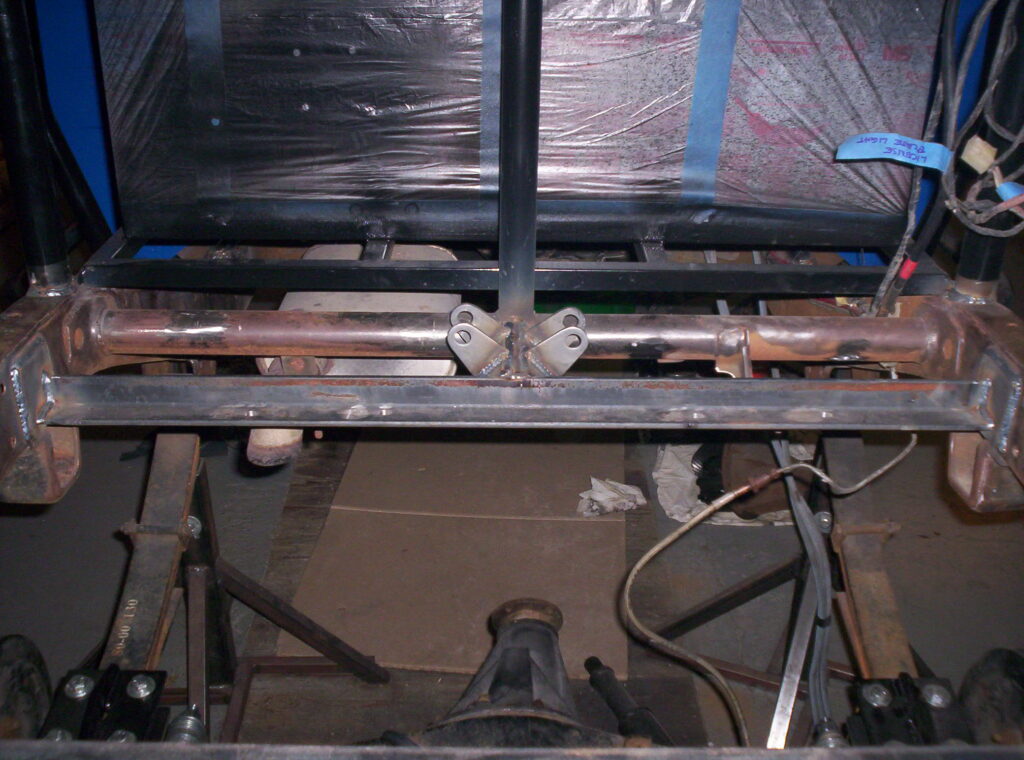
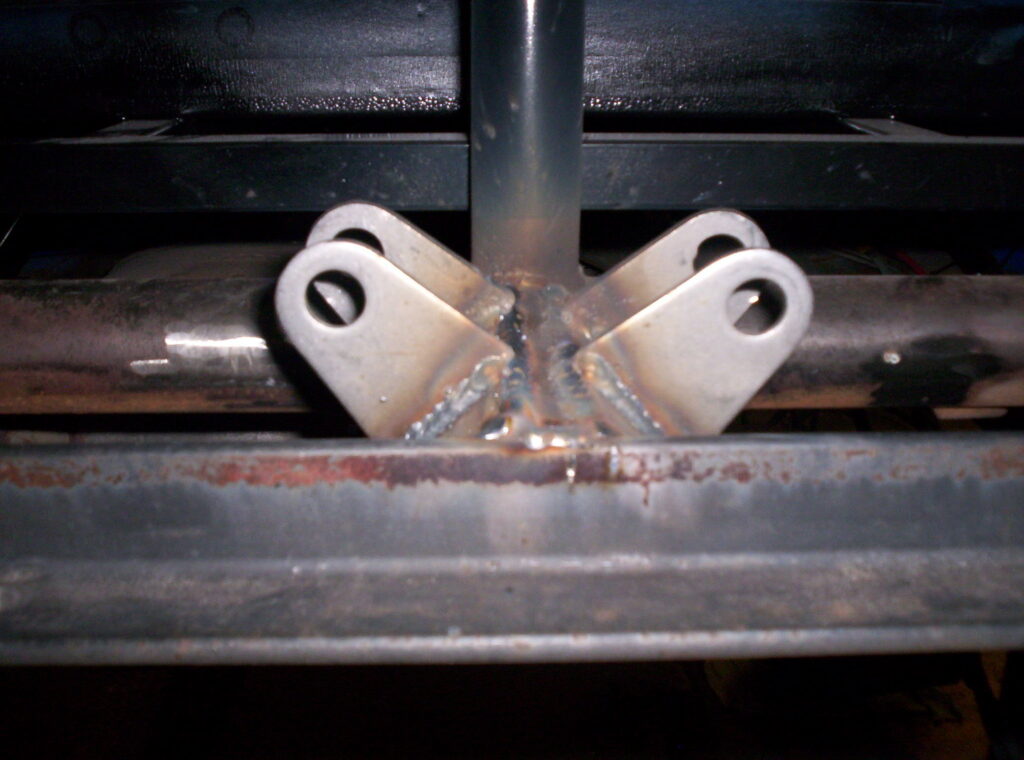
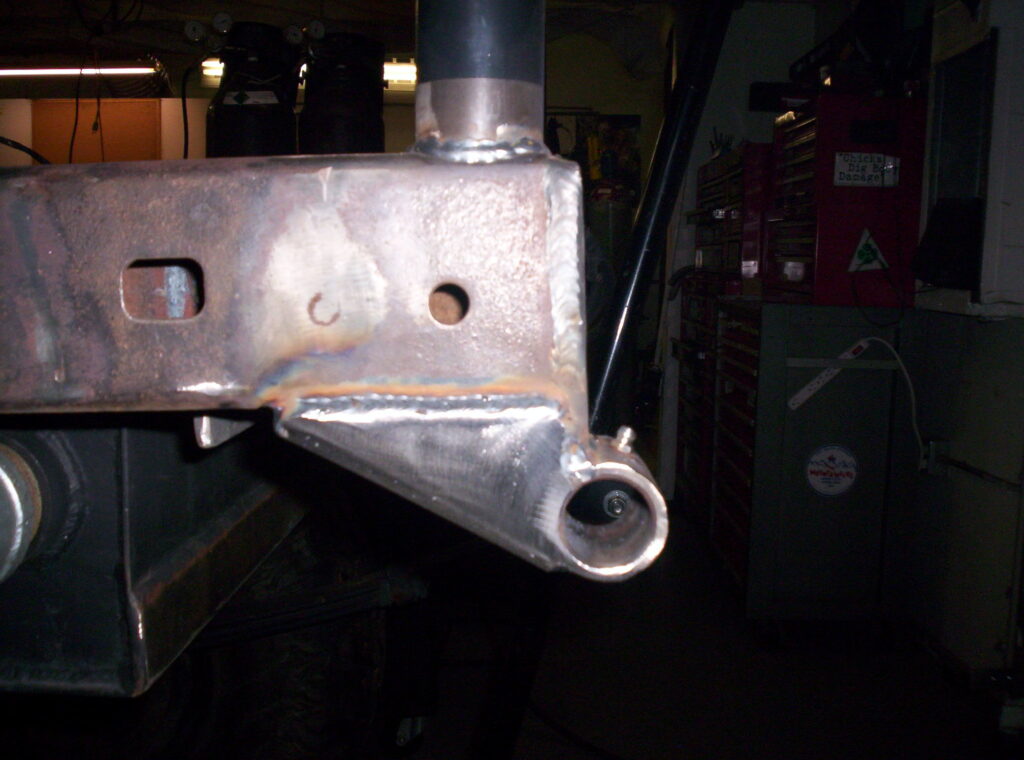
Also fabricated a couple of triangulated shock mounts for the rear.
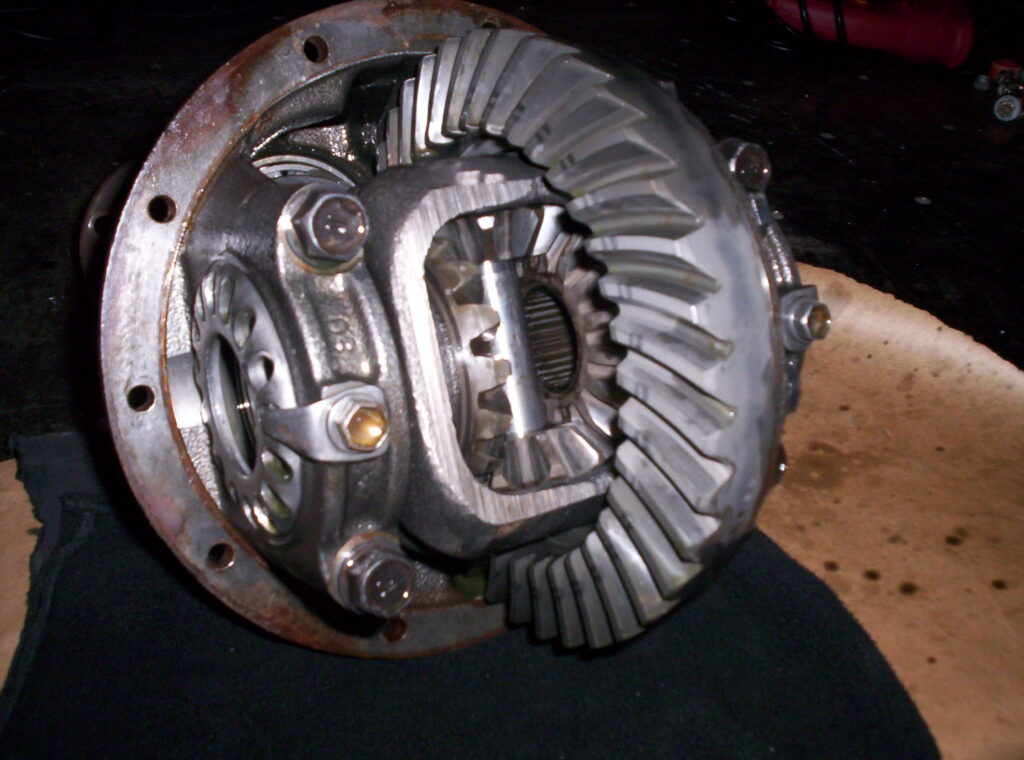
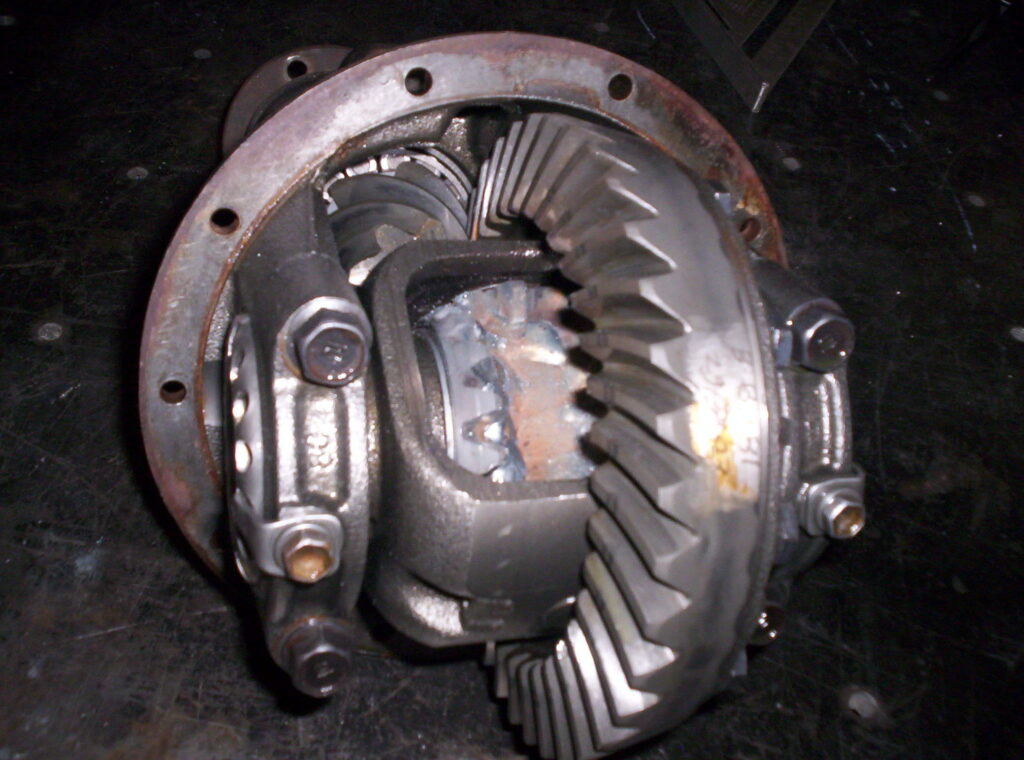
The truck already had 5.29’s in the diffs and had a Detroit in the rear, so we took the rear 3rd w/the Detroit and put it in the front, and then welded the open carrier and threw it in the rear.
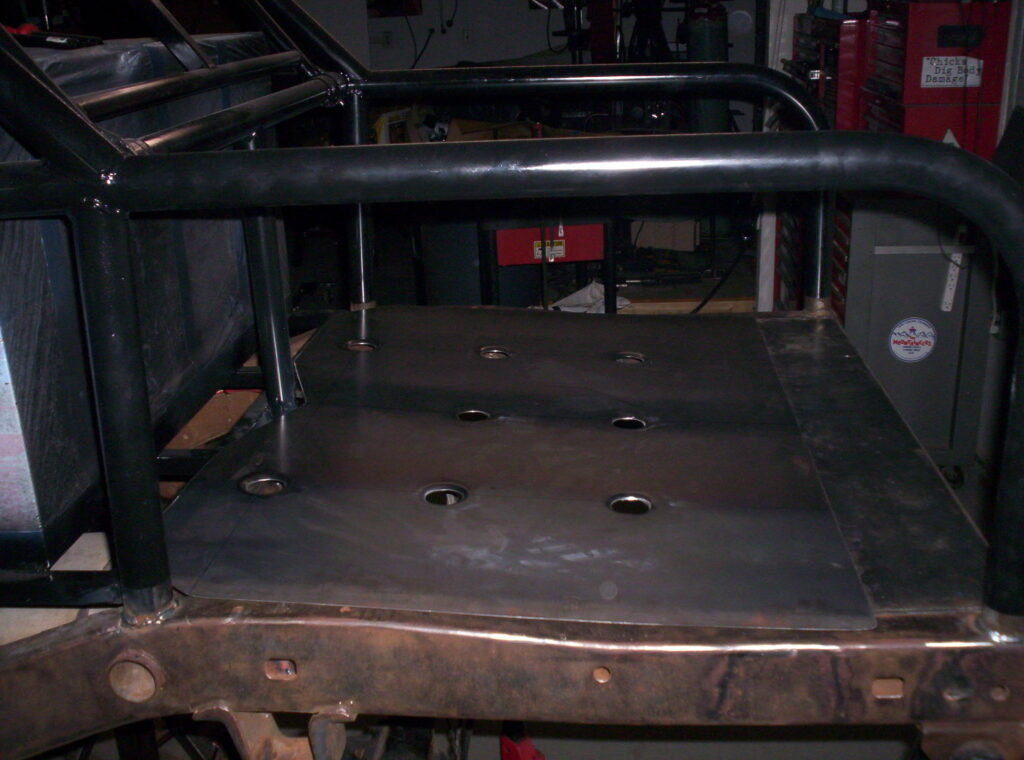
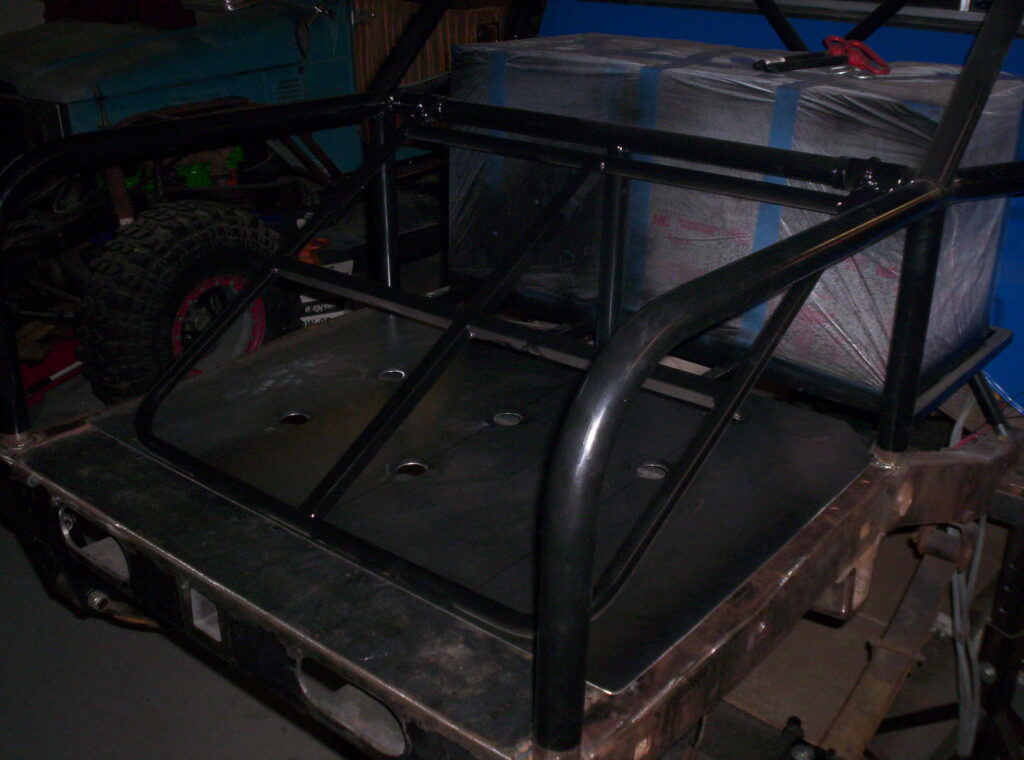
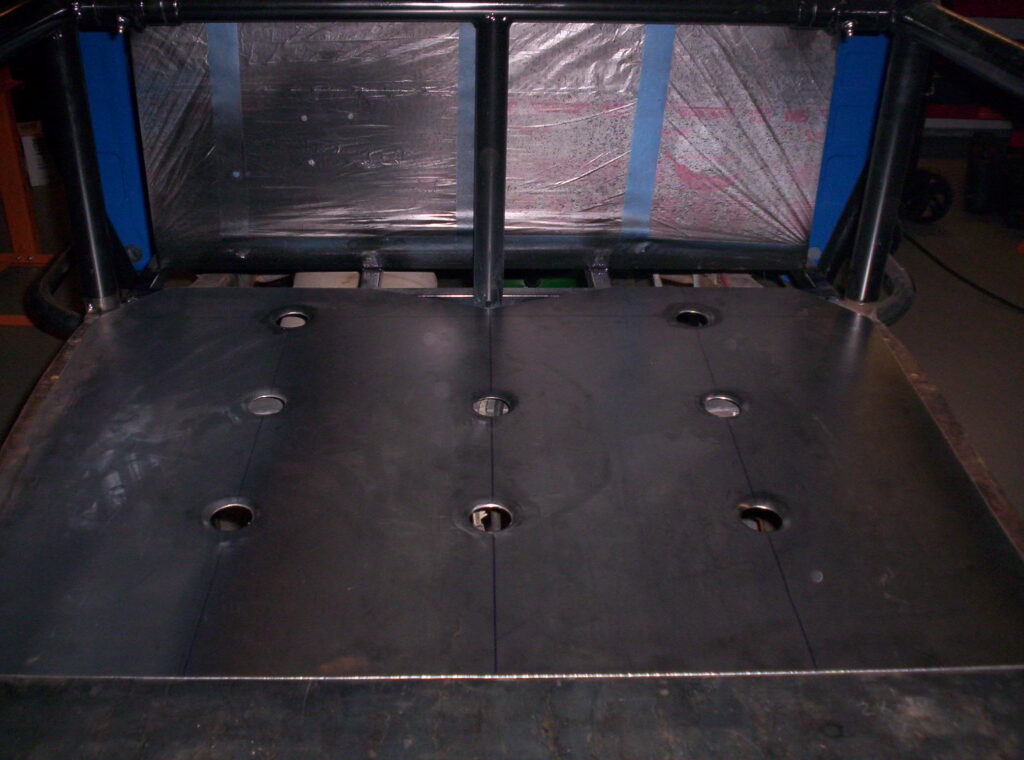
Fabricated a “bed” floor, or fuel cell cover, however you want to look at it. Still need to cut fuel filler hole and Herculine it, but close.

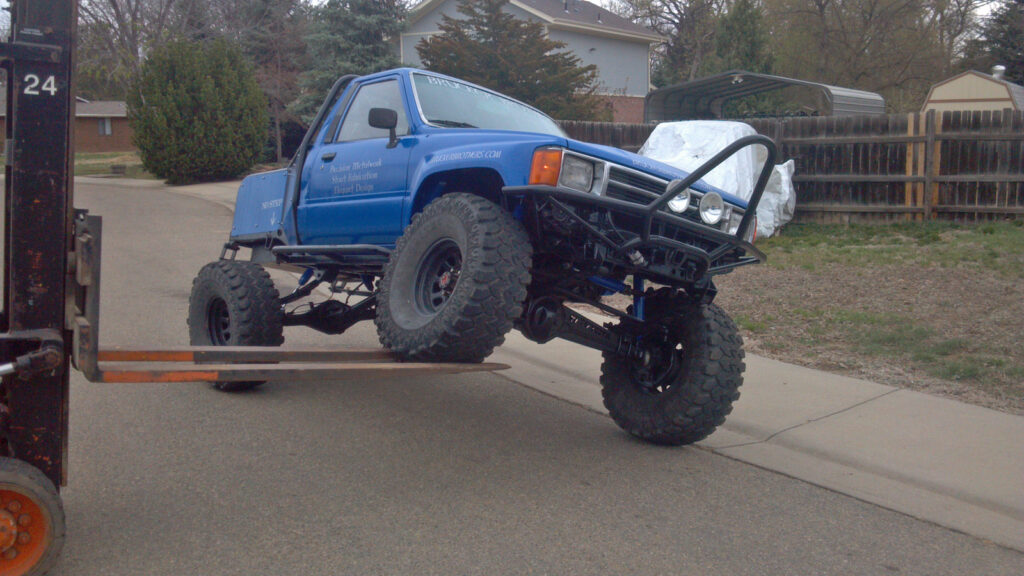
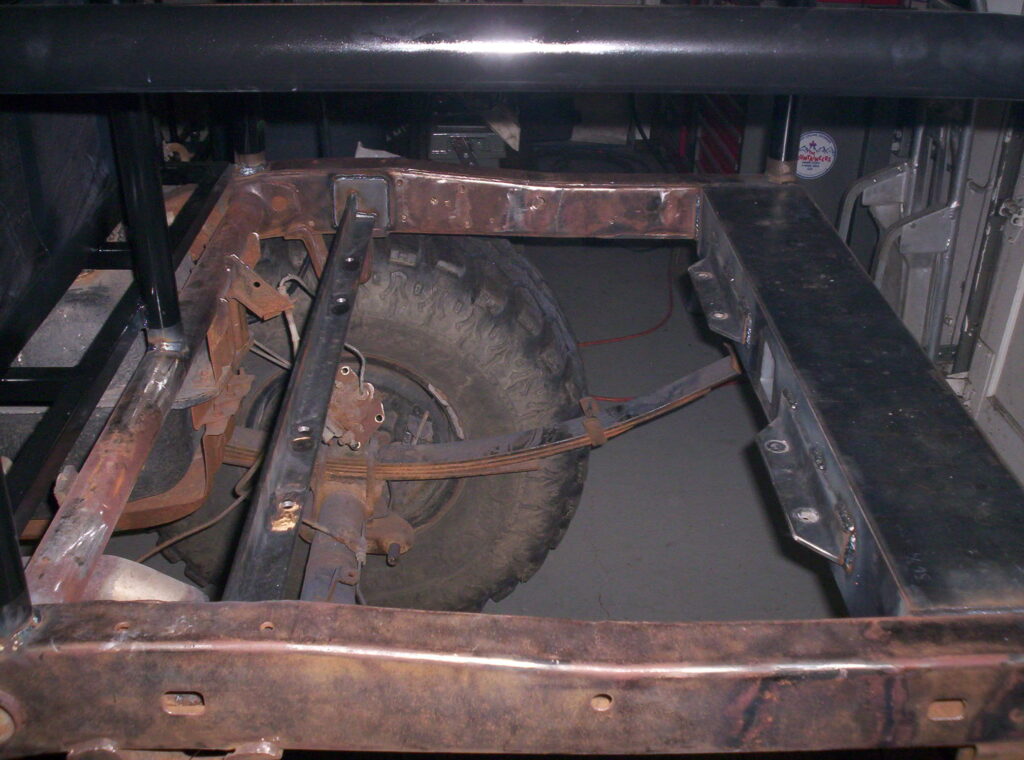
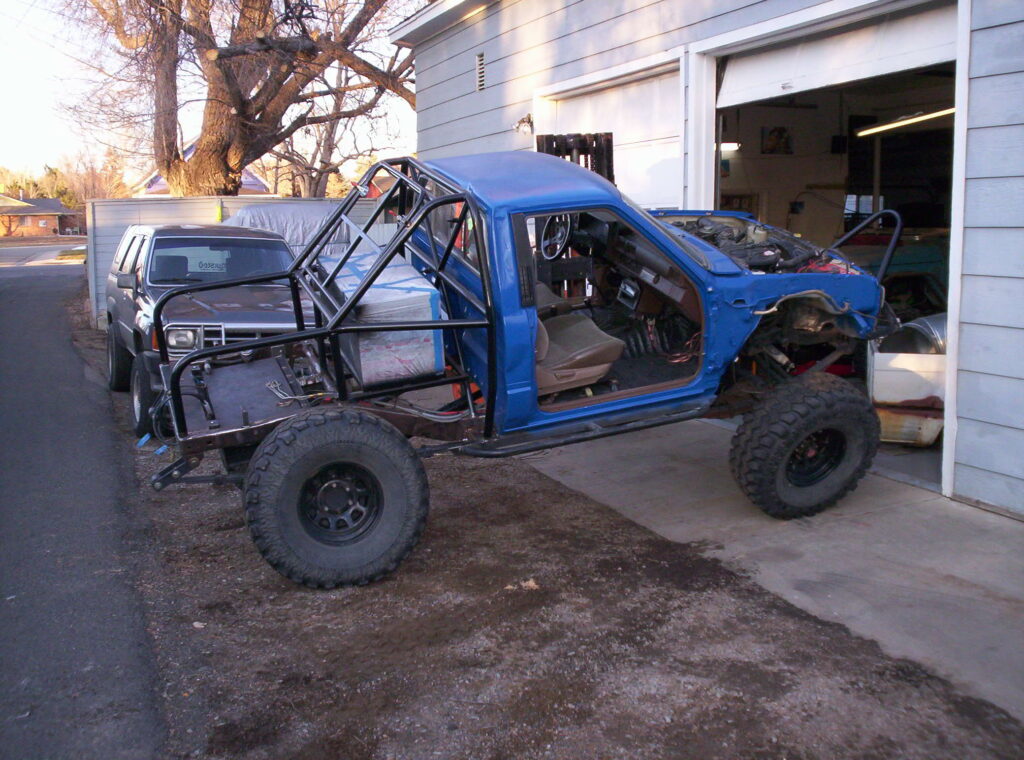
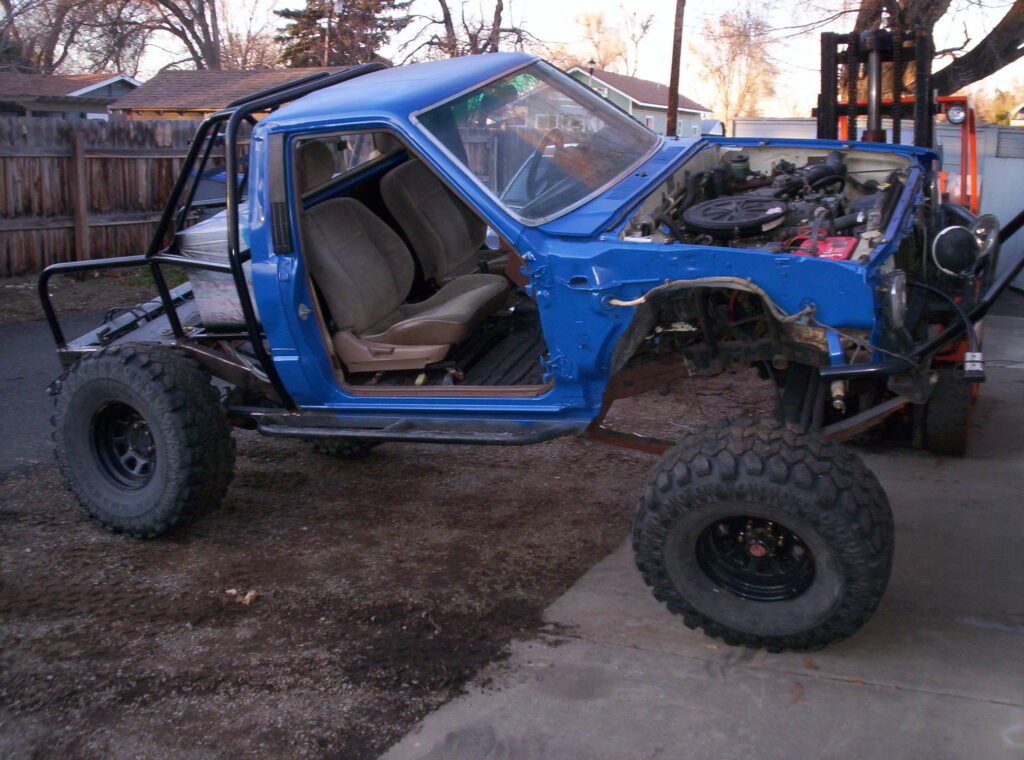
Then took it outside to see how the rear flexed. Really bright in the sunlight!
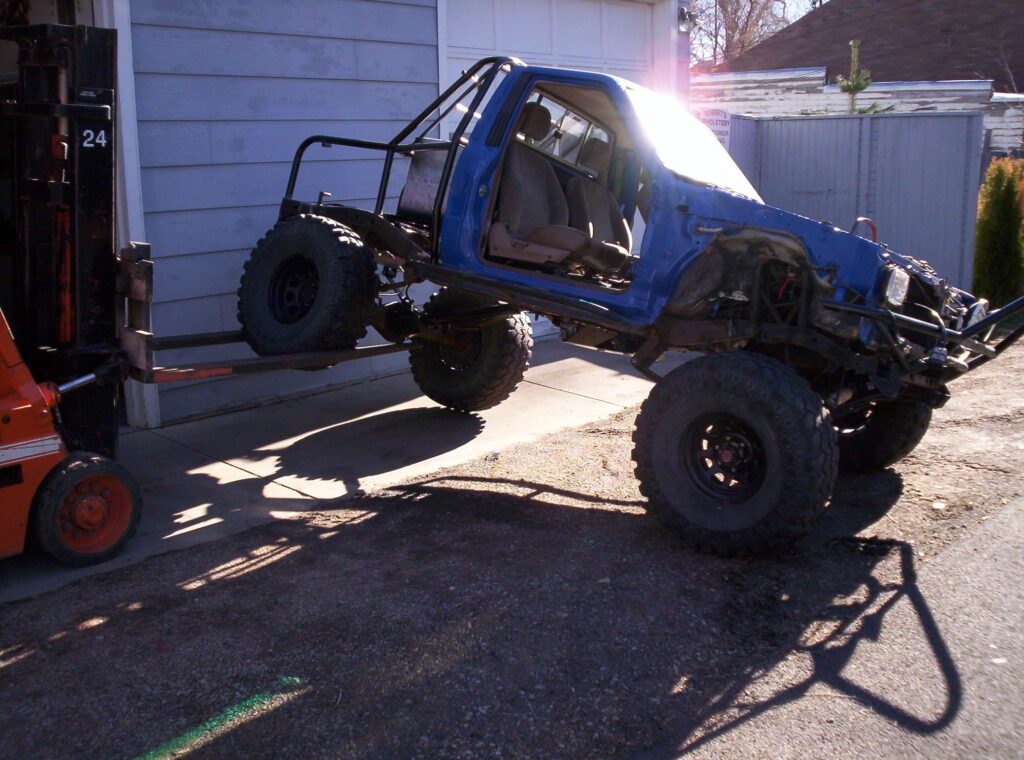
Really didn’t like the shackle angle in the rear and, as suspected, it didn’t flex well at. Guess a set of Chevy 63’s are in it’s future… Front stuffs nice though!
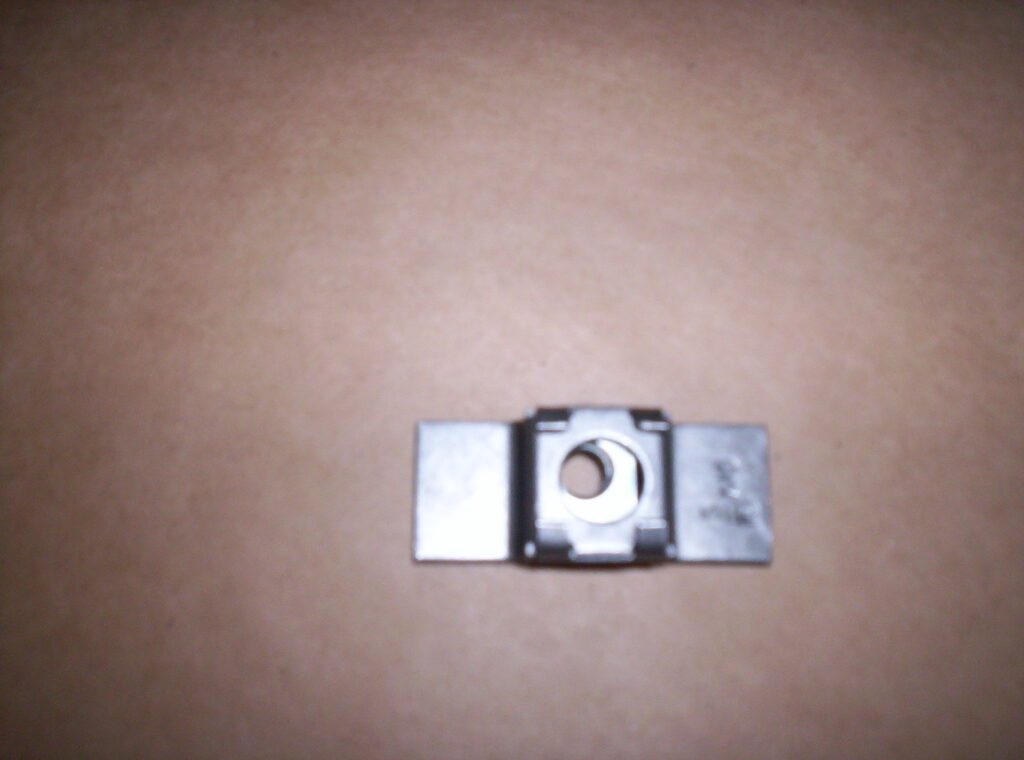
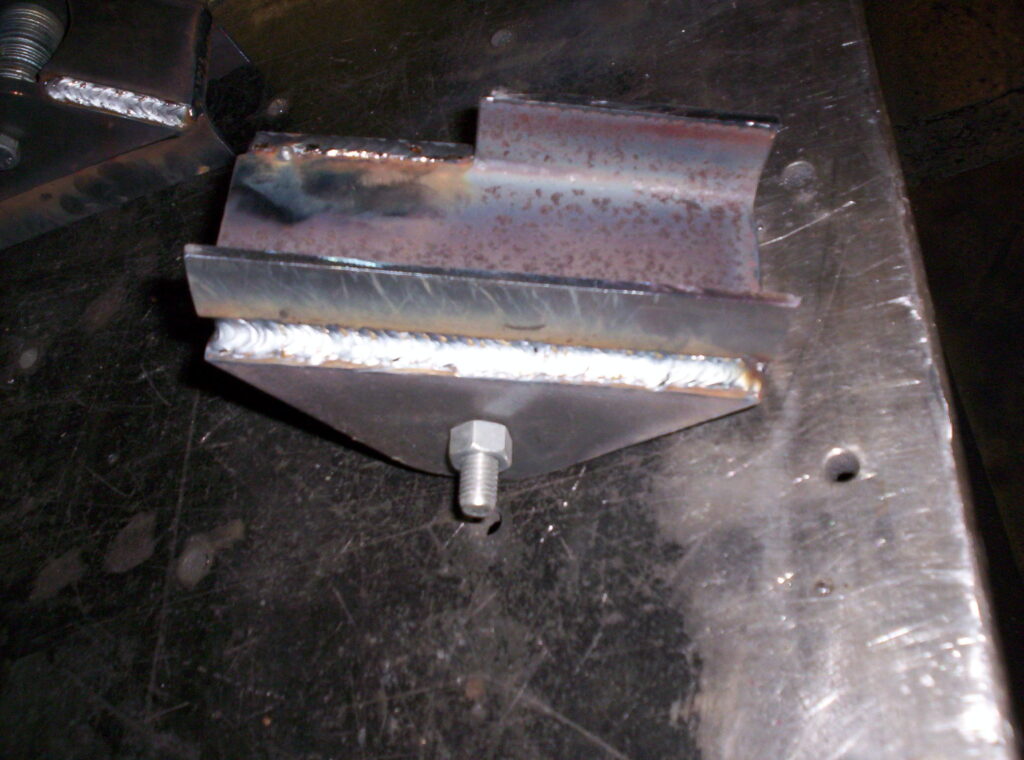
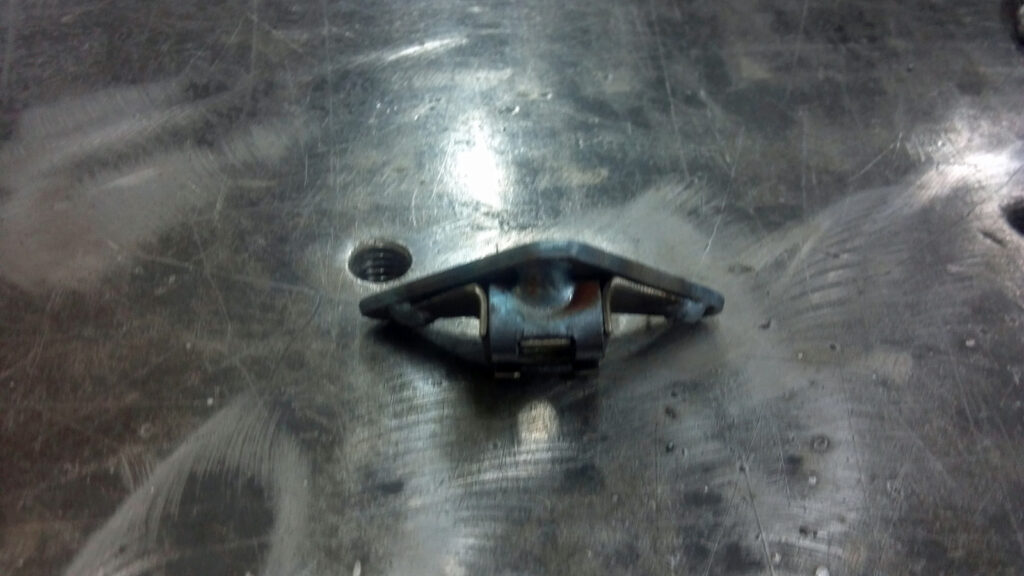
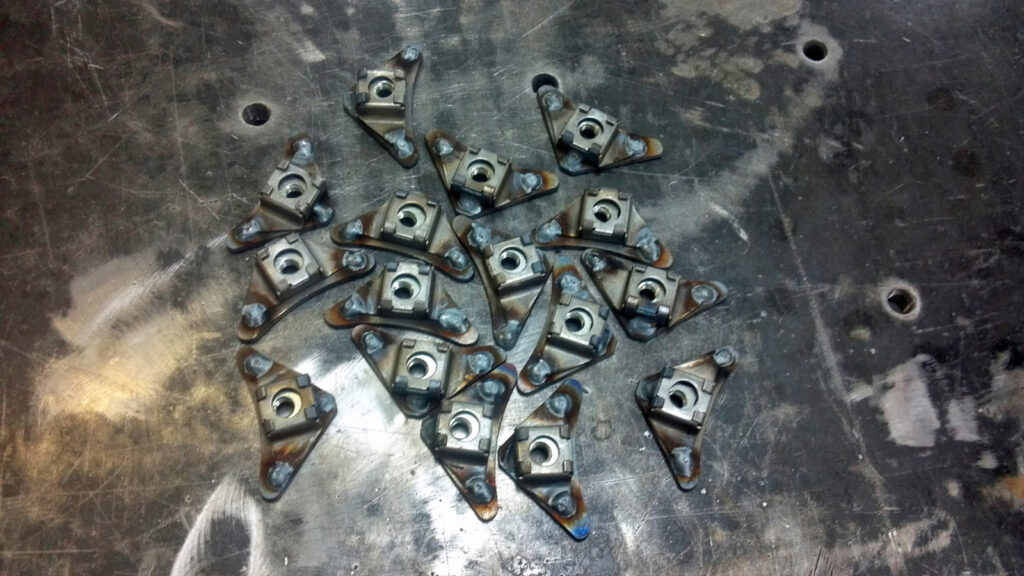
To attach the rear bed floor/fuel cell cover we used cage nuts welded to angle iron that had punched holes in them and stainless buttonhead bolts to fasten through the panel to the rig.
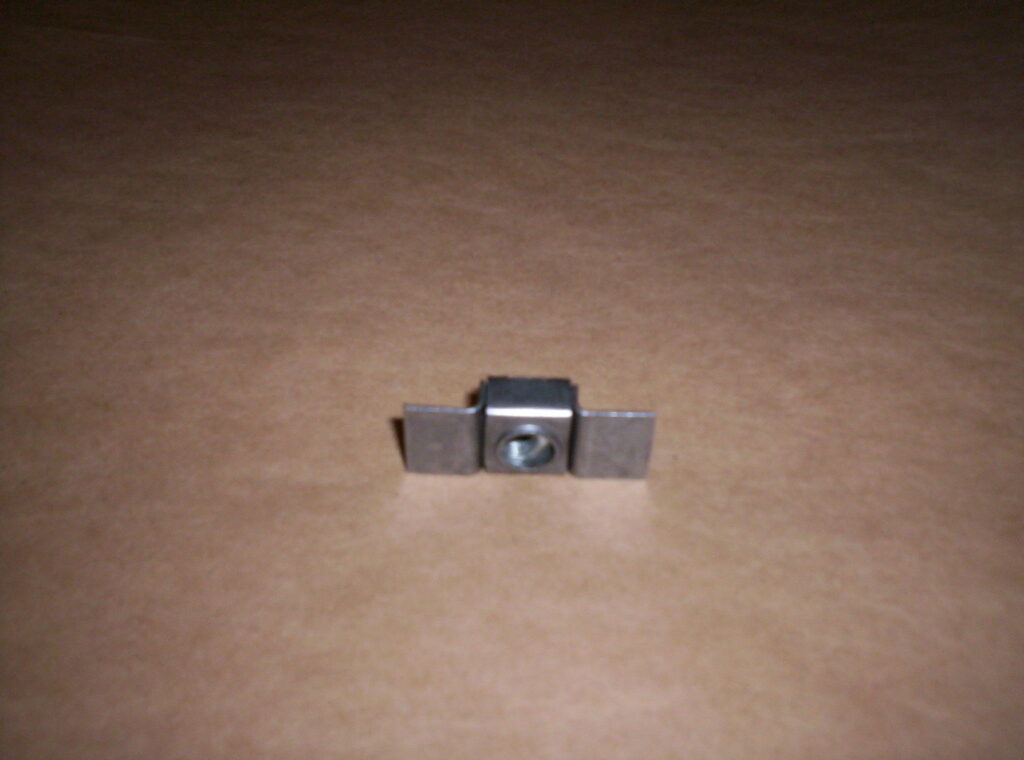
Spot welded to the angle:
Welded the angle near the corners of the frame and attached the panel. Not a great photo, but you should be able to notice the SS buttonheads in the corners.
Then we moved on to the rear suspension. As suspected, the rear just didn’t flex well at all. So time to swap out the existing rear leaf springs for some Chevy 63’s. And while we were at it, new spring/shackle hangars, shackles, and some U-bolt eliminators.
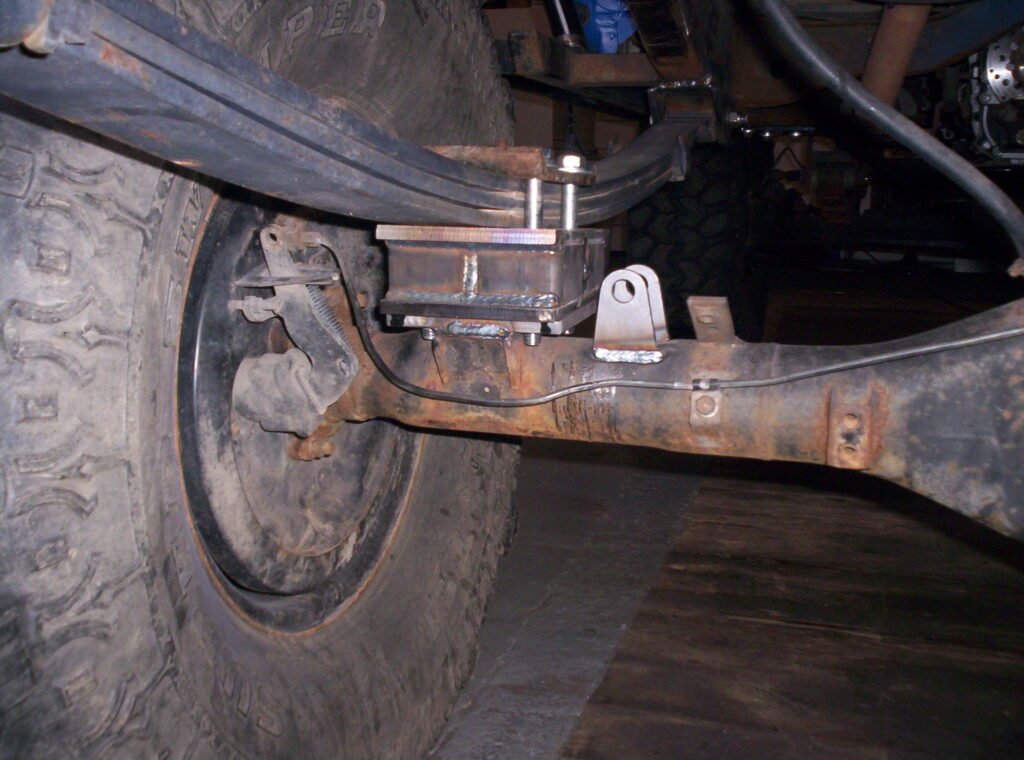
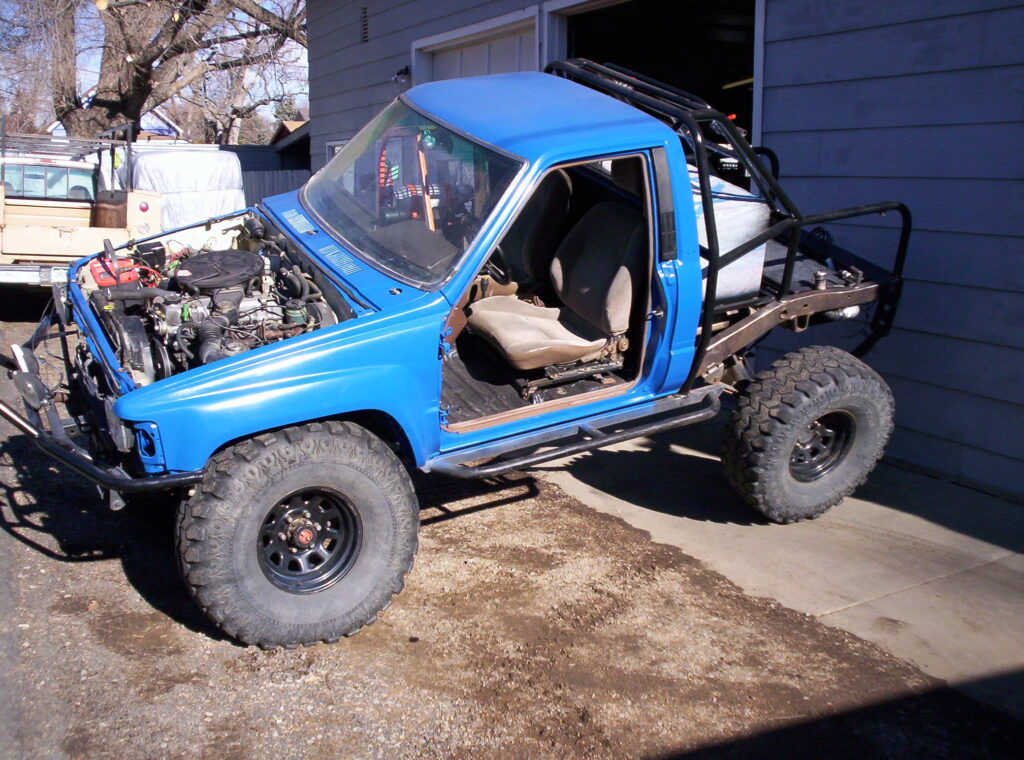
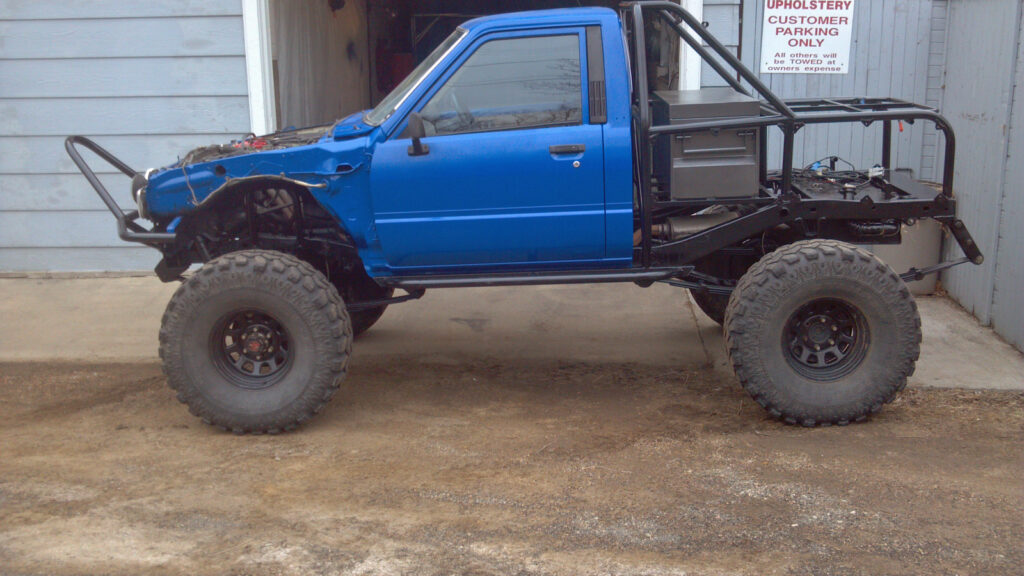
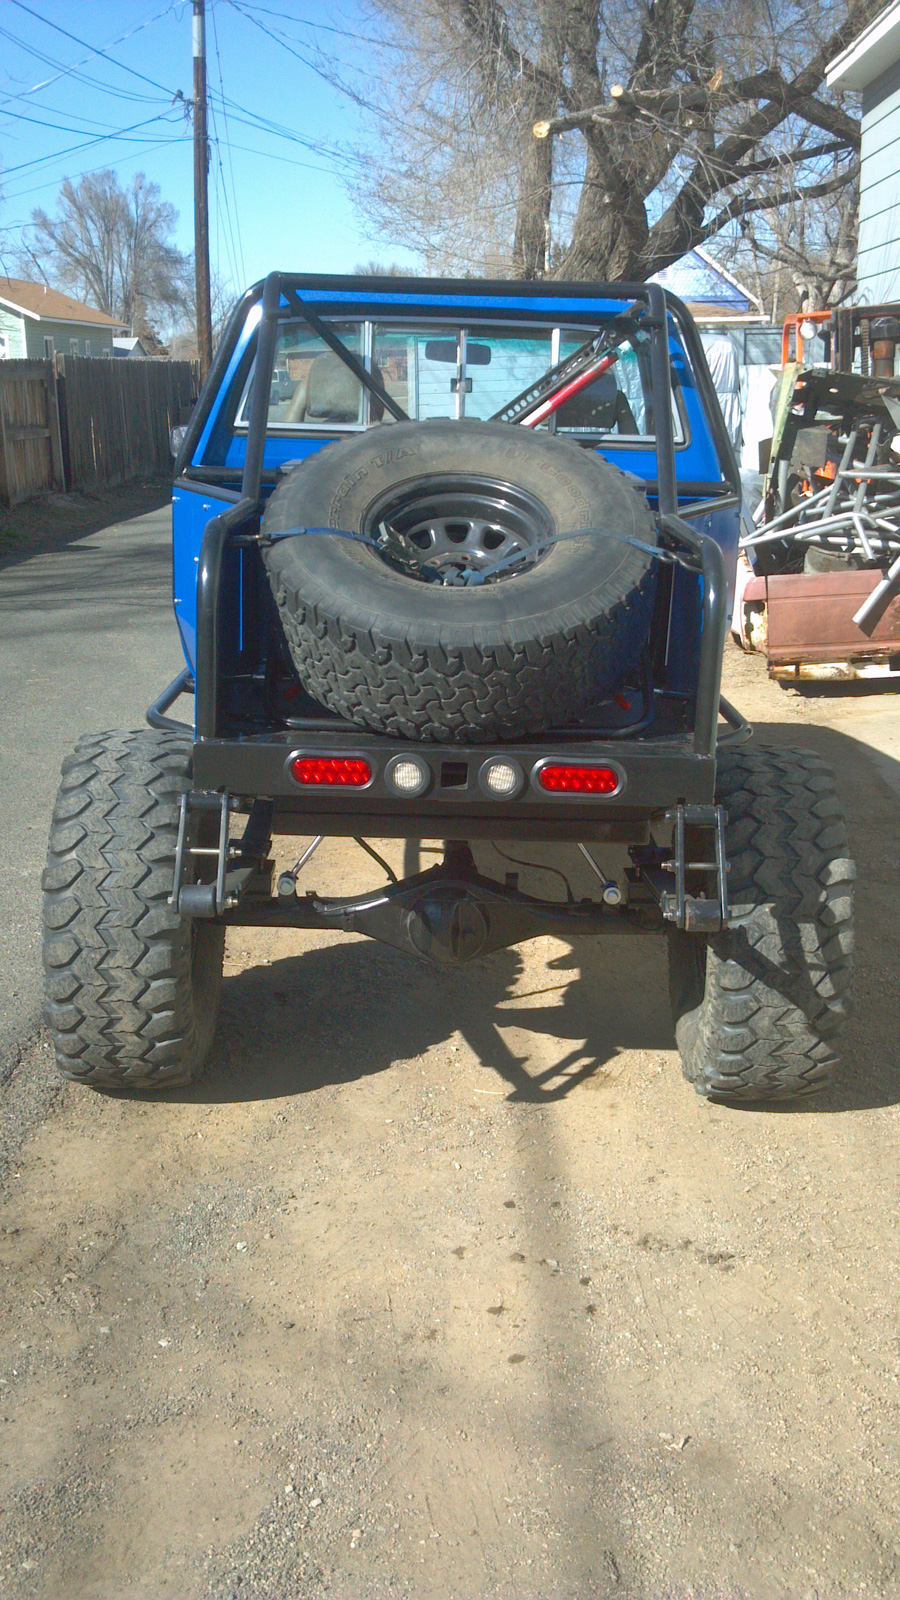
Stance with the new shackles and Chevy springs installed. Check out how much better of a shackle angle we were able to give it, and how flat we were able to keep the leafs. Only real downside is how far out the shackles stick from the rear bumper/cross member. Although, need to remember it is still WAY better than stock since the frame was shortened and the bed taken off.
Moment of truth as the time has come to see if my modifications to the rear suspension helped at all.
Hooray, success! Flexes mucho better!

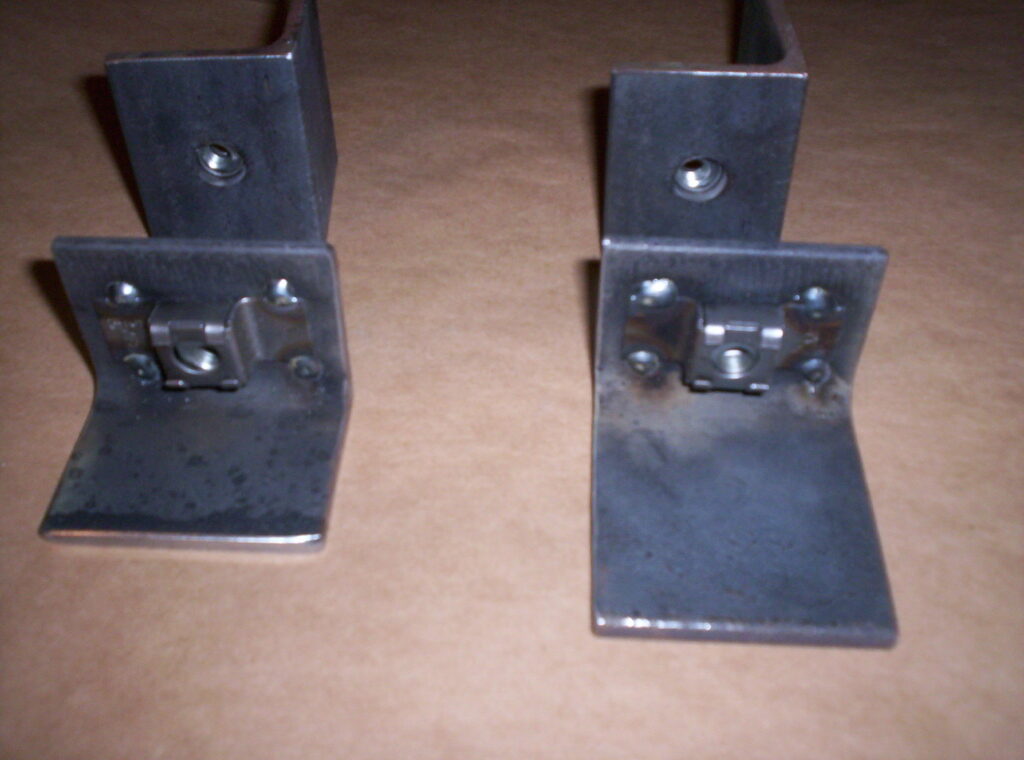
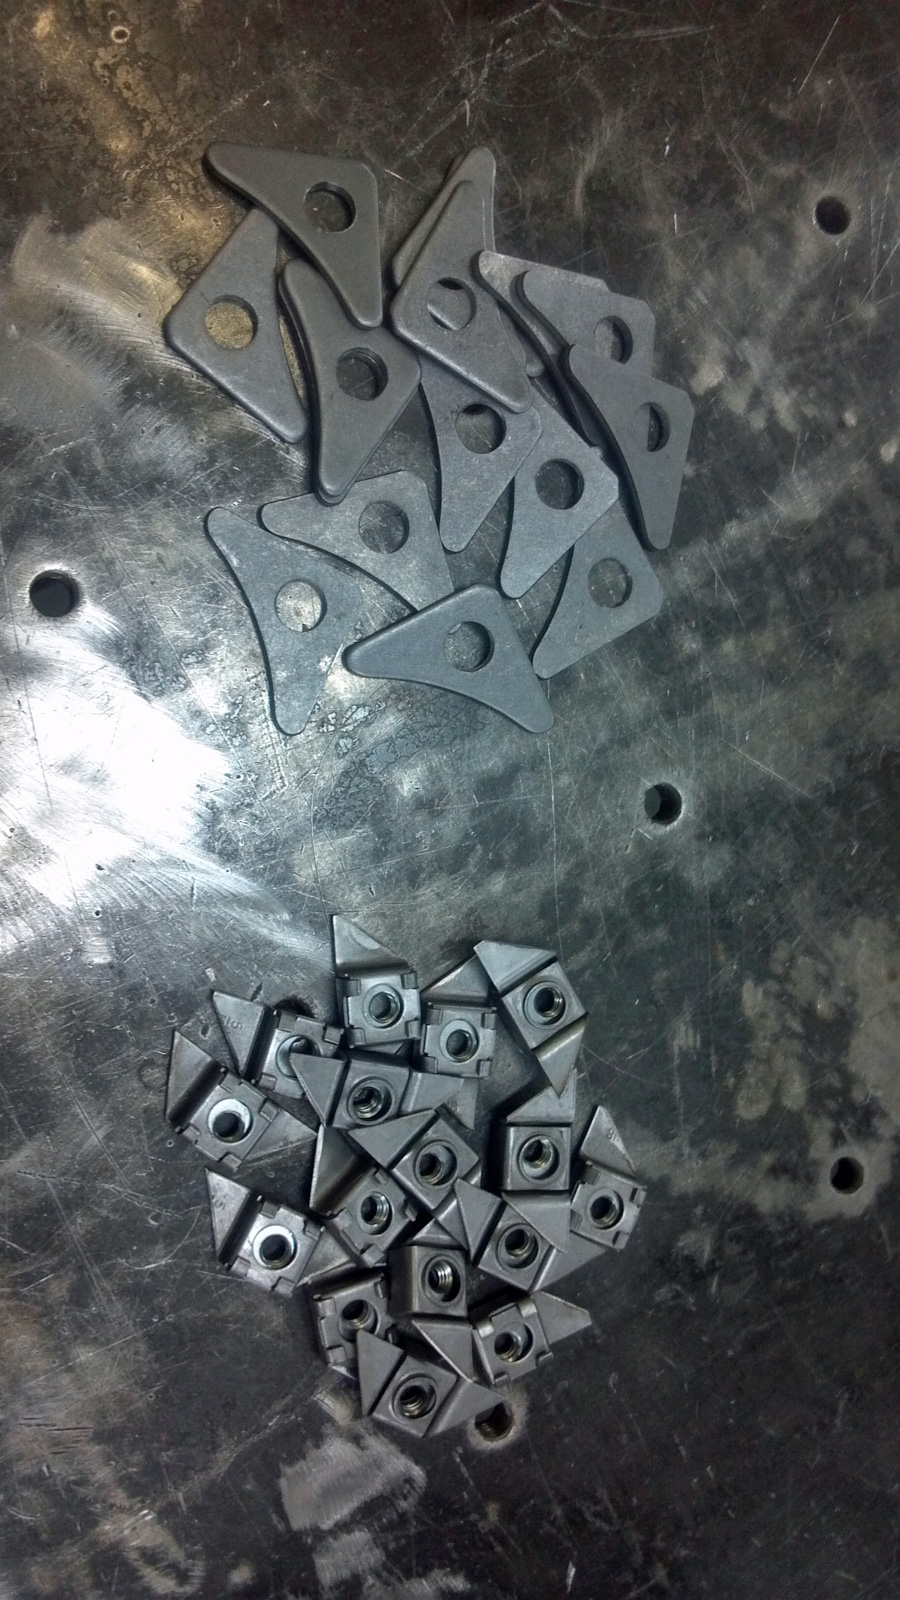
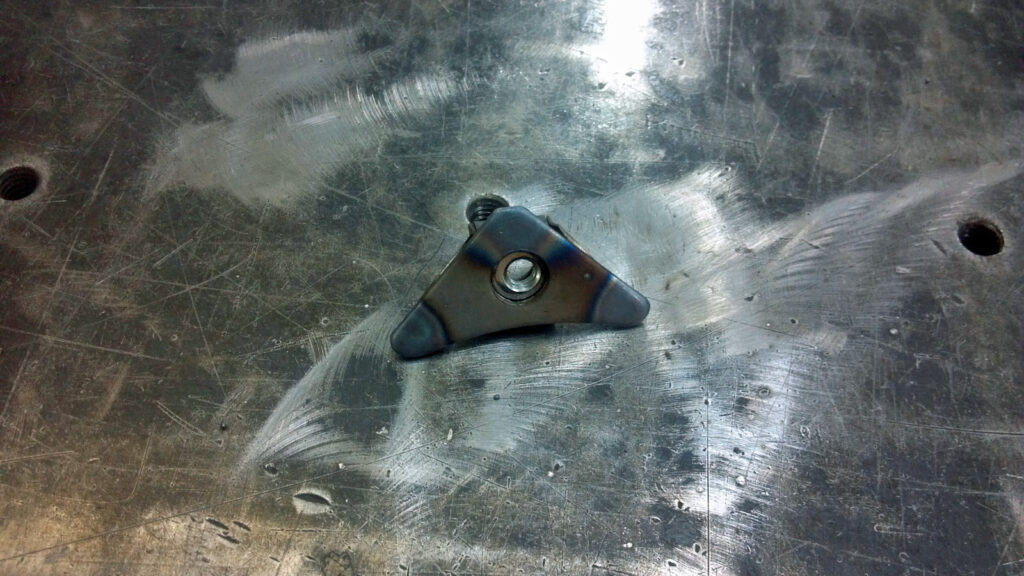
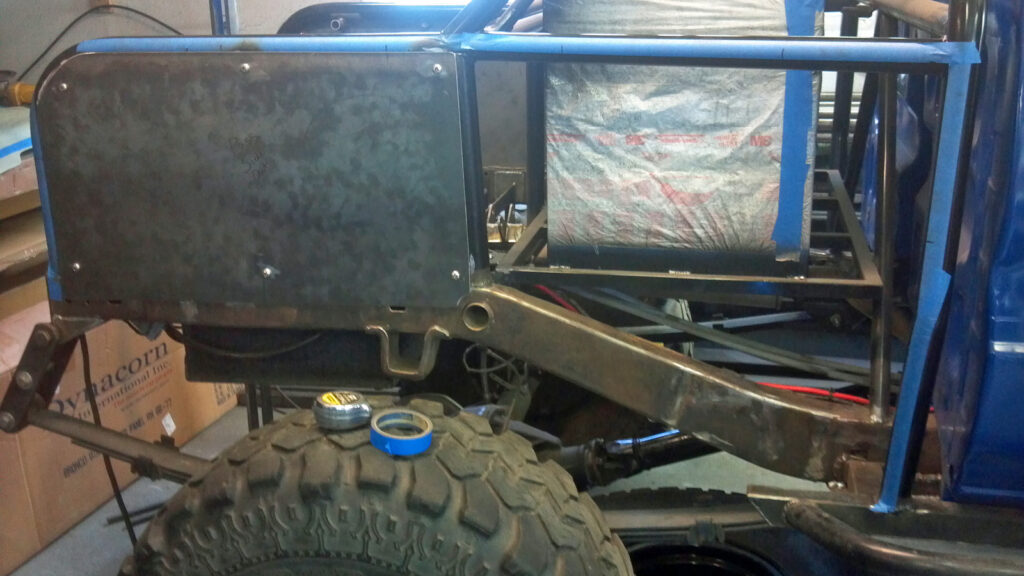
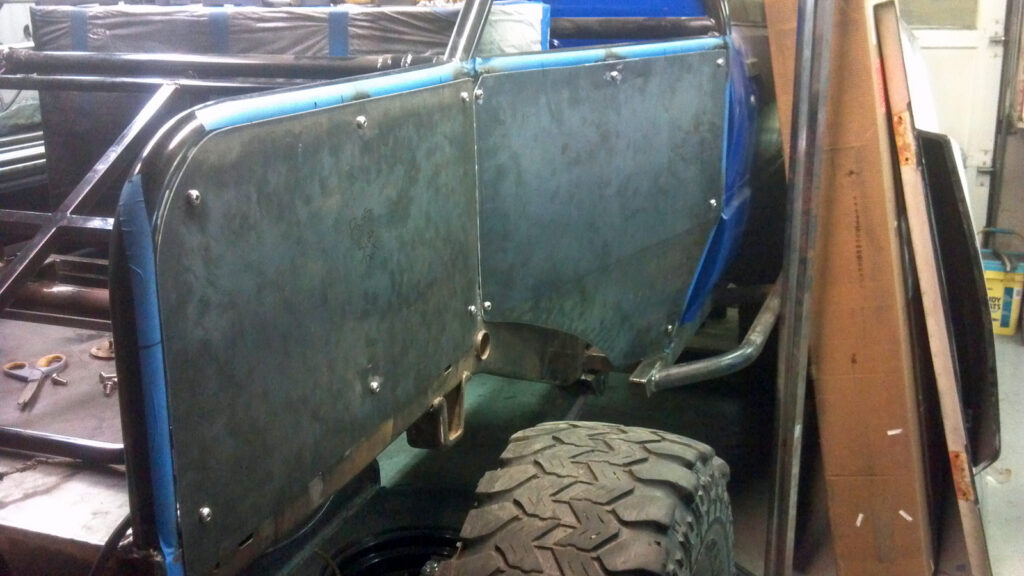
Decided against a one piece bedside, and decided to just panel the tube work. Fabbed up a few tabs with some modified cage nuts welded onto the back side to hold the panels.
Then started fabbin’ the panels. Although we want to keep this rig lightweight, we opted to use a little thicker material (14 ga) than the often used thin aluminum sheet (24-22 ga). We wanted the skins to be able to handle a little abuse so we wouldn’t keep having to make a bunch of them. It gets fairly annoying ruining panels from tree branches that should normally only leave a little Colorado pinstripe if anything at all. Again using SS hardware so it will hold up to the elements and with nylon washer between the SS hardware and the panels to help save the paint.
Please excuse the clutter of extra parts and equipment in the following photos. It’s truly amazing how much room just a few projects can take up.

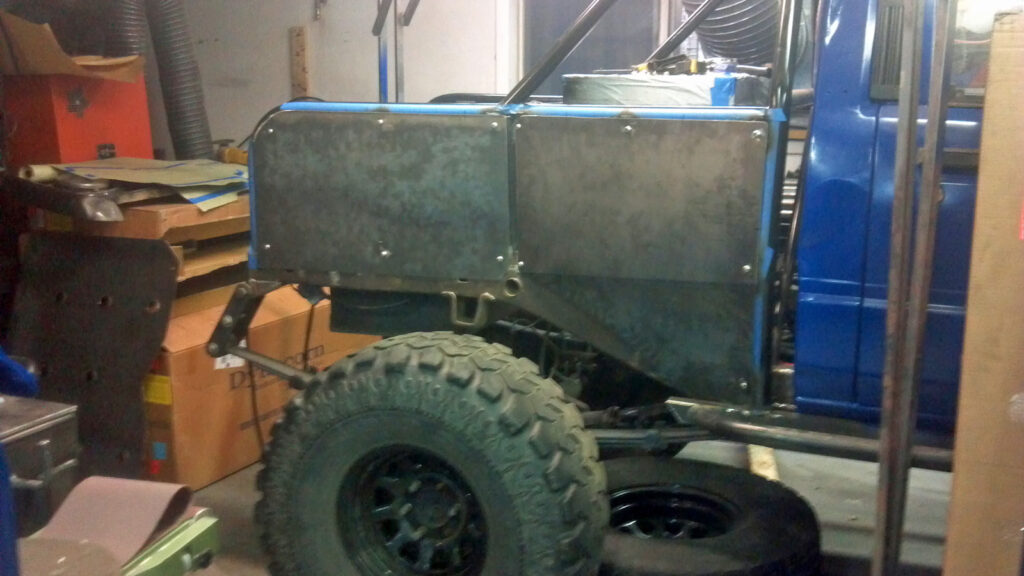
With all the tabs welded in place and panels fabricated, we could finally coat everything. The rest of the frame and tube work get shot with black and the panels with blue. With everything coated we start getting everything assembled.
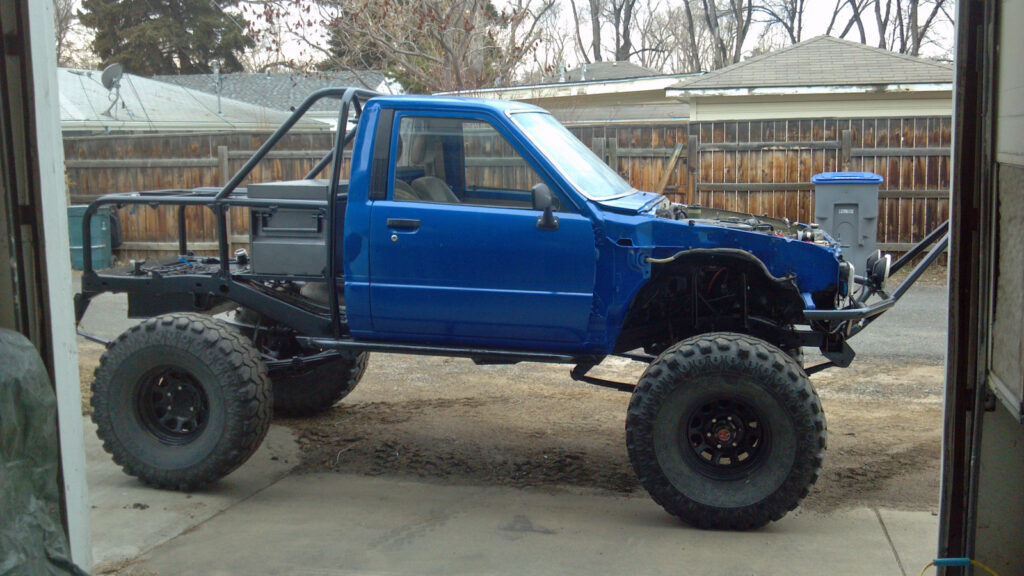

With all the skins on…
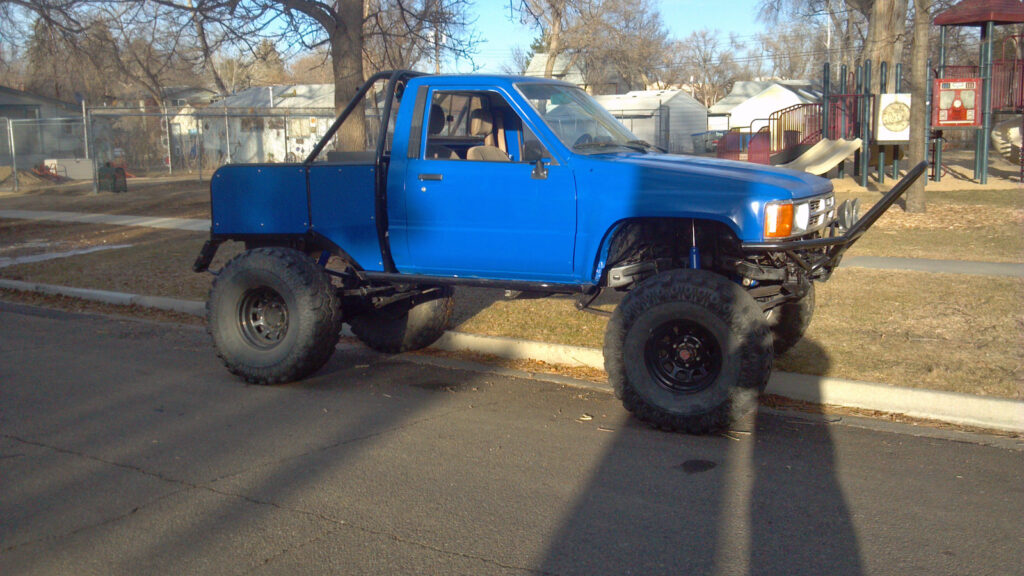
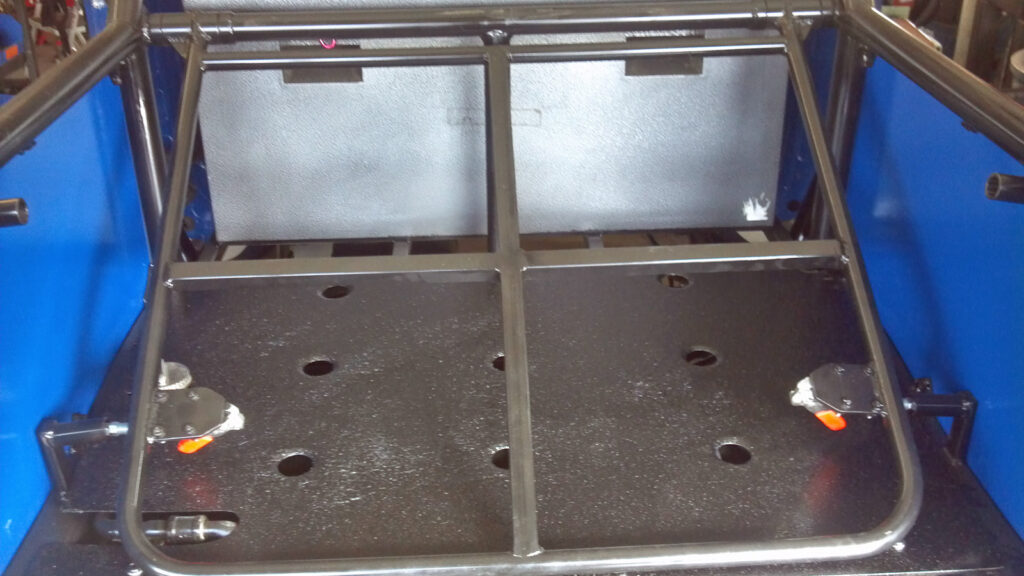
With the spare secured to the pivoting rack with a strap:
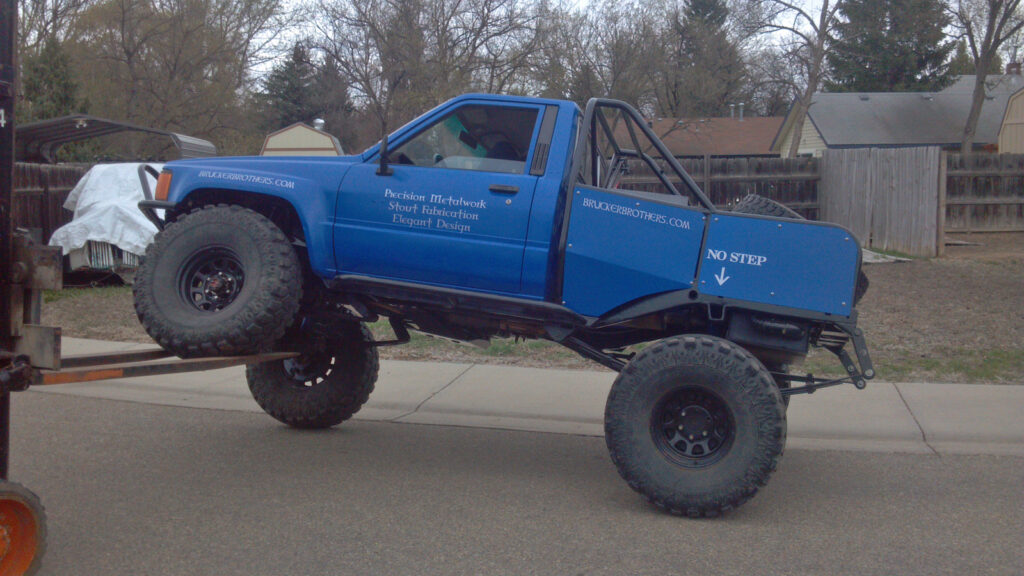
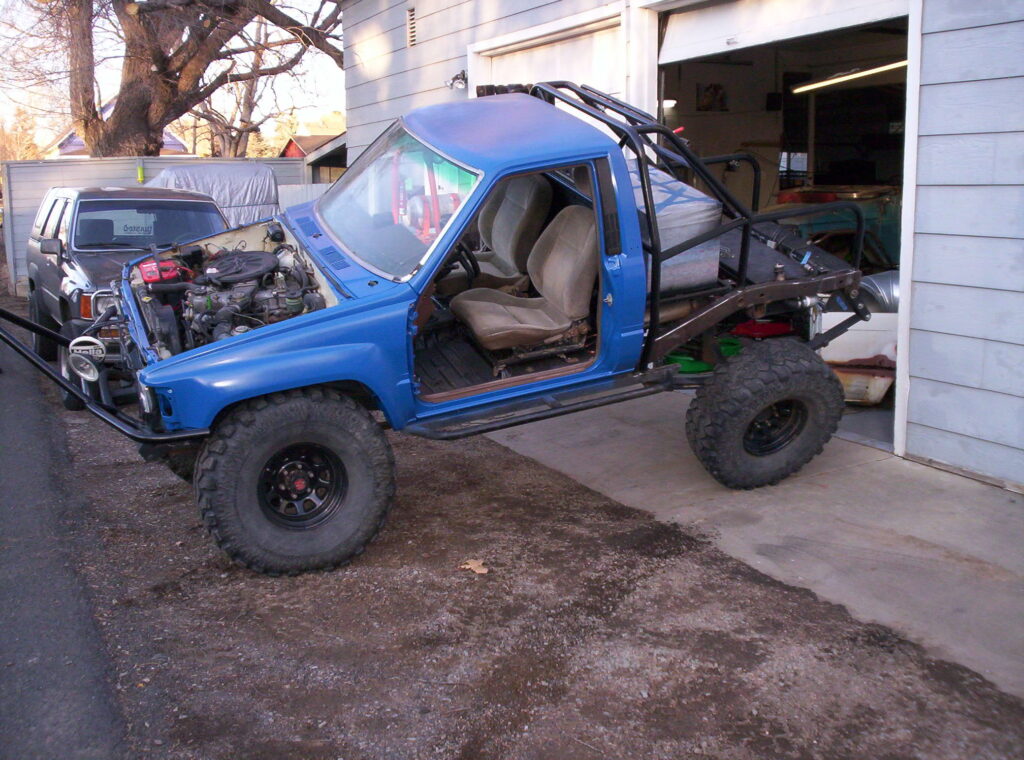
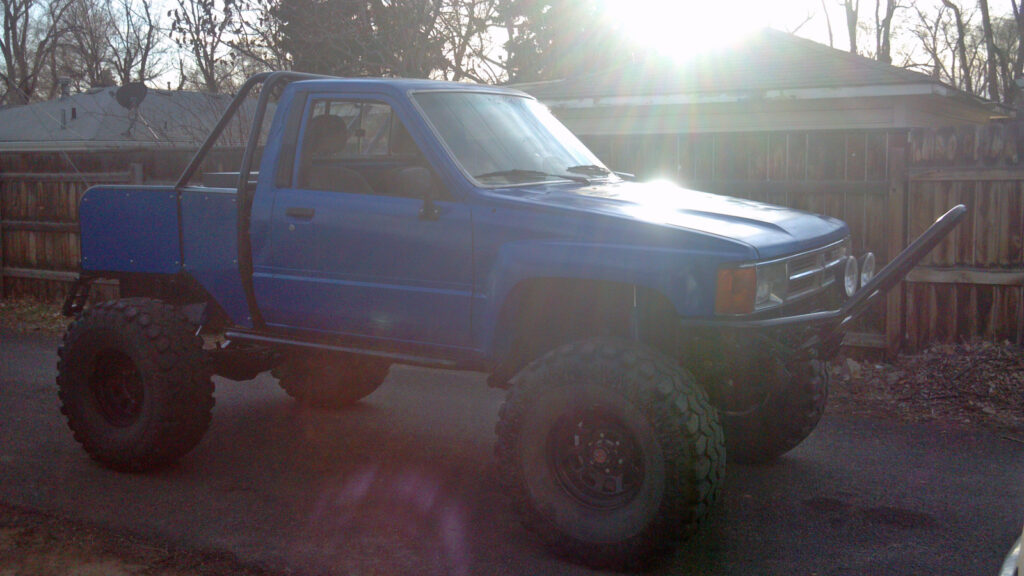
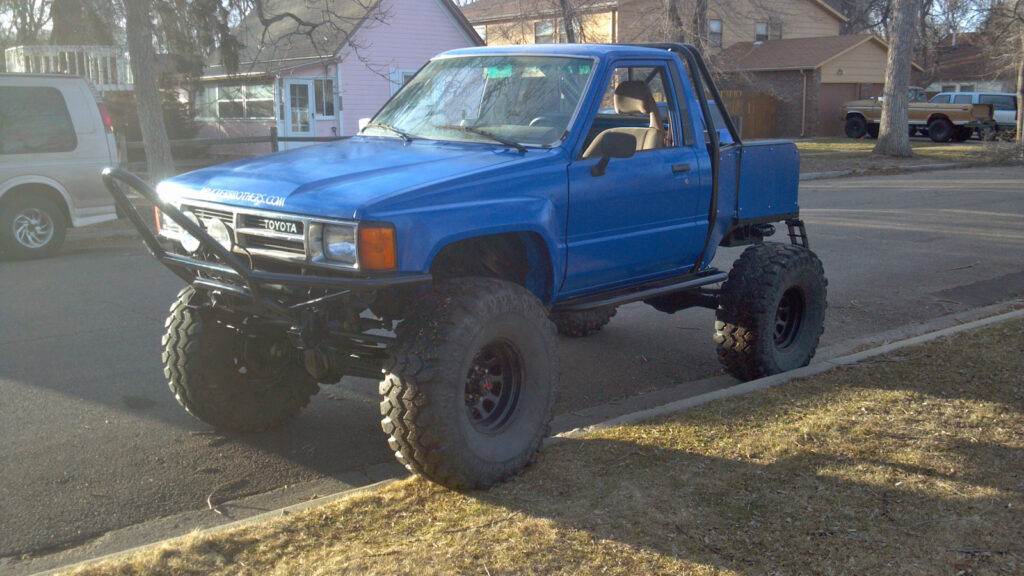
The first decal added, and just a good photo (we are biased though):
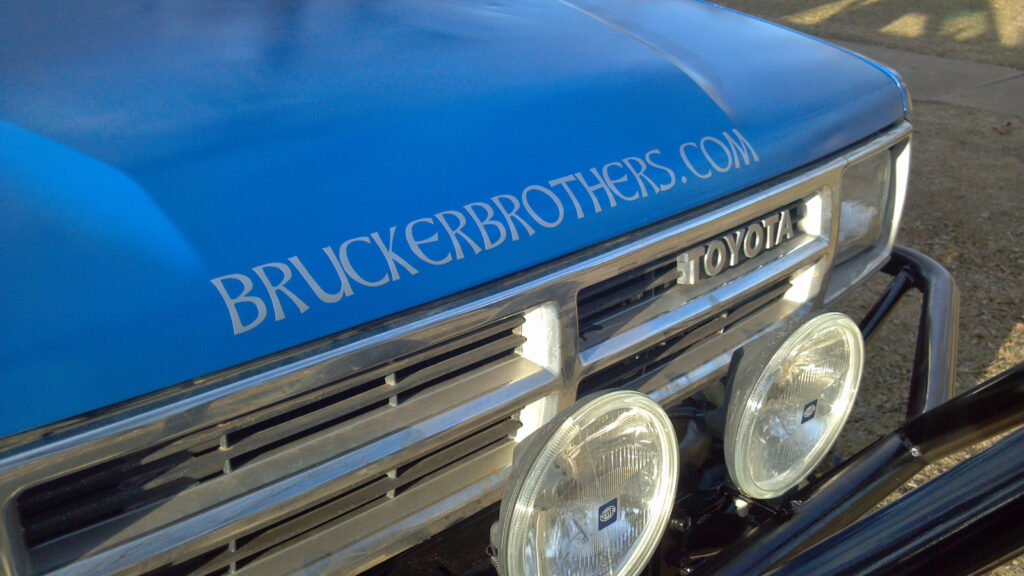
Showing off more of the decals that were added. Sure does flex well for being leaf sprung: